 bluename
 How to Make Cocoa Cheesecake? A Guide to Mild Bitter Rich Cocoa Flavor
There’s a common frustration I hear from fellow bakers and dessert lovers: you crave the deep, sophisticated taste of real chocolate, but most chocolate desserts are either cloyingly sweet or harshly bitter. The quest for that perfect balance—a mild bitter rich cocoa flavor that sings without overwhelming—is real. That’s exactly why mastering a cocoa cheesecake is such a rewarding endeavor. It’s not just another sweet treat; it’s an exploration of cocoa’s nuanced profile, transforming it into a creamy, decadent yet perfectly balanced centerpiece. Forget the artificial taste of cheap chocolate blends. We’re going straight to the source, using quality cocoa powder to build layers of flavor that are rich, complex, and deeply satisfying.
I’ve spent years perfecting this craft, and I can tell you that the secret lies not in a single magical ingredient, but in understanding how each component interacts. As noted in several pastry chef forums and culinary studies, the choice of cocoa powder—whether natural or Dutch-processed—profoundly impacts the final flavor and color of your bake. This isn’t just my opinion; it’s a fundamental principle in professional patisserie.
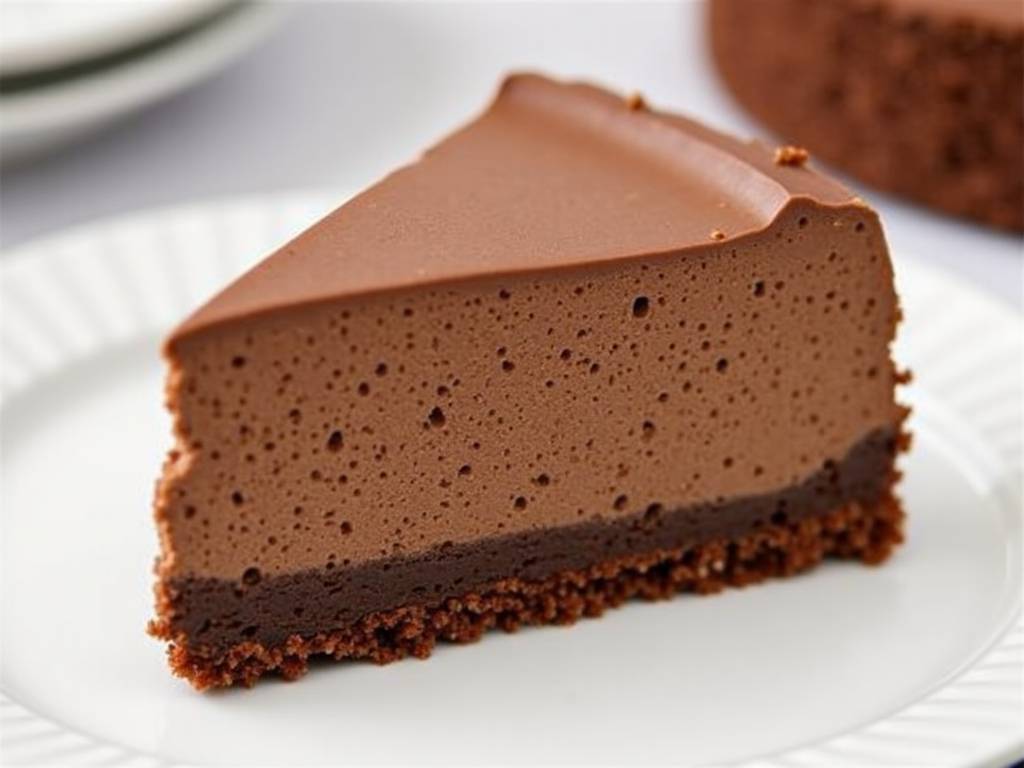
Why Cocoa Powder is Your Secret Weapon for Depth
Many reach for chocolate bars when thinking of chocolate flavor, but for a uniformly intense and controlled mild bitter rich cocoa flavor, high-quality unsweetened cocoa powder is unparalleled. It delivers a pure, concentrated chocolate essence without the added sugar and fats of a bar, allowing you to be the architect of your cheesecake’s sweetness and texture.
- Natural vs. Dutch-Process: This is your first major decision. Natural cocoa powder is acidic, tangy, and delivers that classic, almost fruity chocolate punch. Dutch-processed cocoa is treated with an alkali, making it milder, less acidic, and with a darker color and smoother flavor. For the “mild bitter” profile we’re after, I often prefer a high-quality Dutch-process cocoa. Its rounded bitterness integrates seamlessly into the creamy cheese base.
- The Fat Factor: Cocoa powder itself is low in fat. This is actually a benefit for structure, but it means we need to ensure our batter has enough richness from cream cheese, eggs, and sometimes a touch of sour cream to carry that cocoa flavor luxuriously. The fat acts as a vehicle, making the cocoa taste rounder and more “chocolatey” on the palate.
Building Your Cocoa Cheesecake Foundation: The Crust
A great cocoa cheesecake starts from the bottom up. The crust should complement, not compete with, your filling.
- The Classic Chocolate Crust: Amplify the cocoa theme by adding a tablespoon or two of your chosen cocoa powder to a classic graham cracker crumb mix. The melted butter will bind it, and the cocoa will toast slightly as it bakes, adding a wonderful aromatic depth.
- Alternative Bases: For a more sophisticated edge, try using crushed chocolate wafer cookies or even speculoos. Their built-in spices can add a lovely dimension to the mild bitter rich cocoa flavor of the main event.
The Heart of the Matter: Crafting the Perfect Cocoa Cheesecake Filling
This is where the magic happens. The goal is a filling that’s ultra-creamy, set but not rubbery, with the cocoa flavor distributed evenly throughout every sublime bite.
- Room Temperature is Non-Negotiable: Your cream cheese, eggs, and sour cream must all be at room temperature. Cold ingredients lead to a lumpy batter, and you’ll overmix trying to smooth it out, which incorporates too much air and can cause cracking.
- The Cream Cheese Base: Start by beating the cream cheese alone until it’s completely smooth, scraping down the bowl thoroughly. Any lumps here will be baked into the final product.
- Incorporating Sugar & Cocoa: Add the sugar and your sifted cocoa powder together. Sifting is crucial to avoid cocoa lumps. Beat this into the cream cheese until just combined. You’ll already see that beautiful, dark paste forming—the foundation of your rich cocoa flavor.
- Eggs, One by One: Add eggs one at a time, beating on low speed after each addition until just blended. Over-beating eggs incorporates excess air, which rises and falls dramatically in the oven, leading to cracks and an uneven texture.
- The Flavor Carriers: Now, stir in your sour cream (or heavy cream) and vanilla extract. The sour cream adds a subtle tang that brilliantly offsets the sweetness and highlights the cocoa’s complexity. Vanilla is the unsung hero that rounds out all chocolate flavors.
Baking for Perfection: The Water Bath Method
The single most important technique for a crack-free, creamy-textured cocoa cheesecake is the water bath (or bain-marie). The surrounding hot water creates a gentle, steamy environment that cooks the cheesecake evenly without curdling the eggs or drying out the edges.
- How to Do It: Wrap the bottom and sides of your springform pan tightly with heavy-duty aluminum foil to prevent water seepage. Place the pan inside a larger roasting pan. After pouring the filling into the crust, place the setup in the oven, then carefully pour hot water into the larger pan until it comes about halfway up the sides of the springform.
- Baking Low and Slow: Bake at a moderate temperature (usually around 325°F or 160°C) until the edges are set but the center still has a slight, gentle jiggle—like Jell-O. The residual heat will continue to cook the center as it cools.
The Art of Patience: Chilling and Serving
Your work isn’t done when the oven timer goes off. A cheesecake’s texture sets during a long, slow chill. Let it cool completely at room temperature, then refrigerate it, uncovered at first to avoid condensation, for at least 8 hours, ideally overnight. This patience is rewarded with a firm, sliceable texture where the mild bitter rich cocoa flavor has fully matured and melded.
When ready to serve, run a thin knife under hot water, dry it, and slice for clean cuts. A simple dollop of barely sweetened whipped cream or a few fresh berries are all the garnish needed to let your cocoa cheesecake shine.
Frequently Asked Questions
Can I use melted chocolate instead of cocoa powder? You can, but it will create a different dessert. Melted chocolate adds fat and sugar, which will alter the texture and sweetness balance. To achieve the specific, focused mild bitter rich cocoa flavor, cocoa powder gives you more control and a more intense chocolate essence without additional fat from cocoa butter.
My cheesecake cracked! What did I do wrong? Cracks are usually caused by sudden temperature changes or overmixing/overbaking. The water bath is your best defense. Also, avoid opening the oven door during the first half of baking. If a crack does appear, don’t worry—a beautiful topping of whipped cream or a chocolate ganache glaze can make it disappear while adding another layer of flavor.
How long will this cheesecake keep? Properly stored in the refrigerator, it will be at its best for 4-5 days. Make sure it’s well-covered. You can also freeze slices for up to a month. Thaw overnight in the refrigerator before serving.
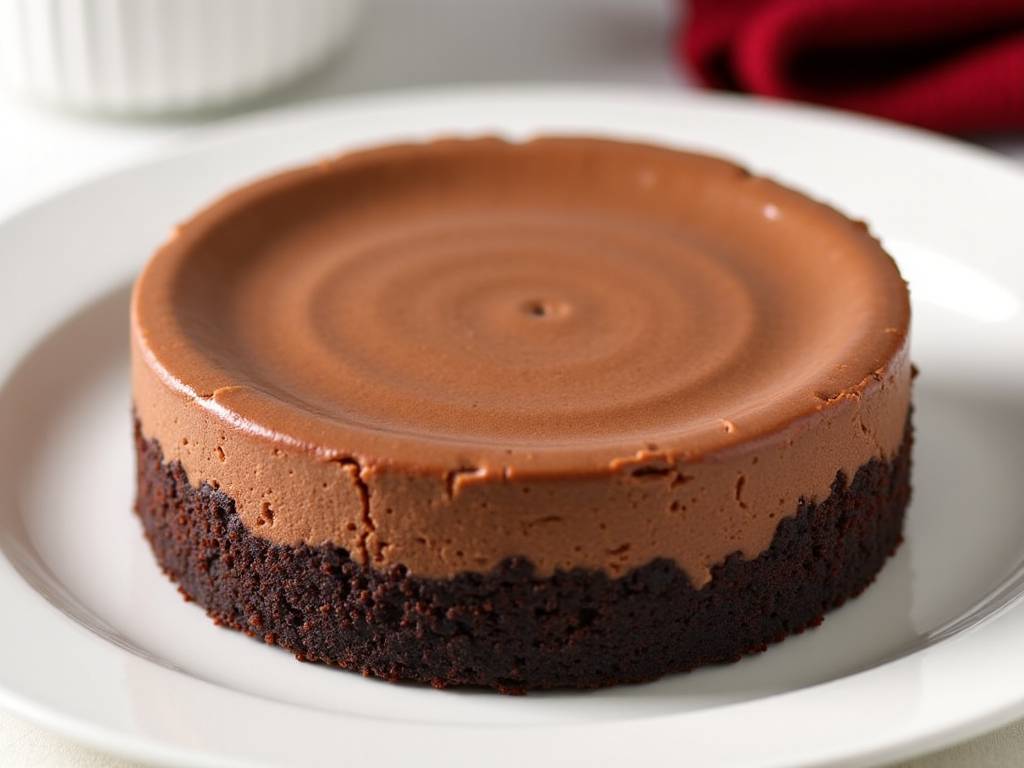
Mastering this cocoa cheesecake is about embracing the pure, unadulterated essence of chocolate. It’s a lesson in balance—where the slight bitterness of quality cocoa meets the lush sweetness of the filling, creating a dessert that feels both indulgent and sophisticated. By focusing on technique, from ingredient temperature to the gentle embrace of a water bath, you transform simple components into something extraordinary. So, preheat your oven, sift that cocoa powder, and get ready to create a cheesecake where the deep, resonant notes of cocoa are truly the star of the show.
⚠️ 温馨提示:本款蛋糕含糖量较高,高血糖/糖尿病患者请谨慎食用。





