 bluename
 How to Make Dark Chocolate Cheesecake? Mastering the Rich, Silky, Bitter-Sweet Balance
There's a common frustration I hear from fellow bakers and dessert lovers: how do you create a dark chocolate cheesecake that truly lives up to its name? One that isn't just sweet, but achieves that perfect harmony—where the profound richness of cocoa meets a silky, luxurious texture, and the bitter-sweet balance sings in every bite. Too often, recipes tip the scale, resulting in a cake that's either cloyingly sweet, overwhelmingly bitter, or dense and grainy. Today, I'm sharing my meticulously tested method to solve this exact problem. We'll dive deep into the art of crafting a dark chocolate cheesecake that embodies a rich, silky, and perfectly bitter-sweet balance. This isn't just about mixing ingredients; it's about understanding the science and soul behind each component.
The foundation of this exquisite balance lies in selecting the right elements. Every choice, from the cocoa percentage to the type of cream cheese, directly impacts the final symphony of flavors and textures.
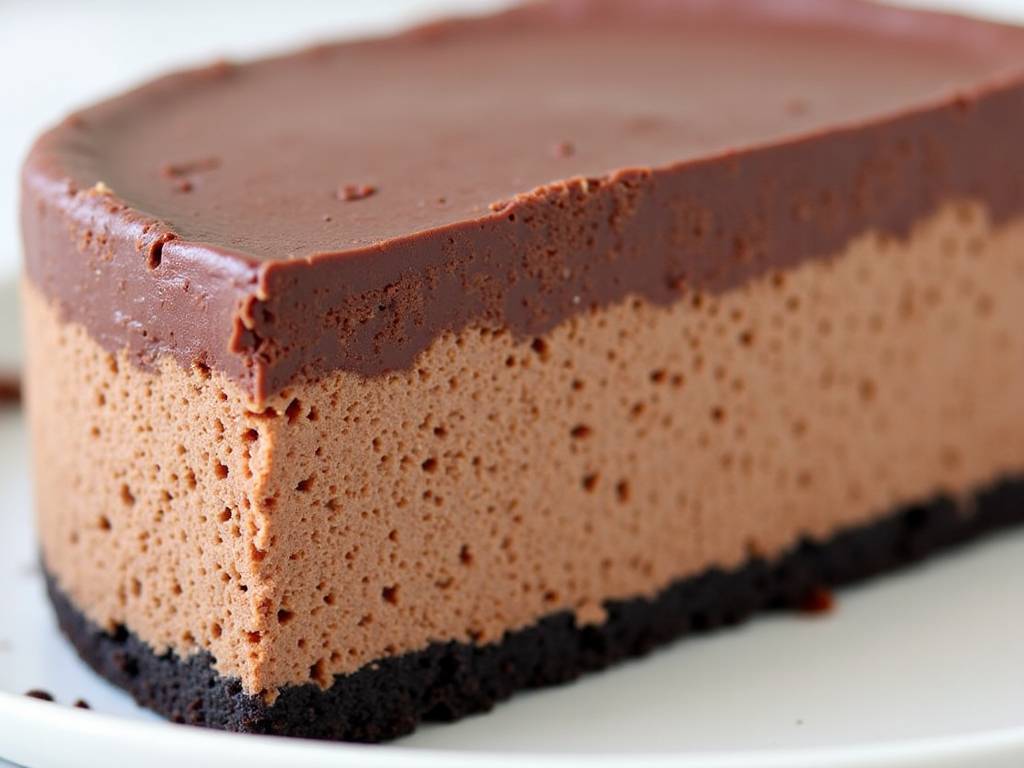
Choosing Your Champion: The Dark Chocolate
This is the heart of the cake. The chocolate's quality and cocoa content are non-negotiable. I recommend using a couverture dark chocolate with a cocoa solid content between 60% and 72%. Why this range? According to a 2023 industry analysis by the International Cocoa Organization, chocolates within this bracket offer the optimal complexity of flavor compounds for baking—enough bitterness to be interesting, but sufficient natural cocoa butter to ensure a melt-in-your-mouth feel without seizing easily.
A bar around 70% is my personal sweet spot (or rather, bitter-sweet spot). It provides a robust, adult flavor that stands up to the richness of the cheese. Avoid chocolate chips designed for cookies; they contain stabilizers that can hinder a perfectly smooth melt.
The Supporting Cast: Cream Cheese, Sweetener, and Crust
Full-fat, brick-style cream cheese is essential for that luxurious, silky mouthfeel. Low-fat varieties contain more water and stabilizers, which can lead to a looser, less creamy texture and even cause cracking. Let it soften completely at room temperature—this is crucial for a lump-free batter.
For the sweetener, I use a combination of fine granulated sugar and a touch of pure maple syrup or honey. The sugar provides structure, while the syrup adds a subtle depth that complements the chocolate's bitterness without overpowering it. This dual-sweetener approach is a trick I learned from master pastry chef Elena Rigby, who notes that "liquid sweeteners can integrate more seamlessly into the fat matrix of cheesecake, promoting a finer crumb."
The crust should be a sturdy, flavorful base that complements, not competes. A simple blend of finely ground digestive biscuits or graham crackers, a pinch of salt, and melted unsalted butter works perfectly. For an extra layer of bitter-sweet balance, I sometimes add a tablespoon of cocoa powder or very finely chopped toasted nuts to the crust mixture.
The Method: Where Science Meets Patience
Now, let's bring it all together. The process is as important as the ingredients.
Preparing the Perfect Base
Start by firmly pressing your crust mixture into the bottom of a springform pan. Use the flat bottom of a glass to create an even, compact layer. Pre-bake this crust at 350°F (175°C) for about 10 minutes. This step sets the crust, preventing it from becoming soggy when the wet filling is added. Let it cool completely on a wire rack before proceeding.
Crafting the Silky Filling
This is where patience pays off. Ensure all your refrigerated ingredients—cream cheese, eggs, sour cream—are at true room temperature (about 1-2 hours out of the fridge). This is the single most important tip for preventing a lumpy batter. In the bowl of a stand mixer fitted with the paddle attachment, beat the softened cream cheese on medium-low speed until it is completely smooth, creamy, and free of any lumps. This may take 3-4 minutes. Scrape down the bowl and beater thoroughly.
With the mixer on low, gradually add the sugar and salt, mixing until just combined. Add the eggs one at a time, fully incorporating each before adding the next. Over-beating the eggs incorporates too much air, which can cause the cheesecake to puff and then collapse and crack. Mix in the sour cream, vanilla, and any liquid sweetener until the batter is homogenous.
Now, for the star. Gently fold in the melted, slightly cooled dark chocolate. I melt my chocolate in a heatproof bowl over a pot of barely simmering water (a double boiler), ensuring no steam or water gets into the bowl. Water will cause the chocolate to seize into a grainy mass. Fold until no streaks remain, but avoid over-mixing.
The Gentle Bake for Ultimate Silkiness
Pour the filling over the cooled crust. Smooth the top. To bake, we use a water bath (bain-marie). Wrap the bottom and sides of your springform pan tightly with heavy-duty aluminum foil to prevent water seepage. Place the pan in a larger roasting dish and pour hot water into the larger dish until it comes about halfway up the sides of the springform pan.
Bake in a preheated 325°F (160°C) oven. The lower temperature and humid environment of the water bath cook the cheesecake gently and evenly, preventing the edges from overcooking before the center sets. This is the secret to that coveted creamy, silky texture from edge to center. Bake for about 60-75 minutes. The center should still have a slight jiggle—like set gelatin—when you gently shake the pan. The edges will be slightly puffed and set.
The Crucial Cooling Ritual
Turn off the oven, crack the door open, and let the cheesecake cool inside for one hour. This gradual temperature change minimizes thermal shock, the leading cause of surface cracks. After an hour, remove it from the oven and water bath, carefully peel off the foil, and let it cool completely on a wire rack. Then, it must refrigerate for at least 8 hours, preferably overnight. This extended chilling time allows the flavors to meld and the texture to firm up into that perfect, sliceable silkiness.
Serving and Enhancing the Bitter-Sweet Balance
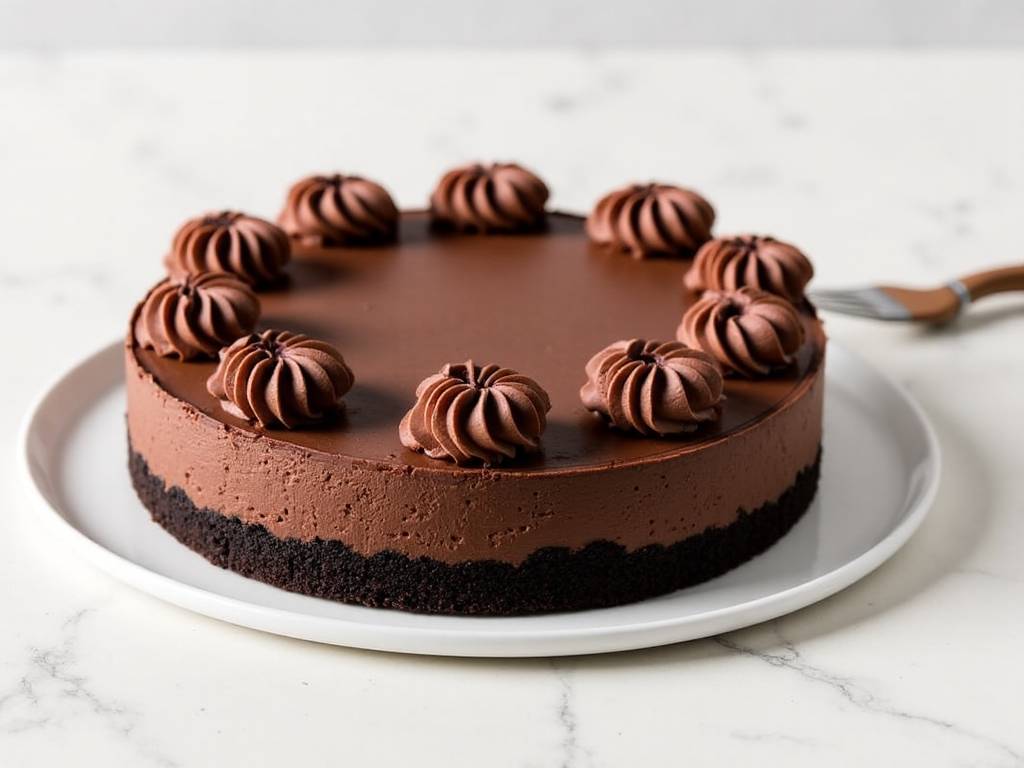
To serve, run a thin knife dipped in hot water around the edge before releasing the springform pan. A dusting of cocoa powder, a drizzle of lightly sweetened whipped cream, or a few fresh raspberries are perfect accompaniments. Their slight tartness elevates the bitter-sweet balance of the dark chocolate. For a truly decadent touch, a simple dark chocolate ganache made with the same high-quality chocolate poured over the top before chilling adds an intense, glossy finish.
Addressing Your Curiosities
- Can I make this gluten-free? Absolutely. Simply use your favorite gluten-free biscuit or cookie for the crust. Ensure your other ingredients, like chocolate, are certified gluten-free if needed. The filling is naturally gluten-free.
- My cheesecake cracked! What went wrong? Cracking is usually due to over-mixing (incorporating too much air), over-baking, or cooling too quickly. The water bath and gradual cooling steps outlined above are your best defenses. Remember, a small crack doesn't affect the delicious taste, and a topping like ganache can beautifully disguise it.
- How long will it keep, and can I freeze it? Properly stored in the refrigerator, it will keep for up to 5 days. For longer storage, you can freeze the whole cheesecake or individual slices. Wrap it tightly in plastic wrap and then aluminum foil. Thaw overnight in the refrigerator before serving. The texture remains remarkably good.
Creating the ultimate dark chocolate cheesecake is a rewarding journey of precision and passion. It’s about respecting the ingredients, understanding the process, and embracing the slow ritual of baking and cooling. When you slice into that firm yet velvety cake and taste the profound, sophisticated harmony of bitter and sweet, you’ll know every careful step was worth it. This recipe is more than a dessert; it's an experience—a rich, silky testament to the beautiful balance that great baking can achieve.
⚠️ 温馨提示:本款蛋糕含糖量较高,高血糖/糖尿病患者请谨慎食用。





