 bluename
 How to Make Cheesecake Swiss Roll? Soft Skin & Silky Filling
Have you ever attempted a Swiss roll, only to end up with a cracked cake that’s impossible to roll, or a dense, grainy filling that lacks that dreamy, melt-in-your-mouth quality? The quest for the perfect cheesecake Swiss roll—a dessert that marries a feather-light, flexible sponge with a luxuriously smooth, creamy cheesecake filling—can be frustrating. Many home bakers struggle with dry sponge cakes, unstable fillings that ooze out, or rolls that fall apart when sliced. This guide is designed to demystify the entire process, providing you with a foolproof recipe and professional techniques to achieve that coveted soft skin and silky filling every single time.
The secret to a successful Swiss roll lies in understanding the science behind each component. According to Master Pastry Chef Elena Rodriguez, “The flexibility of the sponge is non-negotiable. It relies on the aeration of eggs and the precise balance of moisture. Overbaking by even a minute can compromise its ability to roll without cracking.” We’ll break down each step with this expert insight in mind.
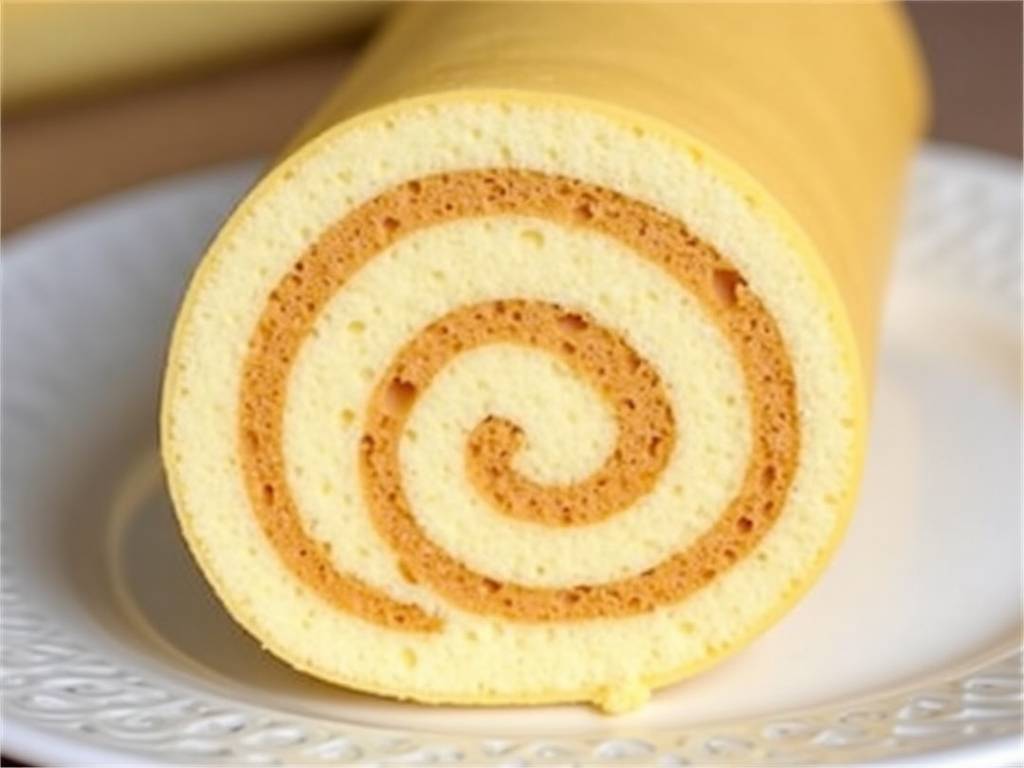
Essential Tools and Ingredients for Success
Before you begin, gathering the right equipment and quality ingredients sets the foundation for success. You will need a standard-sized baking sheet (approximately 10×15 inches or 25×38 cm), parchment paper, a stand mixer or hand mixer, a flexible silicone spatula, and a clean kitchen towel.
For the soft sponge skin:
- Eggs: Use large eggs at room temperature. Warm eggs whip to a much greater volume, which is crucial for the cake’s structure.
- Granulated Sugar: For sweetness and stability in the meringue.
- Cake Flour: Its lower protein content (compared to all-purpose flour) results in a more tender, delicate crumb that won’t tear when rolled.
- Milk & Neutral Oil: These add necessary moisture and fat, ensuring the baked sponge remains pliable.
- Vanilla Extract: For flavor depth.
For the silky cheesecake filling:
- Full-Fat Cream Cheese: Block-style, full-fat cream cheese is essential. Do not use whipped or spreadable varieties, as they contain stabilizers and excess moisture that can lead to a runny filling. Let it soften completely at room temperature.
- Powdered Sugar: Also known as icing sugar. It dissolves instantly into the cream cheese, preventing graininess and contributing to a smoother texture than granulated sugar.
- Heavy Cream: Whipped to soft peaks, it lightens the filling, making it airy and spreadable.
- Lemon Juice & Vanilla: These brighten the rich flavor of the cream cheese.
Step-by-Step Guide to the Perfect Soft Sponge
The sponge cake is the canvas for your roll. Its texture determines everything.
Preparing the Batter with Care
Start by preheating your oven to 350°F (175°C). Line your baking sheet with parchment paper, ensuring it goes up the sides. Separate your egg yolks and whites into two clean, grease-free bowls. Any trace of fat in the white bowl can prevent the meringue from forming.
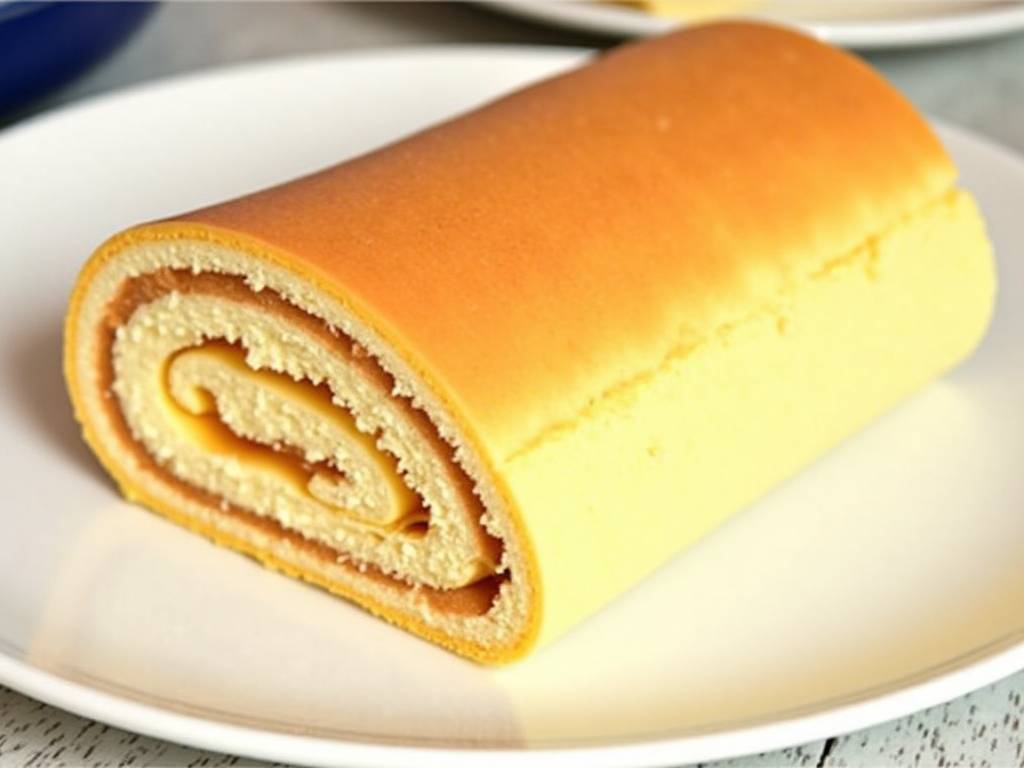
In one bowl, whisk the egg yolks with a portion of the sugar until pale, thick, and ribbon-like. This step, called “blanching,” incorporates air. Then, gently whisk in the milk, oil, and vanilla until just combined. Sift the cake flour over this wet mixture and fold it in using the spatula until no dry streaks remain. Overmixing at this stage develops gluten, leading to toughness.
Mastering the Meringue and Final Mix
Using your mixer, beat the egg whites on medium speed until foamy. Gradually add the remaining sugar, then increase the speed to high. Beat until you achieve stiff, glossy peaks—this means when you lift the whisk, the peak stands straight up without curling over. This meringue is the primary leavening agent for your sponge.
Take one-third of the meringue and vigorously stir it into the yolk batter. This first addition loosens the thick batter. Then, gently fold in the remaining meringue in two additions. Use a cutting and folding motion with your spatula, rotating the bowl, to retain as much air as possible. The final batter should be voluminous, smooth, and light in color.
Baking and Rolling for Flexibility
Pour the batter onto your prepared sheet, spreading it evenly into the corners. Tap the pan lightly on the counter to release large air bubbles. Bake for 10-12 minutes. The cake is done when the top springs back lightly to the touch and the edges just begin to pull away from the pan. Crucially, do not overbake.
While the cake bakes, lay out a clean kitchen towel and dust it generously with powdered sugar. As soon as the cake comes out of the oven, immediately invert it onto the sugared towel. Carefully peel off the parchment paper. While the cake is still very hot, use the towel to gently roll it up from the short end, with the towel inside the roll. This “pre-roll” step trains the cake’s muscle memory and prevents cracking later. Let it cool completely rolled up in the towel on a wire rack.
Crafting the Ultimate Silky Cheesecake Filling
A grainy or stiff filling can ruin the experience. Smoothness is key.
Achieving the Perfect Consistency
Ensure your cream cheese is fully softened. Beat it with an electric mixer on medium speed until completely smooth, creamy, and free of any lumps. This may take 1-2 minutes. Scrape down the bowl frequently. Sift in the powdered sugar and beat on low speed until combined, then add the lemon juice and vanilla. In a separate, chilled bowl, whip the heavy cream to soft peaks—it should hold its shape but still be creamy and smooth, not stiff or grainy.
Folding and Chilling for Stability
Gently fold the whipped cream into the cream cheese mixture in two batches. Be patient and gentle to maintain the airy volume. The final filling should be thick, spreadable, and luscious. For best results, cover and chill the filling for 20-30 minutes before assembling. This firms it up slightly, making it easier to spread without being runny.
Assembling Your Cheesecake Swiss Roll
Unroll the cooled cake carefully. It will lie flat with a slight curl. Spread the chilled cheesecake filling evenly over the entire surface, leaving a small border at the far edge. Using the towel to assist you, tightly re-roll the cake from the same short end, this time without the towel inside. Wrap the finished roll snugly in plastic wrap and refrigerate for at least 2-3 hours, or preferably overnight. This chilling step is non-negotiable; it sets the filling, firms up the structure, and makes slicing clean and easy.
Why does my sponge crack when I roll it? The most common causes are overbaking (which dries out the cake) or allowing the cake to cool completely before the initial roll. Rolling it up while still warm and pliable, as directed, is the best preventative measure.
My filling is too runny. What went wrong? This typically happens if the cream cheese was too warm or the heavy cream was under-whipped. Ensure all ingredients are properly chilled, whip the cream to the correct consistency, and don’t skip the chilling time for the filling before assembly.
Can I make this ahead of time? Absolutely. In fact, it’s recommended. The flavors meld and the texture improves after an overnight rest in the refrigerator. A fully assembled cheesecake Swiss roll can be kept covered in the fridge for up to 3 days.
Mastering the cheesecake Swiss roll is a rewarding achievement that combines precise technique with simple, high-quality ingredients. By focusing on the aeration of the sponge, the smoothness of the filling, and the crucial rolling and chilling steps, you can consistently create an impressive dessert that boasts a tender, soft skin enveloping a perfectly silky, rich cheesecake center. It’s a testament to how understanding the fundamentals can transform your baking results.
⚠️ 温馨提示:本款蛋糕含糖量较高,高血糖/糖尿病患者请谨慎食用。





