 bluename
 How to Make High-Protein Cheesecake? Your Ultimate Post-Workout Energy Boost
You’ve just crushed a tough workout. Your muscles are screaming for repair, and your energy stores are depleted. You crave something satisfying, something indulgent like a creamy slice of cheesecake, but the guilt from all that sugar and fat holds you back. What if you could have your cake and eat it too—literally? What if your post-workout treat could actively support your recovery goals? This is where the high-protein cheesecake comes in. It’s the perfect solution for fitness enthusiasts who refuse to compromise on taste while pursuing their nutritional targets. This guide will walk you through creating a delicious, muscle-friendly dessert that serves as the ideal post-workout energy boost.
Why Your Muscles Will Love This High-Protein Cheesecake
Traditional cheesecake is rich in calories and sugar but often lacks the protein essential for muscle synthesis after exercise. A study in the Journal of the International Society of Sports Nutrition emphasizes that consuming protein within the post-exercise recovery window is crucial for repairing muscle tissue and promoting growth. Our version flips the script. By strategically incorporating high-quality protein sources, we transform a classic dessert into a functional food. It delivers a balanced mix of protein for repair and carbohydrates to replenish glycogen, turning your treat into a purposeful part of your fitness regimen.
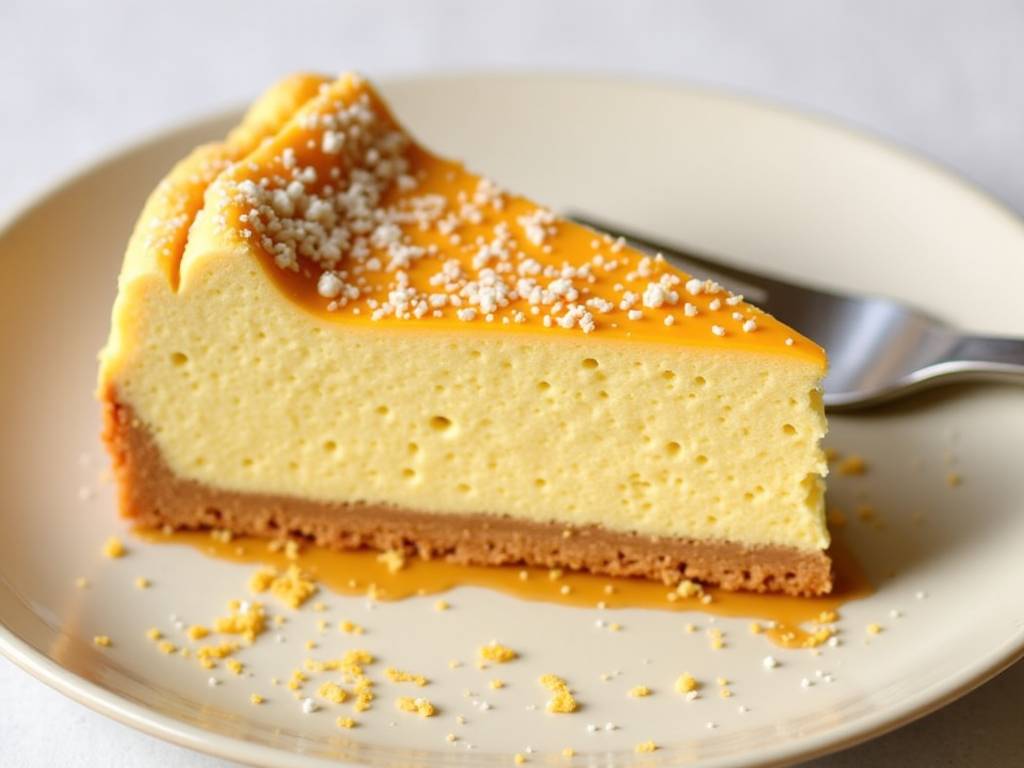
Essential Ingredients for a Protein-Packed Creation
The magic lies in smart substitutions. We’re not just adding protein powder; we’re building a foundation of nutrient-dense ingredients.
For the Crust:
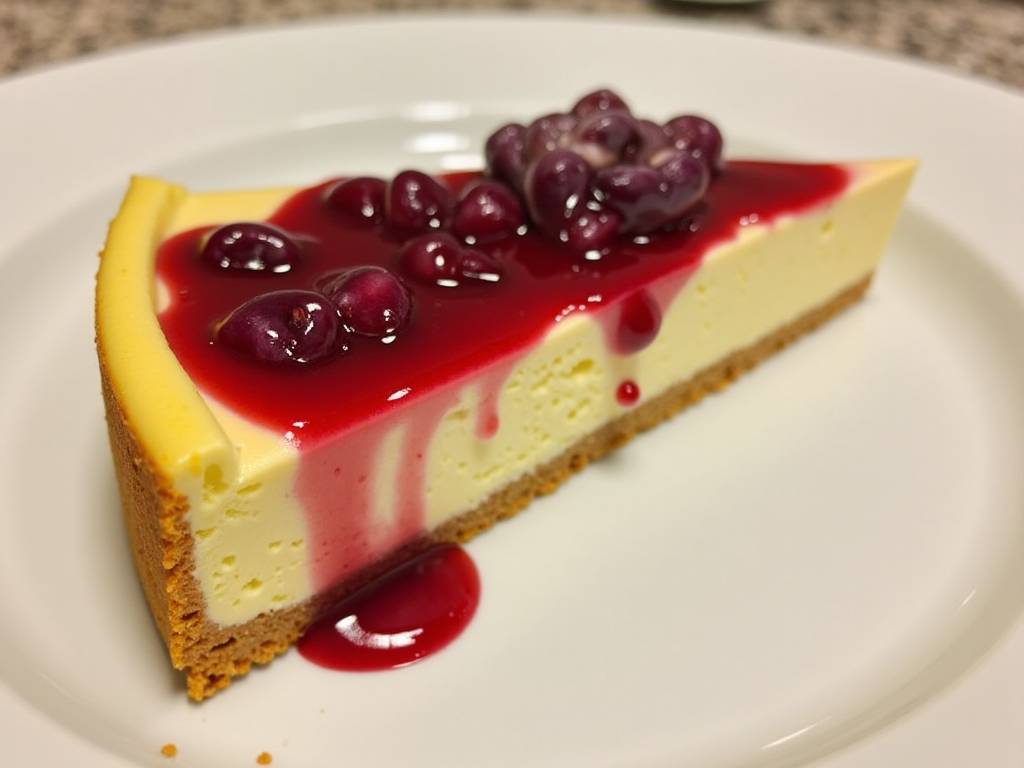
- Almond Flour or Oat Flour: These provide a nutty flavor, fiber, and a healthier fat profile compared to refined graham crackers.
- Unflavored or Vanilla Protein Powder: This is our first protein boost, seamlessly integrated into the base.
- A Natural Binder: Such as melted coconut oil or a touch of nut butter.
For the Filling – The Heart of the Cheesecake:
- Cream Cheese (Full-fat or Reduced-fat): The non-negotiable star. Full-fat offers superior creaminess, while reduced-fat lowers overall calories.
- Greek Yogurt or Cottage Cheese (Blended Smooth): This is the secret weapon. Greek yogurt adds tang and a massive protein punch with minimal sugar. Blended cottage cheese creates an incredibly rich, high-protein texture.
- Protein Powder (Whey or Casein Blend): Choose a high-quality powder with a flavor you love. Vanilla, cheesecake, or even vanilla caramel work beautifully. A blend of whey (for fast absorption) and casein (for slow release) can optimize recovery.
- Eggs: They provide structure and additional protein.
- Natural Sweeteners: Options like pure maple syrup, honey, or a sugar-free substitute like monk fruit sweetener help manage the sugar content while adding sweetness.
- Flavor Enhancers: Pure vanilla extract, a squeeze of lemon juice, and a pinch of salt are essential for balancing and elevating all the flavors.
Step-by-Step Guide to Building Your Recovery Cheesecake
Follow these clear steps for a foolproof, delicious result.
Step 1: Prepare the Protein-Powered Crust Preheat your oven to 325°F (160°C). In a medium bowl, combine one and a half cups of almond flour, two scoops of vanilla protein powder, and a quarter teaspoon of salt. Stir in one-third cup of melted coconut oil until the mixture resembles wet sand. Press this firmly and evenly into the bottom of a springform pan lined with parchment paper. Bake for 10-12 minutes until lightly golden, then set aside to cool.
Step 2: Create the Ultra-Creamy, High-Protein Filling Using an electric mixer or food processor, beat 16 ounces of softened cream cheese until completely smooth. Add one and a half cups of plain, full-fat Greek yogurt (or blended cottage cheese) and beat again. Now, incorporate four scoops of your chosen protein powder, one-third cup of your preferred natural sweetener, two teaspoons of vanilla extract, and a tablespoon of fresh lemon juice. Mix until just combined. Finally, add two large eggs, one at a time, mixing on low speed after each addition until the batter is uniform. Overmixing at this stage can incorporate too much air, leading to cracks.
Step 3: Bake and Chill for Perfect Texture Pour the filling over the cooled crust. Smooth the top with a spatula. Place the pan in the preheated oven and bake for 45-55 minutes. The center should still have a slight jiggle when you gently shake the pan. Turn off the oven, crack the door open, and let the cheesecake cool inside for one hour. This gradual cooling is key to preventing sinking and cracking. Afterwards, refrigerate it for at least 6 hours, preferably overnight. This allows the flavors to meld and the texture to become perfectly firm and sliceable.
Customizing Your Post-Workout Masterpiece
The basic recipe is your canvas. Get creative with these add-ins:
- Chocolate Peanut Butter: Add two tablespoons of unsweetened cocoa powder and swirl in melted natural peanut butter before baking.
- Berry Swirl: Gently swirl a puree of fresh or frozen berries (like raspberries or blueberries) into the top of the filling before baking.
- Lemon Blueberry: Fold fresh blueberries into the batter and add extra lemon zest for a bright, antioxidant-rich version.
How to Integrate It Into Your Fitness Nutrition Plan
This isn’t an everyday dessert; it’s a strategic recovery tool. Enjoy a slice within 30-60 minutes after your workout alongside a glass of water. The protein will kickstart muscle repair, while the carbs from the crust and sweetener will help refuel your energy. For a complete recovery meal, pair it with a piece of fruit. Remember, it’s a supplement to a balanced diet, not a replacement for whole-food meals.
Frequently Asked Questions
Can I make this cheesecake dairy-free? Absolutely. Substitute cream cheese with a dairy-free alternative, use a plant-based yogurt, and choose a vegan protein powder (like pea or brown rice protein). The texture may be slightly different but will still be delicious.
My filling turned out grainy. What happened? Graininess usually comes from unmixed protein powder or over-beating the eggs. Ensure all ingredients, especially the cream cheese, are at room temperature before mixing. Mix the protein powder with the wet ingredients thoroughly, and mix the eggs in on low speed just until incorporated.
How long will this high-protein cheesecake keep? Stored in an airtight container in the refrigerator, it will stay fresh for up to 5 days. You can also freeze individual slices for up to 2 months. Thaw overnight in the fridge before enjoying.
Creating a high-protein cheesecake is more than a baking project; it’s a commitment to nourishing your body without depriving your taste buds. This recipe proves that achieving a post-workout energy boost can be both effective and utterly enjoyable. By understanding the role of each ingredient and following the simple steps, you equip yourself with a powerful tool for your fitness journey—one delicious slice at a time.
⚠️ 温馨提示:本款蛋糕含糖量较高,高血糖/糖尿病患者请谨慎食用。(本款为低糖配方,建议食用前咨询专业医护人员)。





