 bluename
 How to Make Cheesecake Mochi Balls? Chewy Skin & Rich Filling
Have you ever craved a dessert that perfectly marries the creamy indulgence of cheesecake with the uniquely soft and chewy texture of Japanese mochi? Many home bakers find themselves torn between these two beloved treats, often encountering recipes that promise the best of both worlds but deliver a sticky mess, a bland filling, or a skin that’s tough instead of delightfully chewy. The quest for that ideal balance—a cheesecake mochi ball with a perfectly elastic, non-sticky wrapper enveloping a rich, tangy, and creamy center—can feel elusive. This guide is designed to demystify the process, providing a step-by-step, foolproof method to create these irresistible fusion delights right in your own kitchen.
The secret to success lies in understanding the science behind both components. Mochi’s signature chew comes from glutinous rice flour, while a stable, flavorful cheesecake filling requires precise ingredient ratios and technique. By mastering a few key steps, you can avoid common pitfalls and achieve professional-quality results.
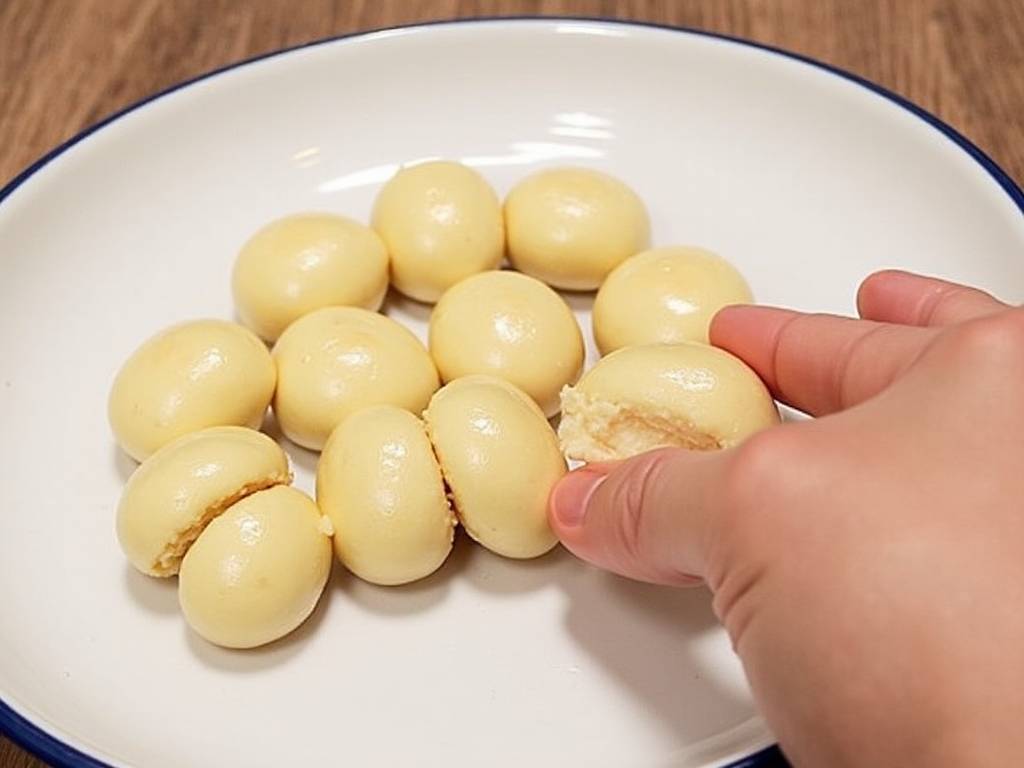
Essential Ingredients for the Perfect Balance
Gathering the right ingredients is the first critical step. Using high-quality components will significantly impact the final taste and texture of your cheesecake mochi balls.
For the Chewy Mochi Skin:
- Glutinous Rice Flour (Mochiko): This is the non-negotiable base. Do not substitute with regular rice flour. Its high starch content is what creates the characteristic stretchy, chewy texture.
- Sugar: Fine granulated sugar dissolves easily into the dough, providing sweetness and also contributing to a softer texture.
- Water: Acts as the hydrating agent. Some recipes use milk for a richer flavor, but water guarantees the purest, most elastic mochi texture.
- Cornstarch or Potato Starch: This is for dusting during handling and storage. It prevents the incredibly sticky mochi dough from adhering to everything and keeps the finished balls from sticking together.
For the Rich Cheesecake Filling:
- Full-Fat Cream Cheese: Always use block-style, full-fat cream cheese at room temperature for the smoothest, richest flavor and consistency. Low-fat varieties can make the filling watery and less stable.
- Powdered Sugar (Icing Sugar): Preferred over granulated sugar here because it dissolves instantly into the cream cheese, preventing graininess and helping to thicken the filling.
- Heavy Cream (Double Cream): Whipped to soft peaks, it lightens the cream cheese mixture, giving it a mousse-like quality that contrasts beautifully with the dense mochi.
- Lemon Juice or Vanilla Extract: A small amount of acid from lemon juice brightens the flavor and cuts through the richness, while vanilla adds a classic, warm aroma.
Step-by-Step Guide to Crafting Your Cheesecake Mochi Balls
Preparing the Cheesecake Filling Begin with the filling, as it needs time to firm up in the freezer. In a large bowl, beat the room-temperature cream cheese with powdered sugar until completely smooth and lump-free. In a separate bowl, whip the cold heavy cream to soft peaks. Gently fold the whipped cream into the cream cheese mixture along with your chosen flavoring (lemon juice or vanilla). Be careful not to overmix and deflate the cream. Once combined, cover the bowl and freeze the mixture for 45-60 minutes. It should be firm enough to scoop and hold its shape but not rock solid. This step is crucial; a runny filling will be impossible to wrap. As noted by pastry chef and author of Modern Asian Sweets, “The stability of your filling determines the structural integrity of any filled mochi. A semi-frozen core is the baker’s best friend.”
Making the Soft and Chewy Mochi Dough While the filling chills, prepare the mochi. In a microwave-safe bowl, whisk together the glutinous rice flour, sugar, and water until you have a smooth, lump-free batter. Cover the bowl loosely with microwave-safe wrap. Microwave on high for 1 minute. Remove, stir vigorously with a wet spatula (the dough will be hot and sticky), then return to the microwave. Heat in additional 30-second intervals, stirring thoroughly after each, until the dough becomes translucent, glossy, and very elastic. This usually takes about 2-3 minutes total, depending on your microwave. The dough should pull away from the sides of the bowl. Alternatively, you can steam the mixture over boiling water for 20-25 minutes for a more traditional result.
Assembling the Mochi Balls This is the stage where technique matters most. Liberally dust your work surface and hands with cornstarch. Carefully transfer the hot mochi dough onto the dusted surface. Allow it to cool just enough to handle, then dust the top. Using a bench scraper or knife, divide the dough into equal portions (about 12-16 pieces). Flatten each piece into a thin, round disc with your fingers, keeping the center slightly thicker than the edges to prevent the filling from breaking through. Remove your filling from the freezer and scoop into small balls (about a tablespoon each). Place one filling ball in the center of a mochi disc. Gently gather the edges of the mochi up and around the filling, pinching them together at the top to seal. Carefully roll the sealed ball between your palms to smooth it into a round shape. Immediately coat the finished ball in more cornstarch or potato starch to prevent sticking. Repeat with the remaining dough and filling.
Expert Tips for Flawless Texture and Flavor
- Prevent Sticky Hands: Keep a small bowl of water and a bowl of cornstarch nearby. Dampen your hands slightly before handling the dough to reduce sticking, then re-dust as needed.
- Achieve Ultimate Chew: Do not overcook the mochi dough. Once it turns translucent and forms a cohesive, elastic mass, stop heating. Overcooking can make it tough.
- Flavor Variations: Infuse your mochi skin by replacing some water with matcha powder mixed into a paste, or use fruit purees. For the filling, incorporate crushed cookies, citrus zest, or a swirl of fruit compote.
- Storage: These treats are best enjoyed fresh on the day they are made. Store any leftovers in an airtight container in the refrigerator for up to 2 days. The mochi skin will gradually harden in the fridge. You can bring it back to room temperature for 30 minutes to soften slightly before eating.
Frequently Asked Questions
Can I bake these instead of using the microwave? The mochi skin for this specific recipe is designed to be steamed or microwaved, not baked. Baking would create a completely different texture, more like a baked dough rather than the desired soft, stretchy, and chewy mochi.
My mochi cracked when I tried to wrap the filling. What went wrong? This usually means the mochi dough was too dry or too cold. Ensure you work with it while it’s still warm and pliable. Also, make sure you flatten the disc evenly and avoid making the edges too thin. If the dough does cool down and become stiff, you can briefly reheat it in the microwave for 5-10 seconds to restore elasticity.
How can I make the filling less sweet? You can reduce the powdered sugar in the cheesecake filling by 10-15% according to your taste. Be aware that sugar contributes to the filling’s structure and freezing properties, so a significant reduction might make it softer and harder to handle. For the mochi skin, the sugar can also be slightly reduced, as its primary role is flavor, not structure.
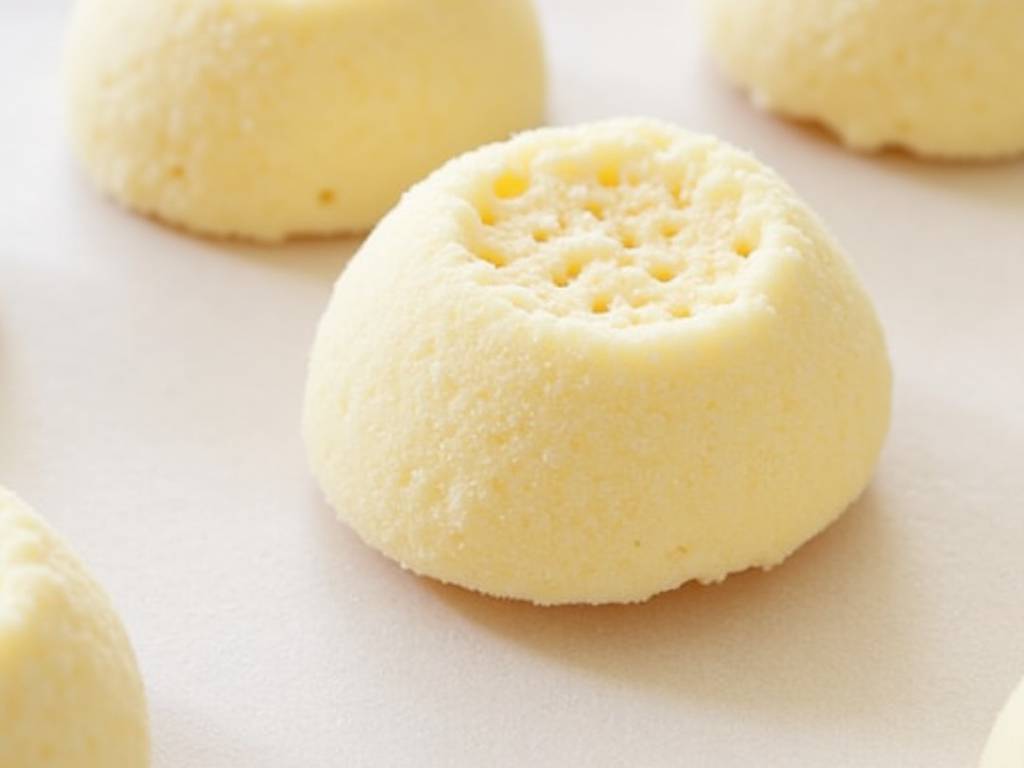
Creating your own cheesecake mochi balls is a rewarding process that combines precision with creativity. By focusing on the quality of ingredients, respecting the chilling time for the filling, and mastering the gentle art of wrapping, you’ll be able to produce a stunning dessert that impresses with its contrasting textures and harmonious flavors. Each bite delivers the joyful pull of fresh mochi followed by the cool, creamy richness of cheesecake—a truly special homemade treat.
⚠️ 温馨提示:本款蛋糕含糖量较高,高血糖/糖尿病患者请谨慎食用。





