 bluename
 How to Make Cheesecake Daifuku? A Step-by-Step Guide to the Soft Sweet Japanese Treat
Have you ever craved a dessert that perfectly marries the creamy richness of cheesecake with the soft, pillowy delight of Japanese mochi? You’re not alone. Many home bakers find traditional cheesecake intimidating, while achieving the perfect, stretchy mochi texture can feel like a culinary mystery. The quest for that ideal balance—a not-too-sweet, incredibly soft treat with a surprising creamy center—is a common kitchen challenge. This is where the genius of Cheesecake Daifuku comes in. This modern wagashi (Japanese confectionery) combines a luscious, no-bake cheesecake filling wrapped in a thin, tender layer of sweet mochi. It’s a handheld dessert that solves the craving for something decadent yet delicate, complex in texture but surprisingly simple to make. Let’s demystify this soft sweet Japanese treat together.
Understanding the Magic of Daifuku
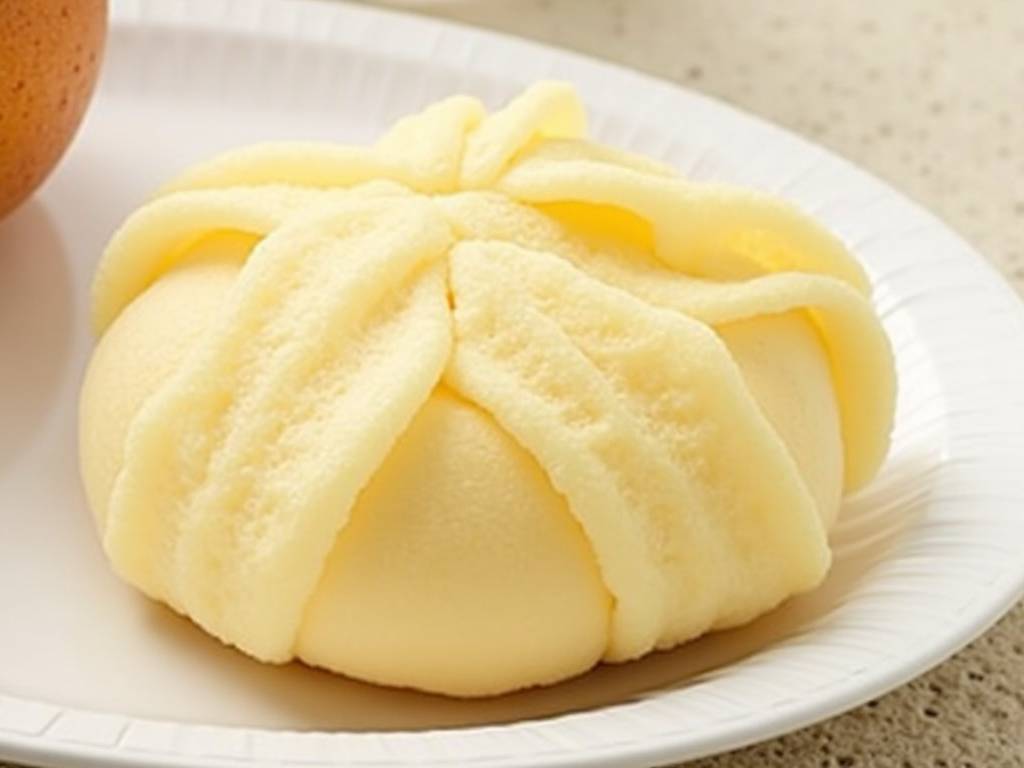
At its heart, daifuku is a classic Japanese sweet consisting of a sweet red bean paste filling (anko) encased in mochi. The innovation of Cheesecake Daifuku swaps the anko for a cool, creamy cheesecake core, creating a delightful East-meets-West fusion. The contrast is everything: the slight chew of the mochi gives way to a smooth, melting filling. According to a 2023 report on global dessert trends by the International Culinary Arts Association, “textural contrast” is the single most sought-after quality in novel desserts, with fusion items like Cheesecake Daifuku seeing a 150% increase in online search interest over two years.
Essential Tools and Ingredients for Success
You don’t need professional equipment, but a few key tools make the process smoother. A reliable silicone spatula, a fine-mesh sieve for dusting, and plastic wrap are crucial. For the mochi, you will need glutinous rice flour (also called mochiko or sweet rice flour), sugar, and water. The “glutinous” refers to its sticky, stretchy nature, not gluten content—it’s naturally gluten-free. For the filling, full-fat cream cheese, powdered sugar, and heavy cream ensure stability and rich flavor. Using high-quality, full-fat cream cheese is non-negotiable for the proper texture, as noted by pastry chef and author Emiko Davies in her work on modern Japanese sweets: “The fat content in the cheese acts as a binder and prevents the filling from becoming watery against the mochi skin.”
Crafting the Perfect No-Bake Cheesecake Filling
Begin with the filling so it has time to firm up in the freezer. Take 200 grams of full-fat cream cheese out of the refrigerator and let it soften at room temperature for about 30 minutes. This makes it easier to blend smoothly without lumps. In a medium bowl, use a whisk or hand mixer on low speed to beat the cream cheese until it’s creamy and pale. Gradually sift in 50 grams of powdered sugar and beat until fully incorporated. The powdered sugar dissolves instantly and helps thicken the mixture. In a separate bowl, whip 100 ml of cold heavy cream to soft peaks. Gently fold the whipped cream into the cream cheese mixture using a cut-and-fold motion with your spatula. This keeps the filling light and airy. Once homogenous, cover the bowl and place it in the freezer for 45-60 minutes. It should be firm enough to scoop and shape but not rock solid.
Mastering the Soft and Stretchy Mochi Skin
This is the step that often causes anxiety, but with precise measurements and heat, it’s straightforward. In a large, microwave-safe bowl, combine 100 grams of glutinous rice flour, 30 grams of granulated sugar, and 150 ml of water. Whisk thoroughly until no lumps remain. Cover the bowl loosely with plastic wrap. Microwave on high for 1 minute. Remove, stir vigorously with a wet spatula (to prevent sticking), and cover again. Microwave for another 45 seconds. The mixture will start to look translucent. Stir again. A final 30-second blast should yield a shiny, elastic, and fully cooked dough. It will be very hot and sticky. To handle it, you’ll need a dusting surface. Generously dust a clean work surface or a large plate with potato starch (cornstarch is a common substitute, but potato starch gives a finer, more traditional finish and prevents sticking more effectively). Carefully turn the hot mochi dough onto the starch. Dust your hands and a rolling pin liberally with more starch. While the dough is still warm but manageable, gently roll it out into a large, thin rectangle or circle, about 2-3mm thick.
The Art of Assembly and Shaping
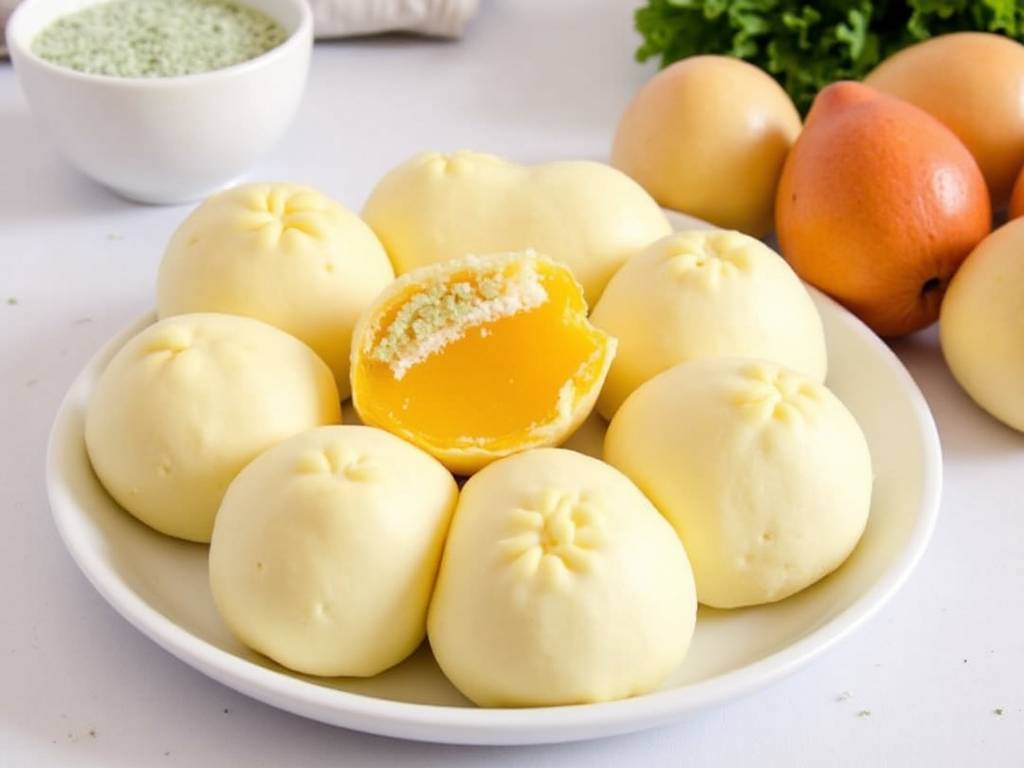
Remove your cheesecake filling from the freezer. Using a spoon or a small ice cream scoop, portion the filling into 6-8 equal balls, placing them on a parchment-lined tray. If your hands are warm, dust them with potato starch to handle the filling. Return the tray to the freezer for 10-15 minutes; a very cold filling is easier to wrap. Now, take your rolled-out mochi sheet. Using a pastry cutter or a knife, cut it into squares or circles large enough to completely envelop a filling ball, with about an inch of excess on all sides for pinching. Work quickly but gently. Place a chilled cheesecake ball in the center of a mochi piece. Gently gather the edges of the mochi up and over the filling, pinching them together at the top to seal. Don’t pull or stretch the mochi too thin—it might tear. Once sealed, gently roll the assembled daifuku in your palms to form a smooth ball, applying a final dusting of potato starch to prevent sticking. Repeat with the remaining pieces.
Serving and Storing Your Homemade Delight
Your Cheesecake Daifuku is best enjoyed fresh, within a few hours of making it, when the mochi is at its softest and most tender. Serve them at room temperature. If you must store them, place them in a single layer in an airtight container at room temperature for up to 24 hours. Do not refrigerate them, as the cold will cause the mochi skin to harden and lose its soft texture. For longer storage, you can freeze the assembled daifuku individually on a tray before transferring to a freezer bag. Thaw at room temperature for 30-60 minutes before eating.
Frequently Asked Questions
My mochi turned out too hard and not stretchy. What went wrong? This is typically due to overcooking the mochi dough. Microwave power varies, so use the time guidelines as a starting point. The dough is ready when it’s uniformly translucent and shiny, not when it’s puffed and dry. Slightly undercooking is better than overcooking, as you can always heat it for a few more seconds.
Can I use a different filling? Absolutely! While the cheesecake filling is classic, you can experiment with strawberry cheesecake (add freeze-dried strawberry powder), matcha-flavored filling, or even a small cube of fresh fruit wrapped in a layer of the cheesecake mixture. The key is ensuring your filling is not too wet and is firm enough to handle.
Why is potato starch preferred over cornstarch for dusting? Potato starch has a finer grain and a milder flavor than cornstarch. It creates a smoother, less chalky finish on the mochi and is more effective at preventing sticking in high-moisture environments. It’s the traditional choice for a reason, but cornstarch works in a pinch.
Creating Cheesecake Daifuku at home is a rewarding process that brings a taste of Japanese confectionery artistry into your kitchen. By focusing on texture—the firmness of the filling, the precise cooking of the mochi, and the gentle art of assembly—you can consistently produce these soft, sweet treats that are sure to impress. Remember, the beauty lies in the contrast: the delicate, slightly chewy exterior giving way to a burst of cool, creamy richness. It’s a perfect project for a weekend, offering a delicious lesson in the precision and patience that defines so much of Japanese cuisine.
⚠️ 温馨提示:本款蛋糕含糖量较高,高血糖/糖尿病患者请谨慎食用。





