 bluename
 How to Make Cheesecake Mochi? Your Guide to Chewy Pull-Apart Creative Fusion
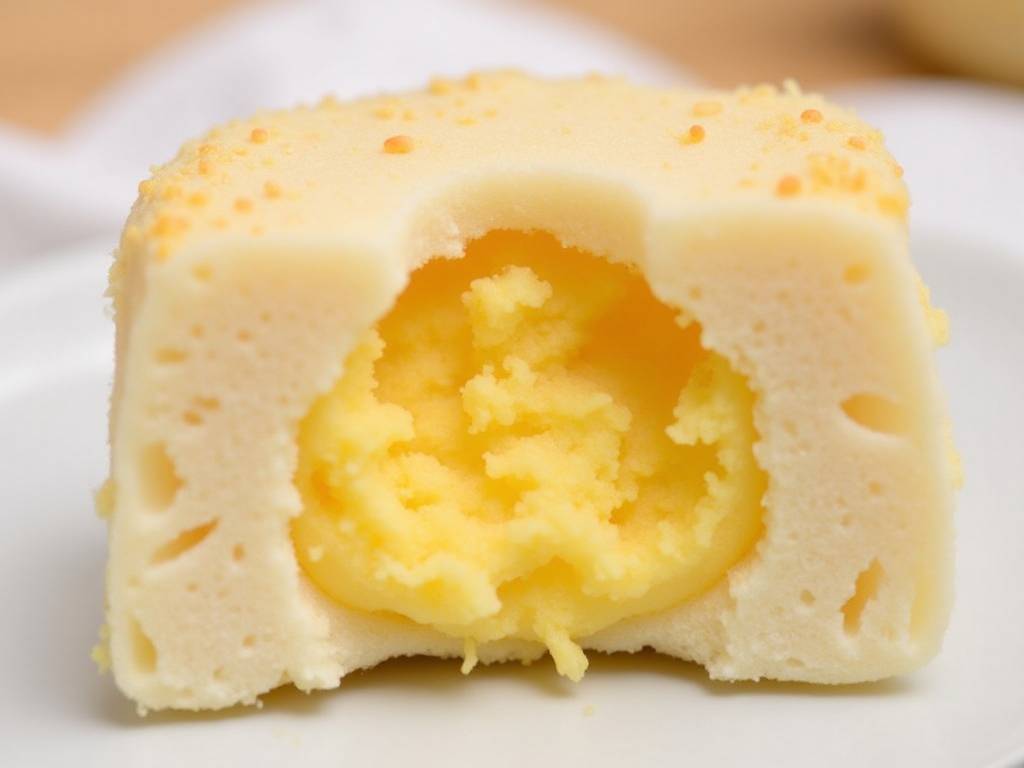
Have you ever craved the rich, creamy tang of a classic cheesecake but wished it had the irresistibly soft, chewy, and playful pull-apart texture of mochi? You’re not alone. Many home bakers and dessert enthusiasts hit a wall when trying to merge these two beloved treats, often ending up with a dense, dry result or a filling that overpowers the delicate mochi shell. The quest for that perfect cheesecake mochi—a chewy, pull-apart creative fusion—can feel elusive. This guide is designed to bridge that gap, transforming your kitchen experiments into a guaranteed success. We’ll demystify the process, ensuring you achieve that dreamy contrast of creamy cheesecake encased in a perfectly stretchy, sweet rice dough.
The magic of this dessert lies in its harmonious contradiction. According to pastry chef and fusion dessert expert, Elena Martinez, “The success of a hybrid dessert like cheesecake mochi hinges on respecting the core integrity of each component while finding their textural and flavor common ground.” This isn’t just about mixing; it’s about creating a new, elevated experience.
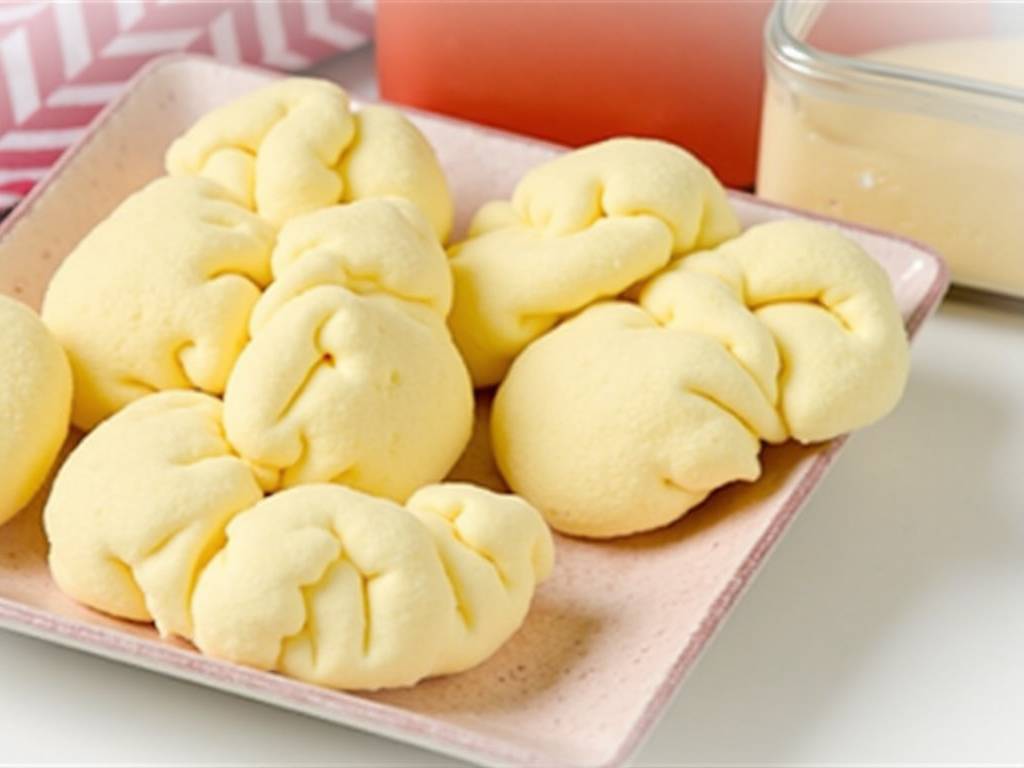
Understanding Your Core Ingredients
Before we begin, let’s break down the two stars of the show. Knowing their roles is half the battle won.
The Mochi Shell: More Than Just Glutinous Rice Flour Mochi, made primarily from glutinous rice flour (also called mochiko or sweet rice flour), is prized for its unique, elastic chew. This chewiness, known as “mochi-mochi” in Japanese, comes from the high amylopectin content in the flour. For our chewy pull-apart creative fusion, the quality and treatment of this flour are paramount. We’ll be using a steamed or microwaved method to gelatinize the starch properly, which is what gives mochi its signature sticky, stretchy texture. A touch of oil or butter is incorporated to prevent it from being too sticky to handle.
The Cheesecake Filling: Creamy Stability is Key A traditional baked cheesecake filling is too firm and would disrupt the delicate mochi texture. Instead, we opt for a no-bake, stabilized cream cheese filling. The goal is a filling that is lush and creamy but firm enough to hold its shape when enveloped by the soft dough. This often involves a careful balance of cream cheese, a small amount of sugar for sweetness and structure, a hint of lemon juice for that classic tang, and sometimes a stabilizer like a bit of whipped cream or cornstarch. The filling must be thoroughly chilled—even frozen briefly—to make the assembly process clean and simple.
Step-by-Step Guide to Perfect Cheesecake Mochi
Ready to create? Follow this detailed, tested method to craft your own batch of this innovative treat.
Step 1: Prepare the Cheesecake Filling Start by making the filling so it has ample time to chill. In a medium bowl, beat 8 ounces (225g) of full-fat, softened cream cheese until completely smooth and lump-free. Add 1/4 cup (50g) of granulated sugar and 1 teaspoon of pure vanilla extract, beating until fully combined. Gently fold in 1/2 cup (120ml) of cold heavy cream that has been whipped to soft peaks. For a vibrant flavor, you can add a teaspoon of lemon zest or a tablespoon of passionfruit puree. Line a small tray or plate with parchment paper. Using a spoon or a small cookie scoop, portion the mixture into roughly 1-inch balls. Place them on the tray and freeze for at least 1-2 hours, or until very firm. This freezing step is the secret to a mess-free, defined filling inside your mochi.
Step 2: Create the Mochi Dough In a large, microwave-safe bowl, whisk together 1 cup (130g) of glutinous rice flour (mochiko), 1/4 cup (50g) of granulated sugar, and a pinch of salt. Gradually add 1 cup (240ml) of whole milk or canned coconut milk (for a richer flavor), whisking constantly until you have a completely smooth, lump-free batter. Cover the bowl loosely with plastic wrap or a microwave-safe lid. Microwave on high for 1 minute. Stir vigorously with a wet spatula. Microwave for another 30 seconds, stir again. Continue in 30-second bursts, stirring after each, until the dough is translucent, glossy, and pulls away from the sides of the bowl. This usually takes about 2-3 minutes total, depending on your microwave. The dough will be very hot and sticky.
Step 3: Knead and Portion the Dough Carefully transfer the hot mochi dough onto a surface generously dusted with cornstarch or potato starch—this is non-negotiable to prevent sticking. Allow it to cool just enough to handle. Put on food-safe gloves lightly oiled with a neutral oil (like vegetable or coconut oil) to make kneading easier. Knead the dough for 2-3 minutes until it becomes smooth, elastic, and slightly cooler. Roll it into a log and divide it into 12-14 equal pieces. Keep the pieces covered with a damp cloth to prevent drying.
Step 4: Assemble the Cheesecake Mochi Take one piece of mochi dough and flatten it into a 3-4 inch circle on your starched surface, making the edges thinner than the center. Place one frozen cheesecake ball in the center. Gently gather the edges of the mochi dough and pinch them together at the top to seal completely. Roll it gently in your palms to form a smooth ball. Immediately roll the assembled mochi in more cornstarch or a coating of your choice (toasted soybean powder, matcha powder, or crushed graham crackers work wonderfully). Repeat with the remaining dough and filling.
Step 5: Rest and Serve Place the finished cheesecake mochi balls on a tray and let them rest at room temperature for about 30 minutes. This allows the frozen filling to thaw slightly and the mochi skin to achieve its final, perfectly soft and chewy texture. The pull-apart creative fusion is now complete. Serve immediately for the best texture, or store in an airtight container in the refrigerator for up to 2 days. The chill will firm up the mochi slightly, but it will remain deliciously chewy.
Creative Flavor Variations & Presentation Tips
The basic recipe is a canvas for your creativity. Here are some ideas to elevate your chewy pull-apart creative fusion:
- Swirl in Flavors: Add a tablespoon of matcha powder, cocoa powder, or ube powder to the dry mochi ingredients for colorful, flavorful dough.
- Filling Twists: Mix mini chocolate chips, a dollop of fruit jam, or a teaspoon of cookie butter into the cream cheese filling before freezing.
- Coating Bar: Set up a “coating bar” with different powders and crumbs. Let guests roll their own mochi in matcha sugar, crushed Oreos, or toasted coconut for an interactive dessert experience.
Frequently Asked Questions
My mochi dough turned out too hard. What went wrong? This is typically caused by overcooking the dough, which evaporates too much moisture. Mochi dough is done when it’s just become translucent and forms a cohesive, sticky mass. It’s better to slightly undercook and add more time in short bursts than to overcook in one go. The residual heat will continue to cook it as you knead.
Can I make this gluten-free or dairy-free? Absolutely. Glutinous rice flour is naturally gluten-free, so the mochi shell is safe. For a dairy-free version, use dairy-free cream cheese and coconut milk or another plant-based milk in both the filling and the dough. The texture will be nearly identical.
How do I store leftovers, and can I freeze them? Store assembled mochi in a single layer in an airtight container in the refrigerator for 1-2 days. For longer storage, you can freeze the uncoated, assembled mochi balls on a tray until solid, then transfer to a freezer bag. Thaw in the refrigerator overnight and roll in your coating just before serving. Note that the mochi skin may become slightly harder after freezing and thawing.
Mastering the art of cheesecake mochi is about embracing the playful science of textures. By carefully controlling the temperature and consistency of both parts, you unlock a world of dessert fusion possibilities. This chewy pull-apart creative fusion is more than a recipe; it’s a conversation starter, a delightful surprise for the palate, and a testament to the joy of innovative baking. So gather your ingredients, embrace the sticky-fingered process, and get ready to impress with every stretchy, creamy bite.
⚠️ 温馨提示:本款蛋糕含糖量较高,高血糖/糖尿病患者请谨慎食用。





