 bluename
 How to Make Cheesecake Puffs? Crispy Shell & Oozing Filling
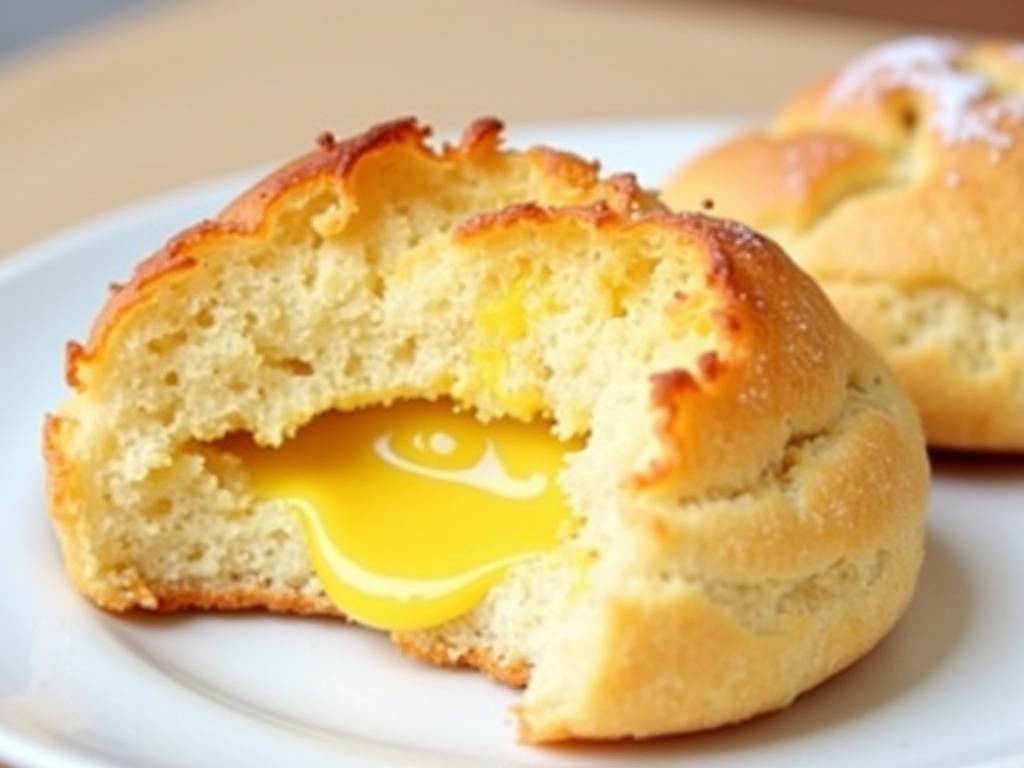
Have you ever craved the perfect dessert that combines a satisfying crunch with a rich, creamy center? Many home bakers struggle to achieve that elusive combination: a cheesecake puff with a shell that stays truly crisp, not soggy, and a filling that oozes luxuriously with every bite, rather than baking up dry or dense. This guide is designed to solve that exact problem. We will walk you through a professional, tested method to create flawless cheesecake puffs, mastering both the crispy shell and the oozing filling that makes this treat irresistible.
The secret to success lies in understanding the science behind each component. From the moisture control in the puff pastry to the precise setting point of the cheesecake filling, each step is crucial. According to pastry chef and baking science educator, mastering the bake of the shell and the chill of the filling separately is the key to texture perfection.
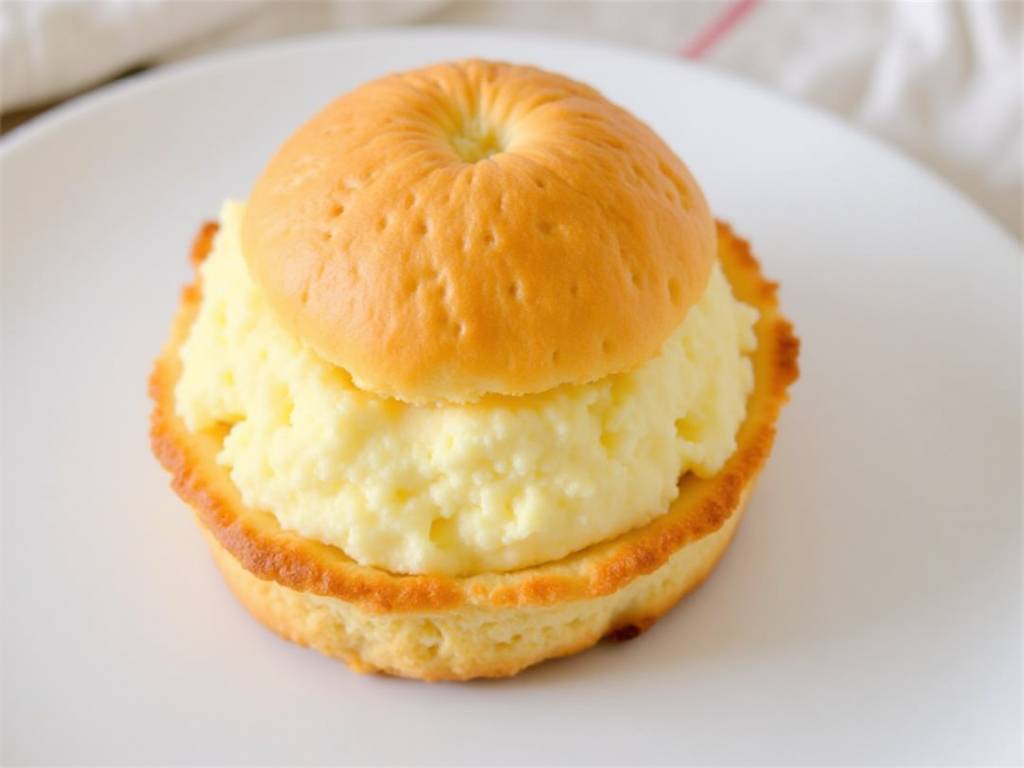
Gathering Your Ingredients for Success
Before you begin, assembling high-quality ingredients is the first step toward bakery-quality results. Using full-fat cream cheese and real butter is non-negotiable for flavor and texture.
For the Crispy Puff Shells:
- 1 package (about 14 oz) of high-quality frozen puff pastry, thawed according to package instructions
- 1 large egg (for egg wash)
- 1 tablespoon water
- Optional: Coarse sugar for sprinkling
For the Oozing Cheesecake Filling:
- 8 oz (226g) full-fat cream cheese, softened to room temperature
- 1/4 cup (50g) granulated sugar
- 1 large egg, at room temperature
- 1 teaspoon pure vanilla extract
- 1/4 cup (60ml) heavy cream
- A pinch of fine sea salt
Step-by-Step: Crafting the Perfect Crispy Shell
The foundation of a great cheesecake puff is its shell. We use puff pastry for its incredible, buttery layers that expand into airy, crisp pockets.
- Prepare the Pastry: Lightly flour your work surface. Unfold the thawed puff pastry sheet and roll it out gently to smooth any seams. Using a 3-inch round cutter, cut out as many circles as possible. Re-roll the scraps once to cut more.
- Create a Border: Take half of the pastry circles. These will be your bases. Using a slightly smaller cutter (about 2.5 inches), gently score an inner circle on each base, being careful not to cut all the way through. This scored ring will act as a dam to contain the filling.
- Assemble the Shells: Place the remaining plain circles on a parchment-lined baking sheet. Brush the edges of these bottom pieces lightly with water. Carefully place the scored-circle pieces on top, aligning them with the bases. The water will help them seal. Use a fork to gently press around the very outer edge to create a secure, decorative seal.
- Chill and Preheat: Place the assembled shells in the refrigerator for 15 minutes. This prevents the butter in the pastry from melting too quickly and ensures maximum rise. Meanwhile, preheat your oven to 400°F (200°C).
- Bake to Golden Perfection: Whisk the egg with one tablespoon of water to make an egg wash. Brush the tops of the chilled pastry shells lightly with the wash, avoiding the sealed edges. Sprinkle with coarse sugar if desired. Bake for 15-18 minutes, or until the shells have puffed dramatically and are a deep, golden brown. They will look like little pastry bowls. Let them cool completely on the sheet. As they cool, the centers will naturally deflate slightly, creating the perfect vessel for your filling.
Mastering the Luxurious, Oozing Filling
The filling is where the magic happens. For an "oozing" center, we aim for a soft-set, creamy texture rather than a firm one.
- Cream the Base: In a medium bowl, using a hand mixer or stand mixer fitted with the paddle attachment, beat the softened cream cheese and sugar together on medium speed until completely smooth, creamy, and free of any lumps. This should take about 2 minutes.
- Incorporate Wet Ingredients: Scrape down the sides of the bowl. Add the room-temperature egg and vanilla extract. Beat on low speed until just combined. Over-beating at this stage can incorporate too much air, leading to cracking.
- Achieve Silky Consistency: With the mixer on low, gradually pour in the heavy cream and add the pinch of salt. Mix until the filling is homogenous, silky, and slightly runny—it should ribbon off the beaters. This fluidity is what allows it to ooze later.
- Chill to Set: Transfer the filling to a piping bag or a container with a lid. Refrigerate for at least 1 hour. Chilling thickens the filling slightly, making it easier to pipe neatly without being firm.
Assembly: The Final Act
Once both components are ready, assembly is simple but critical.
- Fill the Shells: If the baked pastry puffs have domed centers, you can gently press them down to create more space. Pipe the chilled cheesecake filling generously into the center of each cooled puff shell. For a professional look, use a star tip and pipe in a swirl.
- The Final Set: Place the filled cheesecake puffs in the refrigerator for a minimum of 2 hours, or until the filling is firmly set. This final chill ensures the filling holds its structure but remains creamy inside.
Serving and Flavor Variations
Serve these cheesecake puffs chilled. For an extra touch, top with a fresh berry, a drizzle of fruit compote, or a light dusting of powdered sugar just before serving.
Want to experiment? Try these twists:
- Chocolate Swirl: Add 2 tablespoons of melted and cooled chocolate to half the filling and marble it.
- Lemon Zest: Add the zest of one lemon to the filling for a bright, tangy note.
- Salted Caramel: Drizzle salted caramel sauce over the filled puffs before the final chill.
Frequently Asked Questions
Can I make cheesecake puffs ahead of time? Absolutely. You can bake the shells up to a day in advance and store them in an airtight container at room temperature. Fill them the day you plan to serve. Fully assembled puffs are best consumed within 24-36 hours, kept refrigerated.
My filling turned out runny, not oozing. What went wrong? A runny filling often indicates under-mixing the cream cheese and sugar, or not chilling the filling before assembly. Ensure your cream cheese is fully softened and beaten until completely smooth. The refrigeration step before piping is essential for thickening.
How do I keep the bottom shell from getting soggy? The key is to ensure the baked shells are completely cooled before filling. Any residual heat will steam the filling and soften the pastry. Also, assembling and chilling the filled puffs promptly helps maintain the shell's integrity.
Creating the perfect cheesecake puff is an exercise in balancing textures and temperatures. By giving each element—the crispy, buttery shell and the cool, creamy filling—the individual attention it requires, you can consistently produce a dessert that impresses with its contrast and flavor. Remember to use quality ingredients, respect the chilling times, and don't be afraid to add your own personal twist. Your journey to the ultimate crispy shell and oozing filling starts here.
⚠️ 温馨提示:本款蛋糕含糖量较高,高血糖/糖尿病患者请谨慎食用。





