 bluename
 How to Make Cheesecake Cookie Sticks? Your Guide to Crispy Portable Snacks
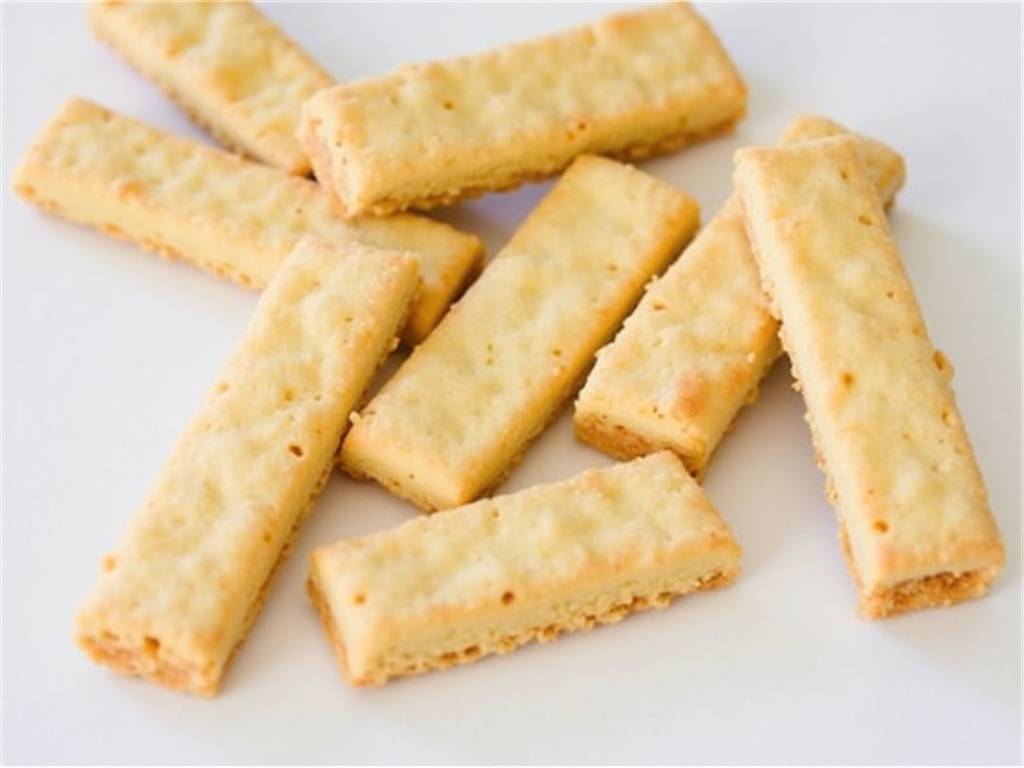
Are you tired of choosing between a satisfying dessert and a convenient, on-the-go snack? Do you crave the rich, creamy flavor of cheesecake but wish it was less messy and more portable? You're not alone. Many dessert lovers face the same dilemma. The solution is simpler than you think: Cheesecake Cookie Sticks. This innovative treat combines the beloved taste of classic cheesecake with the crispy, dunkable appeal of a cookie stick, creating the ultimate crispy portable snack. Perfect for lunchboxes, picnics, or a quick sweet bite, this guide will walk you through every step to achieve bakery-quality results at home.
Why Cheesecake Cookie Sticks Are the Perfect Treat
Before we dive into the recipe, let's explore why this hybrid dessert is a game-changer. According to a recent culinary trends report, consumers are increasingly seeking "functional desserts"—treats that are not only delicious but also convenient and shareable. Cheesecake cookie sticks fit this trend perfectly. They offer portion control, are less prone to crumbling than a slice of cheesecake, and their stick form makes them fun for all ages. Pastry chef and cookbook author, Elena Rodriguez, notes, "The fusion of textural elements—a crisp exterior with a soft, flavorful filling—is key to modern dessert innovation. It elevates the eating experience beyond taste alone."
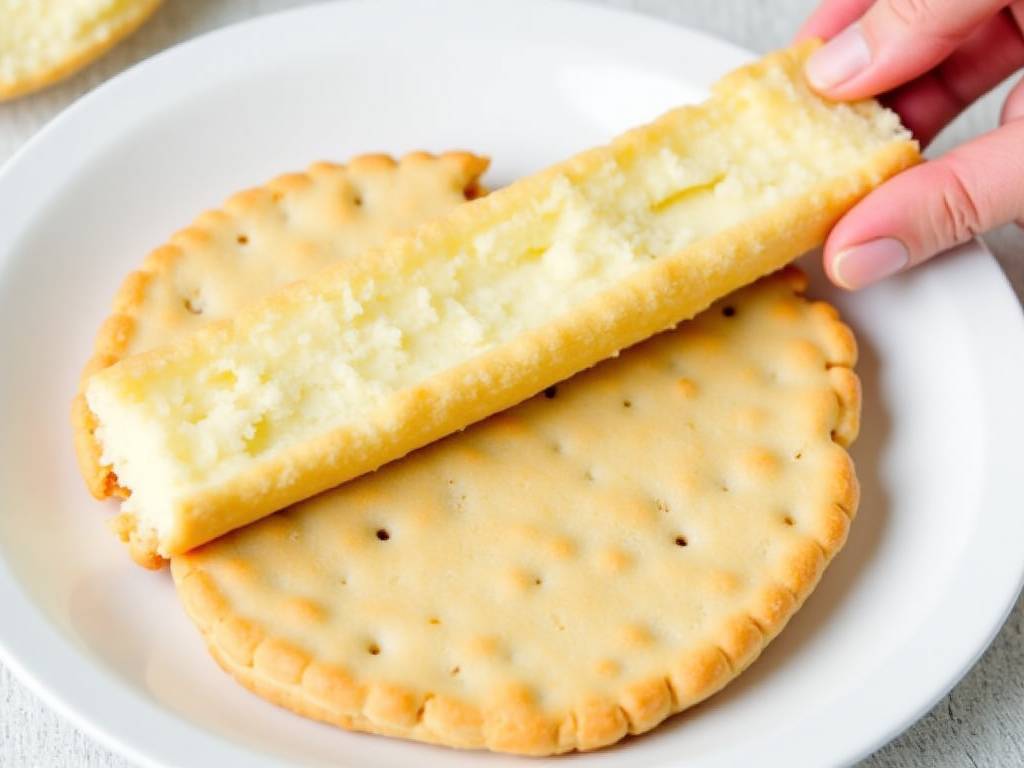
Essential Ingredients for Success
Gathering high-quality ingredients is the first step to ensuring your cheesecake cookie sticks are a hit. Here’s what you’ll need, divided by component.
For the Crispy Cookie Stick Base:
- 1 ½ cups all-purpose flour
- ½ cup granulated sugar
- ½ cup unsalted butter, cold and cubed
- 1 large egg yolk
- 1 teaspoon vanilla extract
- A pinch of salt
For the Creamy Cheesecake Filling:
- 8 ounces full-fat cream cheese, softened to room temperature
- ¼ cup granulated sugar
- 1 large egg
- ½ teaspoon vanilla extract
- 1 tablespoon fresh lemon juice (optional, for brightness)
For the Optional Finish:
- Melted butter for brushing
- A mix of cinnamon sugar or crushed graham crackers for coating
Step-by-Step Recipe: Crafting Your Crispy Portable Snacks
Follow these detailed instructions to create your batch of delicious cheesecake cookie sticks.
Step 1: Prepare the Cookie Dough In a large mixing bowl, combine the flour, sugar, and salt. Add the cold, cubed butter. Using a pastry cutter or your fingertips, work the butter into the flour mixture until it resembles coarse crumbs. In a small bowl, whisk the egg yolk and vanilla extract together, then add to the flour mixture. Stir until a dough begins to form, then knead gently with your hands until it comes together into a smooth ball. Flatten into a disc, wrap in plastic, and refrigerate for at least 30 minutes. This chilling step is crucial for a flaky, crispy texture.
Step 2: Create the Cheesecake Filling While the dough chills, make the filling. In a medium bowl, beat the softened cream cheese with an electric mixer until smooth and creamy. Add the sugar and beat until fully incorporated. Next, beat in the egg, vanilla extract, and lemon juice (if using) until the mixture is uniform and silky. Set aside. Ensure your cream cheese is truly at room temperature to avoid lumps.
Step 3: Assemble the Sticks Preheat your oven to 350°F (175°C) and line a baking sheet with parchment paper. On a lightly floured surface, roll out the chilled dough into a rectangle about ¼-inch thick. Using a sharp knife or a pizza cutter, cut the dough into long, even strips, approximately 1-inch wide. Carefully transfer half of the strips to the prepared baking sheet, spacing them about an inch apart. Spoon or pipe a line of the cheesecake filling down the center of each strip on the baking sheet, leaving a small border at each end.
Step 4: Seal and Shape Take the remaining dough strips and gently place them over the filling-topped strips. Use your fingers to press down around all the edges, sealing the cheesecake filling inside. For a secure seal, you can press the tines of a fork along the edges. This creates the classic "stick" shape and prevents the filling from leaking during baking.
Step 5: Bake to Golden Perfection Before baking, you can brush the tops of the sticks with a little melted butter and sprinkle with cinnamon sugar or crushed graham crackers for extra flavor and crunch. Bake in the preheated oven for 15-18 minutes, or until the cookie dough is golden brown and firm to the touch. The filling will be set but may still be slightly soft—it will firm up as it cools.
Step 6: Cool and Serve Allow the cheesecake cookie sticks to cool on the baking sheet for 10 minutes before transferring them to a wire rack to cool completely. This cooling period is essential for the filling to set fully and for the cookie exterior to achieve its ideal crispy texture. Serve at room temperature for the best flavor and texture.
Expert Tips for Flawless Results
- Butter Temperature is Key: For the flakiest cookie shell, your butter must be cold. This creates steam pockets during baking, resulting in a delightfully crispy texture.
- Avoid Overfilling: It's tempting to add more filling, but overfilling is the main cause of leaks. A modest, centered line is perfect.
- Experiment with Flavors: Add a teaspoon of lemon zest to the filling, or mix mini chocolate chips into the dough. For a fun twist, dip the cooled ends of the sticks in melted chocolate.
Storing and Enjoying Your Homemade Snacks
To maintain their status as the perfect crispy portable snack, proper storage is important. Once completely cooled, store the cheesecake cookie sticks in an airtight container at room temperature for up to 2 days. For longer storage, place them in a single layer in a freezer-safe container and freeze for up to a month. Thaw at room temperature when ready to eat.
Frequently Asked Questions
Can I use low-fat cream cheese for the filling? While you can, full-fat cream cheese is highly recommended. It provides a richer flavor and a creamier, more stable texture that sets better during baking. Low-fat varieties contain more water, which can lead to a runnier filling and a soggy cookie stick.
My cookie sticks turned out soft, not crispy. What went wrong? The most common reasons are underbaking or not chilling the dough long enough. Ensure your oven is fully preheated and bake until the sticks are uniformly golden. Also, make sure the sticks cool completely on a wire rack; trapped steam can soften the cookie.
Can I make these ahead of time for a party? Absolutely! These are an excellent make-ahead dessert. You can assemble the unbaked sticks, place them on a baking sheet, and freeze until solid. Then transfer to a freezer bag. Bake directly from frozen, adding 2-3 extra minutes to the baking time.
Mastering how to make cheesecake cookie sticks opens up a world of delicious possibilities. By following these clear steps and expert tips, you transform simple ingredients into an impressive, shareable treat that satisfies both cheesecake cravings and the need for a handy snack. The contrast of the crisp, buttery cookie with the smooth, tangy filling is a combination that’s sure to become a new favorite. So, preheat your oven and get ready to bake a batch of these irresistible, crispy portable snacks that are as fun to make as they are to eat.





