 bluename
 How to Make Cheesecake Sushi? A Creative Cross-Over Delicious Try
Have you ever stared at your dessert table, feeling a pang of boredom? The same old slices of cake and bowls of pudding can lose their charm. Or perhaps you're planning a party and crave something that will truly wow your guests—something visually stunning, conversation-starting, and undeniably delicious. Enter the brilliant fusion that solves both dilemmas: Cheesecake Sushi. This innovative treat masterfully combines the elegant, bite-sized appeal of sushi with the rich, creamy indulgence of cheesecake. It’s the perfect answer for anyone seeking a dessert that is as fun to make as it is to eat, promising to elevate any gathering from ordinary to extraordinary.
This guide will walk you through everything you need to create your own stunning cheesecake sushi platter. We’ll cover the essential components, provide step-by-step instructions, and share pro tips for presentation. Get ready to roll up your sleeves and dive into this delightful culinary crossover.
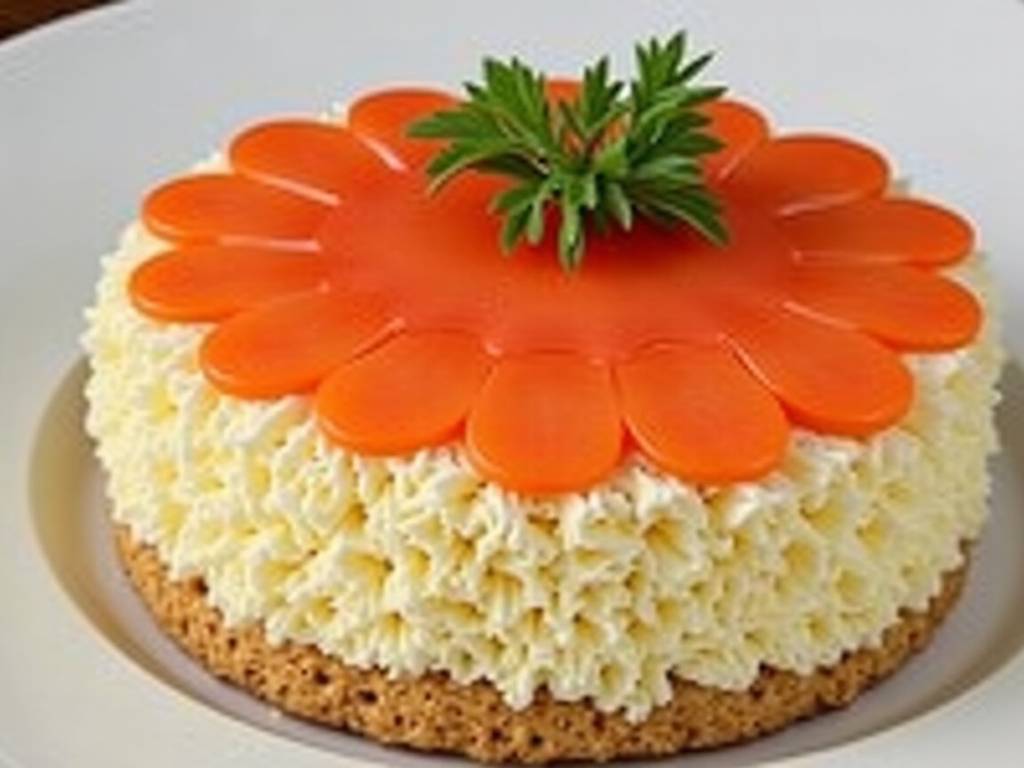
Deconstructing the Cheesecake Sushi Roll
Before we begin assembling, let's understand the anatomy of this creative dessert. Just like traditional sushi has rice, nori, and fillings, cheesecake sushi has its own core elements.
The foundational “rice” layer is typically made from a crumbly, moldable base. Crushed graham crackers, vanilla wafers, or even crispy rice cereal mixed with melted butter and a touch of sugar create the perfect texture that holds its shape.
The “nori,” or outer wrapper, can be the most playful part. While some recipes use strips of fruit leather or dark chocolate for a savory-sweet contrast, a more popular and visually striking method is using a thin sheet of green-tinted white chocolate or a spread of matcha-flavored cream cheese.
Finally, the “fillings” are where your creativity shines. Classic cheesecake filling, fruit compotes, fresh berry strips, and even miniature chocolate pieces become the flavorful heart of your dessert roll.
Essential Tools and Ingredients for Success
You won’t need a sushi mat, but a few key tools will make the process smoother. Parchment paper or a silicone baking mat is non-negotiable for rolling. A small offset spatula helps spread fillings evenly, and a sharp knife is crucial for clean cuts.
For a classic cheesecake sushi roll, gather these ingredients:
- For the “Rice”: 2 cups finely crushed graham crackers, 4 tablespoons melted unsalted butter, 1 tablespoon granulated sugar.
- For the “Nori” & Filling: 4 ounces high-quality white chocolate, a tiny drop of green food coloring (or 1/2 teaspoon matcha powder), 8 ounces softened cream cheese, 1/4 cup powdered sugar, 1/2 teaspoon vanilla extract.
- For the “Fish” & Garnish: Sliced strawberries (cut into long, thin strips), blueberries, or mango strips. Extra crushed crackers, colored sprinkles, or coconut flakes for rolling.
Step-by-Step Guide to Crafting Your Masterpiece
Step 1: Prepare the Cheesecake “Rice” Base In a medium bowl, combine the finely crushed graham crackers, melted butter, and sugar. Mix until the texture resembles wet sand and holds together when pinched. Spread this mixture evenly onto a sheet of parchment paper, pressing it down into a thin, roughly 9×7 inch rectangle. This layer should be about 1/4 inch thick. Chill it in the refrigerator for 15 minutes to firm up.
Step 2: Create the Creamy Filling and “Nori” While the base chills, make the filling. Using an electric mixer, beat the softened cream cheese, powdered sugar, and vanilla extract until completely smooth and creamy. Set aside. For the “nori,” melt the white chocolate gently in a double boiler or microwave. Stir in the green food coloring or matcha powder until you achieve a consistent, pale green color. Allow it to cool slightly but remain spreadable.
Step 3: Assemble and Roll Remove the chilled base from the fridge. Carefully spread a thin, even layer of the green-tinted white chocolate over the entire surface. This is your “nori” sheet. Next, spread the cream cheese filling over the chocolate layer, leaving a small border at one of the longer edges. Arrange your fruit “fillings” (like strawberry strips) in a neat line along the edge opposite the border.
Now, using the parchment paper to assist you, gently but firmly lift and roll the rectangle over the fillings, tucking as you go, just like rolling a sushi mat. Continue rolling until you have a complete log. Wrap the parchment paper tightly around the log and twist the ends. Refrigerate for at least 2 hours, or until very firm.
Step 4: Slice and Garnish Unwrap the firm log. Using a sharp knife dipped in hot water and wiped dry between each cut, slice the log into 1-inch pieces. To finish, you can roll the edges in additional crushed crackers, sprinkles, or leave them as is. Plate your cheesecake sushi pieces artfully, perhaps with drizzles of fruit coulis or chocolate sauce as “soy sauce.”
Pro Tips for Presentation and Flavor Variations
Presentation is key. Serve your cheesecake sushi on a sleek platter or a wooden board. Use chopsticks as utensils and small bowls for dipping sauces. According to pastry chef and food stylist Elena Martinez, “The magic of fusion desserts lies in the element of surprise and impeccable presentation. Each piece should look like a jewel.”
Don’t be afraid to experiment. Try a “chocolate lava” roll by adding a core of chocolate ganache. For a tropical twist, use crushed vanilla wafers as the base, coconut cream in the filling, and roll the pieces in toasted coconut flakes. A “berry blast” roll can incorporate mixed berry compote.
Frequently Asked Questions
Can I make cheesecake sushi ahead of time? Absolutely. The assembled log can be refrigerated, tightly wrapped, for up to 24 hours before slicing. You can also freeze the whole log for up to a month; thaw overnight in the refrigerator before slicing.
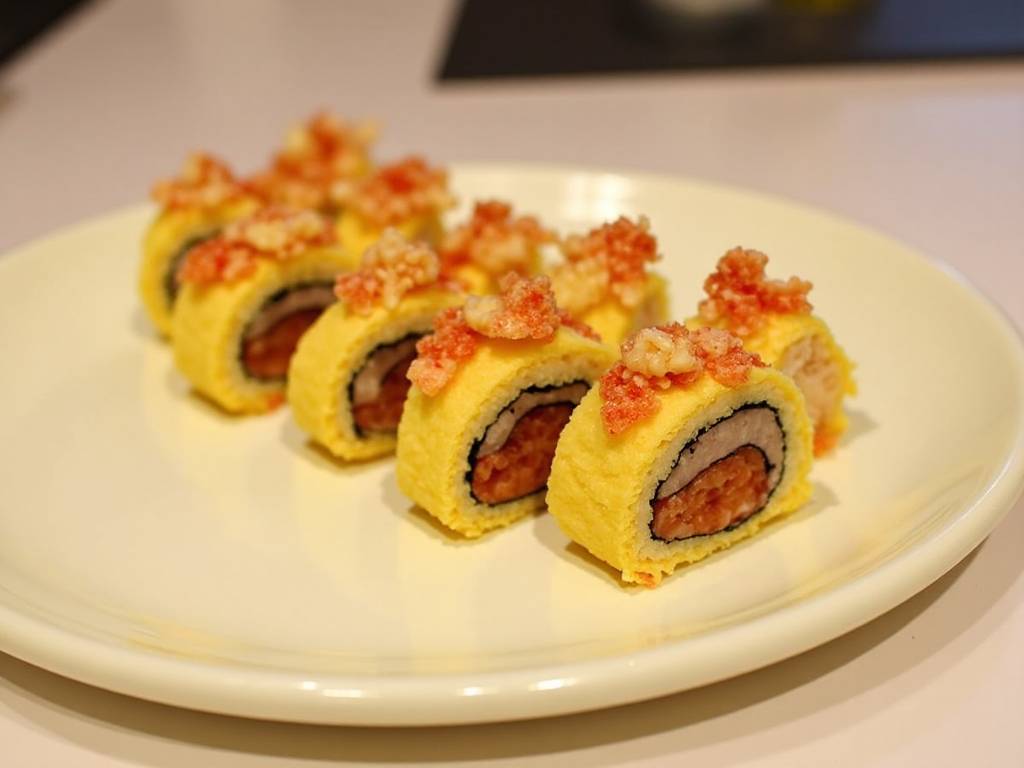
My roll cracked when I sliced it. What went wrong? This usually means the log wasn’t cold enough or the knife wasn’t sharp/hot enough. Ensure the log is fully firm from chilling. Always use a sharp knife and clean it with hot water between cuts for pristine slices.
Is there a no-bake option? Yes, the recipe outlined above is entirely no-bake! The structure comes from the chilled butter in the base and the firm setting of the cream cheese and chocolate. No oven is required, making it a perfect summer or last-minute dessert.
Creating cheesecake sushi is more than just following a recipe; it’s an engaging culinary adventure that blends technique with creativity. It addresses the desire for novel, shareable desserts and allows for endless personalization. Whether for a birthday party, a potluck, or a fun weekend project, these delightful bites are guaranteed to impress. So gather your ingredients, embrace the process, and get ready to serve up a platter of sweet, surprising, and utterly delicious art.
⚠️ 温馨提示:本款蛋糕含糖量较高,高血糖/糖尿病患者请谨慎食用。





