bluename
 How to Make Cheesecake Jelly: Crystal Clear Fun Dessert
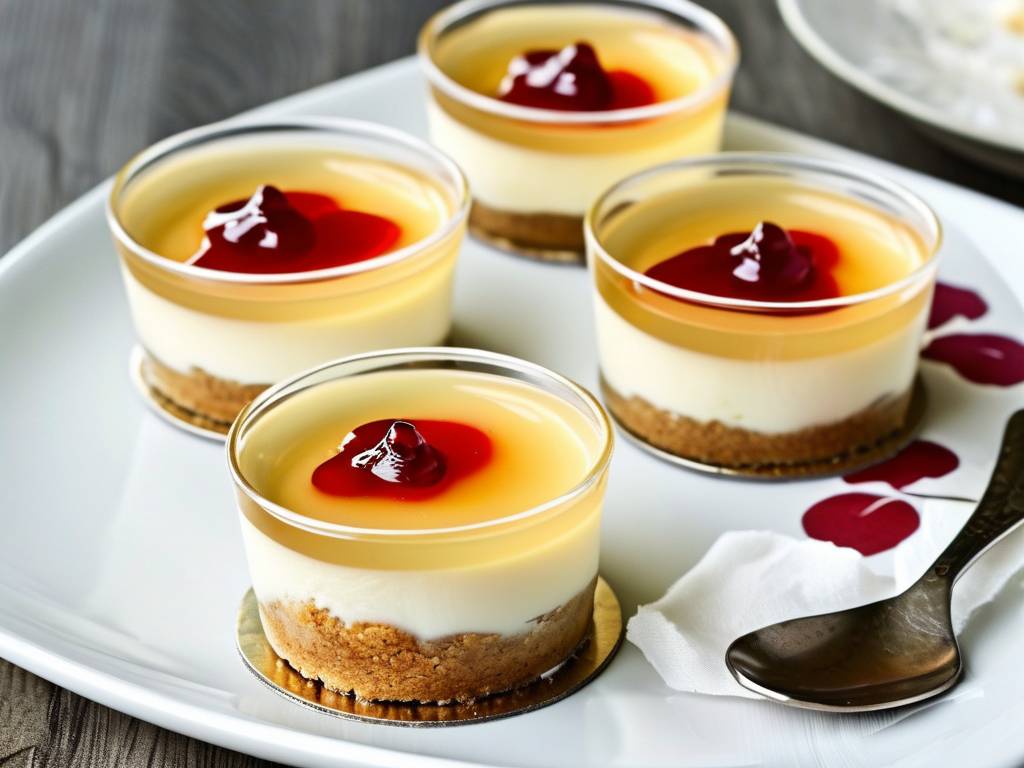
Ever stared at a stunningly clear dessert online, one that looks like a piece of edible art with layers of creamy filling suspended in a jewel-like jelly, and thought, “That’s way too complicated for me to make at home”? I’ve been there. The desire to create something both delicious and visually spectacular often clashes with the fear of complex techniques and specialty ingredients. But what if I told you that mastering the art of a crystal clear cheesecake jelly is not only possible but can be a straightforward and incredibly fun kitchen project? As a professional pastry chef, I’ve deconstructed this trendy dessert to its core, and today, I’ll guide you through every step. We’ll transform simple components into a show-stopping treat that’s perfect for parties, summer gatherings, or simply satisfying your creative culinary itch. Forget the intimidation; let’s unlock the secrets to this transparent delight together.
Why Cheesecake Jelly is the Perfect Summer Treat
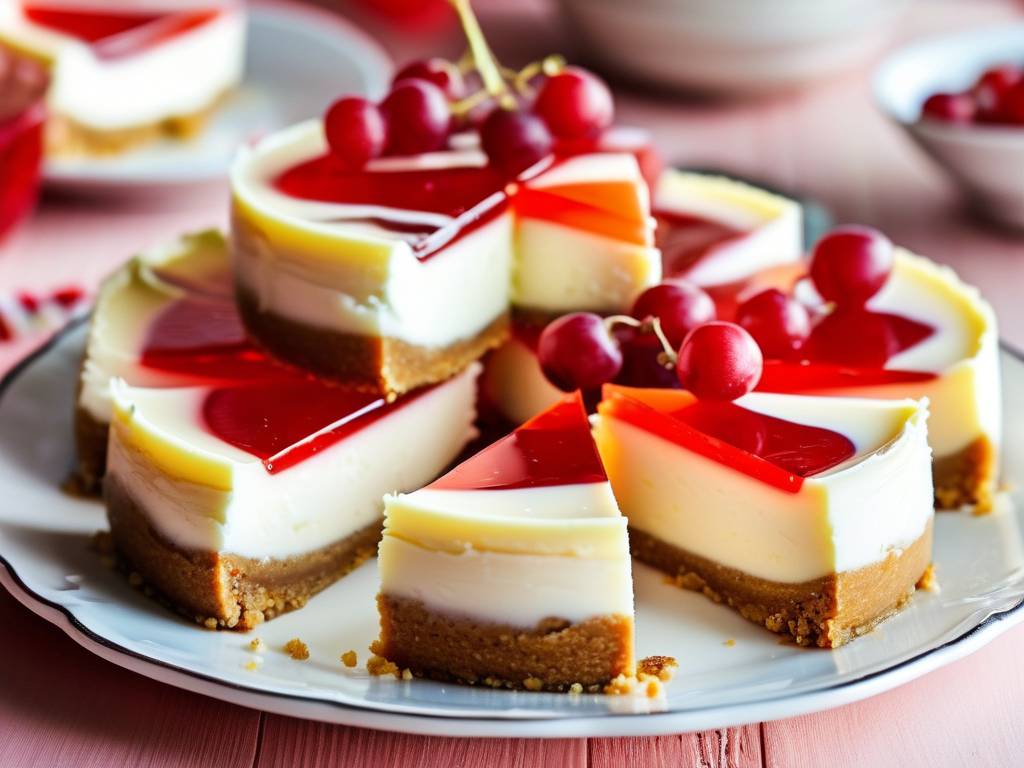
Before we dive into the recipe, let’s talk about why this dessert is worth your time. Traditional baked cheesecake, while heavenly, can feel heavy, especially in warmer weather. The cheesecake jelly offers a brilliant solution: all the tangy, creamy flavor of cheesecake in a light, refreshing, and visually cool format. It’s a no-bake dessert, which means no heating up your kitchen. More importantly, its clear nature makes it a blank canvas. You can embed fresh fruits, edible flowers, or even colorful coulis to create your own signature masterpiece. A 2023 industry report on dessert trends highlighted a 40% increase in consumer interest for “visually interactive and clear gelatin-based desserts,” citing their social media appeal and perceived lighter texture.
Demystifying the “Crystal Clear” Secret
The magic word here is clarification. For a truly transparent jelly, we can’t just use any fruit juice. Store-bought juices often contain pulp and cloudifying agents. The goal is to use a liquid that is perfectly limpid. You have two fantastic paths:
- The Tea Route: Light-colored herbal or fruit teas are a fantastic, flavorful base. Brew them strong, let them cool, and you have a beautifully clear, aromatic liquid. Think hibiscus for a pink hue and tart flavor, or peach tea for a golden sweetness.
- The Juice Clarification Route: This is a simple kitchen hack that feels like a science experiment. You can use fresh fruit juice (like apple, pineapple, or white grape) and combine it with a small amount of gelatin or agar-agar. As it sets lightly, you then strain it through a fine-mesh sieve or cheesecloth. The gelatin catches the suspended particles, leaving you with a brilliantly clear liquid. This method, often used in professional kitchens for consommés and gels, guarantees intense flavor and stunning clarity.
Your Essential Toolkit
You don’t need professional-grade equipment, but a few key items will make the process smoother:
- A good quality saucepan for gentle heating.
- A fine-mesh strainer or cheesecloth for filtering.
- A whisk and silicone spatula.
- Your mold: This is where the fun begins! You can use a classic round springform pan, individual glasses, or even fun-shaped silicone molds for mini jelly cakes. For the classic layered look, a rectangular loaf pan works beautifully.
Step-by-Step: Crafting Your Crystal Clear Masterpiece
Here is my tried-and-tested recipe, broken down into manageable stages. Remember, patience is your friend when working with gelatin.
Ingredients:
For the Cheesecake Layer:
- 250g full-fat cream cheese, softened to room temperature
- 100ml heavy cream (or whipping cream)
- 60g granulated sugar (adjust to taste)
- 1 teaspoon pure vanilla extract
- 1 tablespoon fresh lemon juice
- 5g (about 1.5 teaspoons) powdered gelatin
- 3 tablespoons cold water
For the Crystal Clear Jelly Layer:
- 500ml clear liquid (see options above: strongly brewed and cooled tea, or clarified juice)
- 50g granulated sugar (optional, depending on the sweetness of your base liquid)
- 10g (about 1 tablespoon) powdered gelatin
- 5 tablespoons cold water
The Process:
Part 1: The Creamy Cheesecake Filling
- Bloom the Gelatin: In a small bowl, sprinkle the 5g of gelatin over the 3 tablespoons of cold water. Stir gently and let it sit for 5-10 minutes until it becomes a solid, spongy mass. This “blooming” step is crucial for even dissolution later.
- Whip the Base: In a large bowl, beat the softened cream cheese with an electric mixer or whisk until smooth and lump-free. Add the sugar, vanilla extract, and lemon juice, and beat again until fully combined and creamy.
- Incorporate the Cream: In a separate bowl, whip the heavy cream until it reaches soft peaks. Gently fold the whipped cream into the cream cheese mixture using a spatula. Be careful not to deflate the cream; we want this layer to be light and airy.
- Melt and Combine: Gently heat the bloomed gelatin (you can use a double boiler or microwave it in 5-second bursts) until it becomes a clear liquid. Do not let it boil. Take a small spoonful of your cheesecake mixture and stir it into the melted gelatin to temper it. Then, pour this tempered gelatin back into the main cheesecake bowl and fold everything together quickly and evenly.
- Set the First Layer: Pour this creamy mixture into your chosen mold. Tap the mold gently on the counter to release any air bubbles. Smooth the top with your spatula. Carefully place the mold in the refrigerator to set for at least 2 hours, or until completely firm to the touch.
Part 2: The Crystal Clear Jelly Topper
- Prepare the Gelatin: Repeat the blooming process with the 10g of gelatin and 5 tablespoons of cold water in a medium bowl.
- Sweeten the Base: If your chosen clear liquid needs sweetening, gently heat about 100ml of it in a saucepan with the sugar until dissolved. Remove from heat. Pour this warm liquid over the bloomed gelatin and stir until the gelatin is completely dissolved.
- Combine and Cool: Stir in the remaining clear liquid. This is also the stage where you can add a drop or two of natural food coloring if desired. Allow this jelly mixture to cool to room temperature. This is a critical step—if the liquid is too warm when poured over the set cheesecake layer, it can melt the surface and ruin the sharp definition between layers.
- The Final Pour: Once the cheesecake layer is fully set and the jelly liquid is cool, slowly and gently pour the clear jelly over the back of a spoon held just above the cheesecake surface. This technique disperses the flow and prevents it from creating a crater in your creamy layer.
- The Final Chill: Return the entire mold to the refrigerator. Let it set for at least 4 hours, but preferably overnight for the cleanest cut and most stable structure.
Unmolding and Serving Like a Pro
To unmold, briefly dip the bottom of the mold in warm water (for about 10-15 seconds) or run a warm, damp cloth around the sides. For springform pans, simply release the clasp. For solid molds, gently invert onto a serving plate. Dip a sharp, thin-bladed knife in hot water and wipe it dry before each cut for impeccably clean slices.
Troubleshooting Common Issues
- Cloudy Jelly: This is almost always due to the base liquid not being clear enough, or the jelly mixture being poured while still too warm. Ensure proper clarification and cooling.
- Layers Separating: This happens if the first layer isn’t fully set before adding the second. Patience is key—wait until it’s completely firm.
- Rubbery Texture: This is a sign of too much gelatin. Gelatin strength can vary slightly by brand, so measuring by weight (grams) is more accurate than volume (spoons) for consistent results.
Frequently Asked Questions
Can I make this dessert vegan? Absolutely! The principle remains the same. Substitute the cream cheese with a high-quality vegan cream cheese alternative, use coconut cream instead of heavy cream, and replace the gelatin with agar-agar powder. Note that agar sets firmer and at a higher temperature, so follow package instructions carefully for the correct liquid-to-agar ratio.
How long does cheesecake jelly last in the fridge? When stored in an airtight container or well-covered in its mold, it will keep beautifully for 3-4 days. The jelly may start to “weep” or release a little liquid after that, but it will still be perfectly safe and tasty to eat.
My clear layer isn’t setting firmly. What went wrong? The most likely culprit is inaccurate gelatin measurement or not allowing enough time for setting. Gelatin needs time and the right temperature to form its network. Ensure your refrigerator is cold enough (below 4°C/40°F) and give it the full, recommended chilling time, especially for the final set.
Creating this cheesecake jelly is more than just following a recipe; it’s an exercise in patience and precision that yields incredibly rewarding results. The moment you unmold that shimmering creation and see the perfect separation between the creamy white and the crystal-clear jelly, you’ll feel like a pastry pro. It’s a dessert that delights the eyes as much as the palate, proving that with the right guidance, sophisticated treats can indeed come from your own kitchen. So, choose your flavors, gather your tools, and embrace the fun of creating this edible gem.
⚠️ 温馨提示:本款蛋糕含糖量较高,高血糖/糖尿病患者请谨慎食用。