 bluename
 How to Make Cheesecake Unmolding Tips: Little Tricks for Complete Unmolding
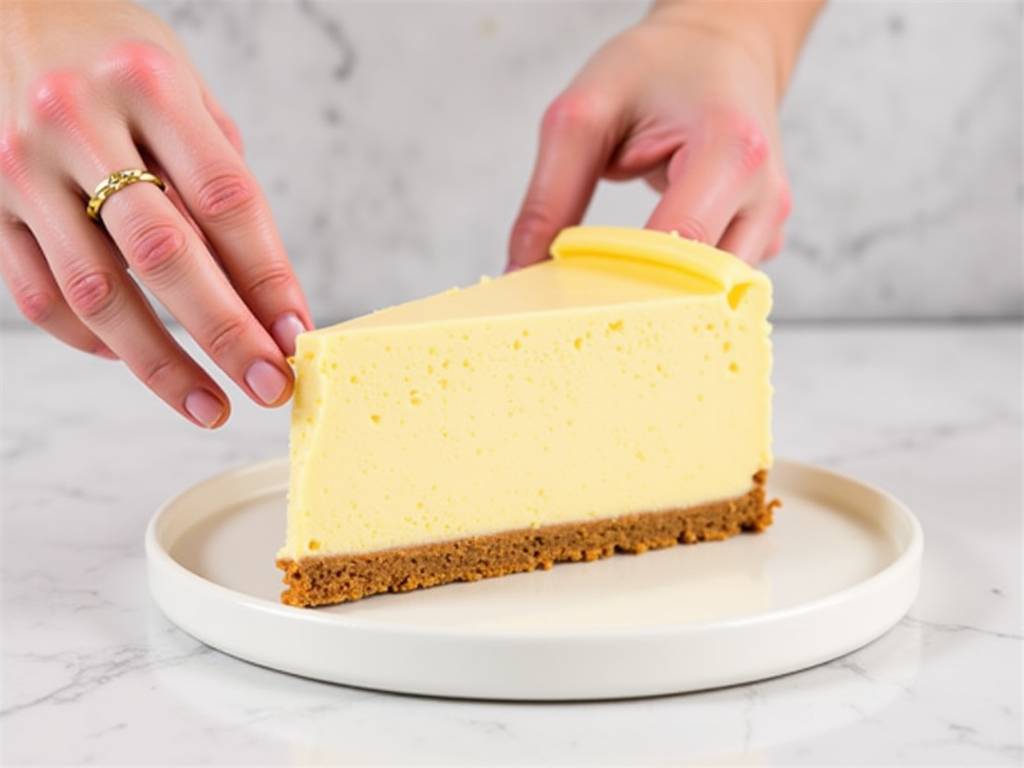
There’s a special kind of heartbreak in baking. You’ve spent hours carefully mixing your cream cheese and eggs, patiently baking your cheesecake in a water bath, and letting it chill overnight with the anticipation of a perfect slice. Then, the moment of truth arrives. You run a knife around the edge, release the springform clamp, lift the ring… and a beautiful, smooth side tears away, sticking stubbornly to the pan. That flawless presentation you dreamed of is gone. If this has ever happened to you, you’re not alone. Achieving a clean, professional unmolding is one of the most common hurdles for home bakers. Today, I’m sharing the little tricks I’ve learned over years of professional baking to guarantee a complete, flawless release every single time. Mastering these cheesecake unmolding tips transforms a good dessert into a show-stopping masterpiece.
The foundation of a clean unmold starts long before the cake is baked. It begins with preparation and understanding why cheesecakes stick in the first place. The high-fat content and delicate structure of a baked cheesecake make it particularly prone to adhering to any surface that isn’t properly protected.
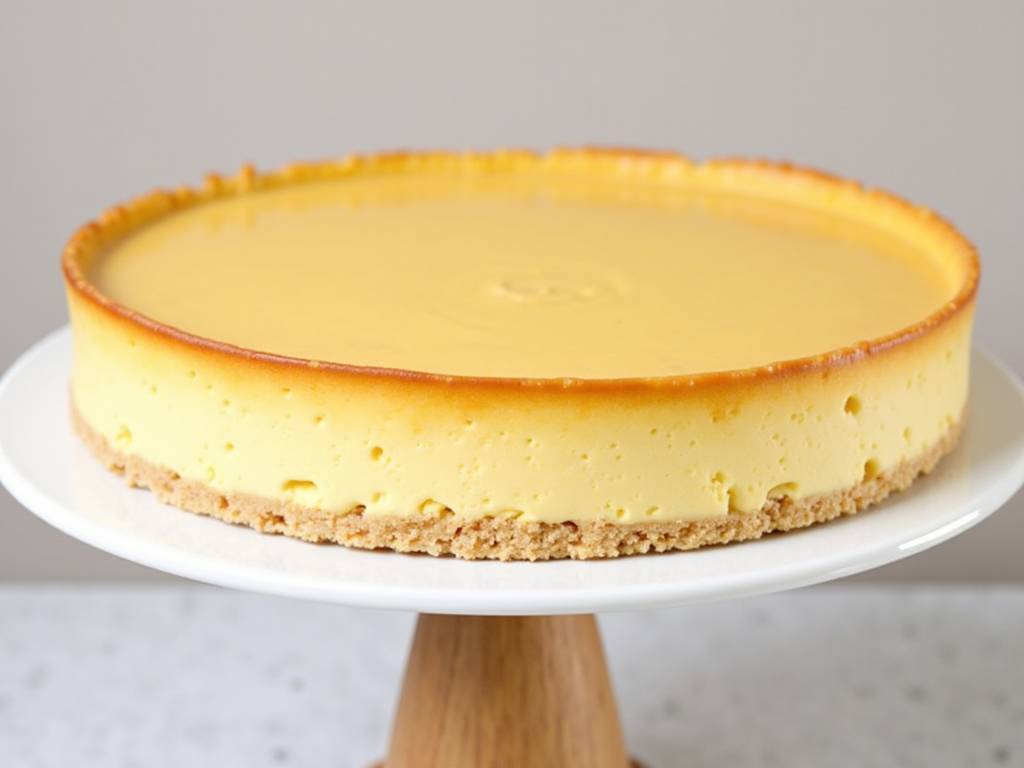
Pre-Bake Preparation: Your First Line of Defense
Your choice of pan is critical. A high-quality springform pan with a tight seal is non-negotiable. Before you even think about your crust, the pan needs attention. Simply greasing the sides is often insufficient, as the batter can cling to tiny imperfections.
I always use a two-step barrier method. First, I take a small piece of softened butter and lightly grease the bottom and sides of the pan. Then, I cut a circle of parchment paper for the bottom. The butter acts as glue, holding the parchment perfectly flat. For the sides, many bakers swear by a parchment paper collar, but I find it can create ridges. My preferred professional method is a very light, even coating of baking spray that contains flour. This creates a near-invisible non-stick layer. According to renowned pastry chef and cookbook author Stella Parks, “A thin film of fat and flour is more reliable than fat alone for delicate dairy-based batters, as it provides a buffer that sets before the cake can bond to the metal.”
The Baking and Chilling Process: Patience is a Virtue
How you bake and cool your cheesecake directly impacts its structural integrity and, consequently, how well it unmolds. A cheesecake baked too quickly or at too high a temperature will puff and crack, and upon cooling, it sinks and can grip the pan sides fiercely.
I insist on a low-and-slow bake, typically around 325°F (160°C), with the pan placed in a water bath. The steam creates a gentle, even heat that prevents the edges from overcooking and pulling away from the pan prematurely. Once baked, the cheesecake must cool gradually. I turn the oven off, crack the door open, and let it sit for an hour. This prevents thermal shock, which can cause sinking and cracking.
Then comes the most critical, yet most rushed, step: the chill. A cheesecake needs a minimum of 4 hours, but ideally overnight, in the refrigerator. This full chill sets the structure completely, firming up the fats. A properly chilled cheesecake is a stable cheesecake, and a stable cheesecake is one that will hold its shape when released.
The Unmolding Ritual: A Step-by-Step Guide
This is the moment. Your cake is chilled, and you’re ready. Rushing here can undo all your careful work. Follow this sequence for a perfect reveal.
First, gather your tools: a thin-bladed flexible knife (a small offset spatula is perfect) and a tall can or a sturdy glass. Fill a pitcher with very hot tap water.
Dip your knife into the hot water and wipe it dry. The residual heat is key. Gently insert the warm blade between the cake and the side of the pan, pressing against the metal, not the cake. Slowly trace the entire perimeter, reheating and wiping the blade a few times. You should feel no resistance. This step severs any microscopic bonds that formed during baking.
Next, unlock and loosen the springform clamp, but do not lift the ring yet. Place the entire pan on your tall can or glass. The ring should now be suspended, falling loosely around the cake. Gently and slowly pull the ring straight down and away. If it catches at all, stop and run your warm knife around that spot again.
Now, with the ring removed, you have your beautiful cake on the pan base. If you used parchment, you’re nearly done. Slide a long, flat spatula or a large knife carefully between the crust and the parchment to transfer it to a serving plate. If you baked directly on the greased base, here’s another trick: briefly pass the bottom of the pan over a low gas flame or set it on a hot, damp towel for 10-15 seconds. This melts the thin layer of butter just enough to release it. Immediately slide your spatula underneath to confirm it’s free, then transfer.
Troubleshooting Common Unmolding Disasters
Even with the best techniques, sometimes things go awry. Here’s how to salvage the situation.
- The Sticky Patch: If a small section of the side sticks and tears, don’t panic. Use a small spatula to gently scrape the stuck bits off the pan. Crumble them finely and use them as a decorative topping, mixed with a little graham cracker crust crumble or fresh fruit. It’s a textured, rustic fix.
- The Cracked Top: Cracking doesn’t affect unmolding, but it hurts presentation. A smooth layer of sour cream topping applied while the cake is warm can seal cracks. Or, go for a luxurious blanket of whipped cream, fresh berries, or a fruit compote. It turns a flaw into a feature.
- The Soggy Bottom: If your crust is damp and won’t release cleanly, it often points to a leaky springform seal during the water bath. Next time, wrap the outside of the pan bottom and sides tightly with heavy-duty aluminum foil before placing it in the water bath. For now, serve the first slice with a sturdy pie server and know it will still taste incredible.
Frequently Asked Questions
Can I use a regular cake pan instead of a springform? I strongly advise against it. The springform’s removable side is designed for this exact purpose. Attempting to invert a cheesecake from a solid pan is almost guaranteed to end in disaster due to its weight and delicate texture. The springform is your best investment for consistent success.
I don’t have parchment paper. What can I use? While parchment is ideal, a well-greased and floured pan bottom can work in a pinch. Ensure the butter or shortening coating is even and thorough, then dust with a fine layer of flour, tapping out the excess. The flour-and-fat combo still provides that crucial buffer layer.
How far in advance can I unmold my cheesecake? You can unmold it as soon as it’s fully chilled (overnight is best). Once released and transferred to a serving plate, you can loosely cover it and return it to the refrigerator for up to two days before serving. This often makes it easier to get clean slices later.
The journey to a perfectly unmolded cheesecake is a blend of science, patience, and a few simple, clever techniques. It’s about respecting the process—from preparing your pan with care, to baking with gentleness, to chilling with patience, and finally, unmolding with a confident, warm knife. When that ring slides down to reveal a pristine, creamy canvas for your toppings, the satisfaction is immense. Remember, each step builds upon the last. Master these little tricks, and you’ll never fear the unmolding process again. Your next cheesecake won’t just taste divine; it will look professionally crafted, right from your own kitchen.
⚠️ 温馨提示:本款蛋糕含糖量较高,高血糖/糖尿病患者请谨慎食用。





