 bluename
 How to Make Cheesecake Mold Selection: The Importance of Suitable Molds
I’ve lost count of the number of times a baker has shown me a photo of a cracked, slumped, or stubbornly stuck cheesecake with a sigh of frustration. The recipe was followed to the letter, the ingredients were top-quality, but the final result was a disappointment. More often than not, the culprit isn’t the recipe itself, but a choice made before the mixing even began: the mold. Selecting the right mold is not a mere afterthought in how to make cheesecake; it is a foundational decision that directly impacts texture, structure, presentation, and your overall success. It’s the difference between a dessert that wows and one that merely exists.
Think of your mold as the architectural blueprint for your cheesecake. It dictates how heat transfers, how the structure sets, and ultimately, how you release your creation into the world. Let’s move beyond guesswork and build a framework for choosing the perfect vessel for your creamy masterpiece.
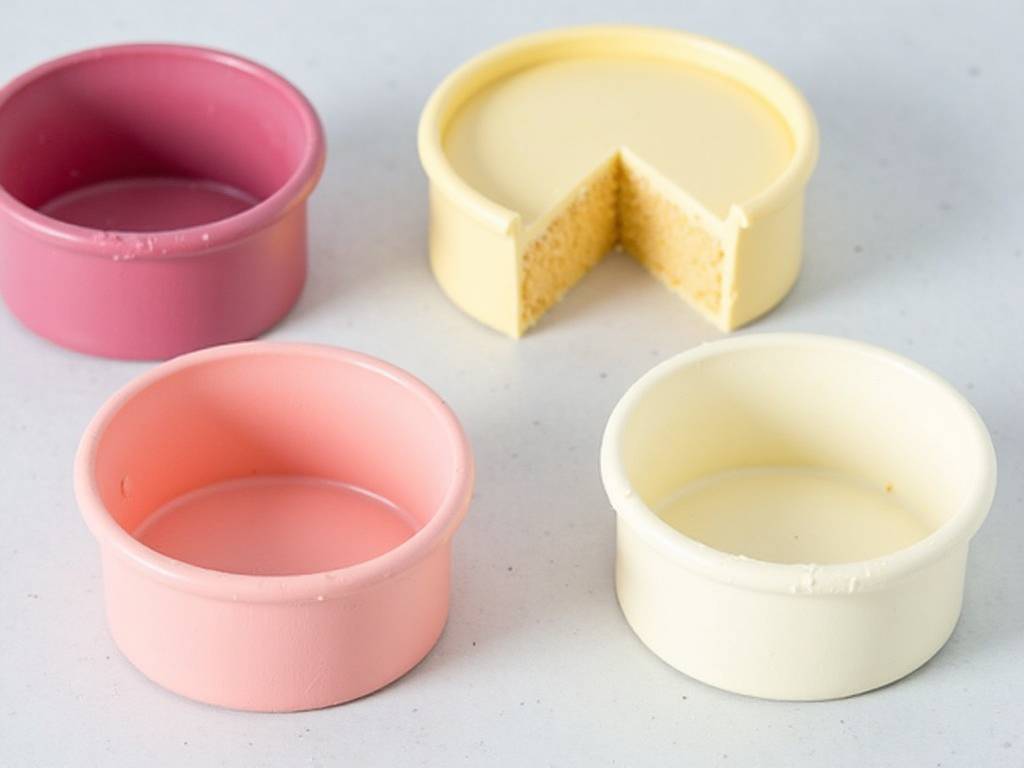
Your Guide to Cheesecake Mold Mastery
The journey to a flawless cheesecake begins with understanding your options. The market offers a variety, each with distinct properties.
Material Matters: Heat Conductivity and Non-Stick Properties
The material of your mold is its most critical attribute, governing how it interacts with both heat and your batter.
-
Springform Pans: The Classic Contender. This is the quintessential cheesecake pan for good reason. The removable side and solid, often leak-proof base offer unparalleled ease of release and a clean presentation. Most are made from aluminum, which provides excellent, even heat distribution—key for preventing hot spots that cause cracks. When choosing a springform, opt for one with sturdy, thick walls and a tight, secure latch. A dark non-stick interior can promote browning, which is fine for some recipes, but a lighter-colored interior is often preferred for a pale, classic finish.
-
Solid Round Pans: The Traditionalist’s Choice. Before springforms were ubiquitous, bakers used solid pans. They require a bit more finesse, often involving lining the base with parchment paper and a careful water bath setup. Their solid construction means no risk of leakage, making them supremely reliable for baking. The trade-off is in the unmolding process, which can be tricky for beginners. Their even heat conduction, however, is excellent.
-
Silicone Molds: The Modern Flexible Friend. Silicone molds have gained popularity for their incredible non-stick properties and flexibility. They are a dream for unmolding intricate designs. However, their heat conductivity differs from metal. They can sometimes lead to slower baking and a less crisp crust if you’re not careful. I recommend using them for no-bake cheesecakes or placing them on a preheated baking sheet for baked versions to ensure the bottom sets properly. Their flexibility also means they need support, so avoid moving a filled silicone mold without a tray underneath.
-
Cast Iron: The Unconventional Heavyweight. While not traditional, a well-seasoned cast iron skillet can produce a stunning cheesecake with a uniquely crisp, almost caramelized edge. It retains heat phenomenally well, leading to even cooking. The challenge, again, is release. A perfectly seasoned surface and a confident flip are required. This is a choice for the adventurous baker.
Size and Shape: Beyond the Standard Round
The dimensions of your mold directly influence baking time and final texture.
- Diameter and Depth: A standard 9-inch round is the workhorse, but don’t be afraid to experiment. An 8-inch pan will yield a taller, denser cake that requires a longer, slower bake to set the center without overcooking the edges. A 10-inch pan creates a wider, thinner cake that bakes faster. Always adjust your recipe’s baking time accordingly. As a rule of thumb, deeper batters need gentler, longer heat.
- Embracing Different Shapes: Square, rectangular, or individual portion molds (like mini springforms or muffin tins) are fantastic for presentation. Remember that corners bake faster than curves. For square pans, consider slightly reducing the oven temperature or using an insulating baking strip around the outside to promote even baking and prevent cracked edges—a common issue noted in professional baking circles.
The Special Case: Water Bath Essentials
For creamy, custard-like cheesecakes that are prone to cracking, a water bath (or bain-marie) is non-negotiable. It creates a humid, gentle oven environment that cooks the eggs slowly and evenly, preventing the protein from seizing and causing cracks. Your mold choice is crucial here.
- Leak-Proofing is Paramount: If using a springform pan, you must wrap the outside bottom and sides securely with heavy-duty aluminum foil to create a watertight seal. Double or even triple wrapping is my standard practice. I’ve seen too many sad, waterlogged crusts from a single, failed layer of foil. Solid pans are naturally more secure for this method.
- Material Response: Metal pans excel in water baths as they transfer the gentle steam heat efficiently. Silicone can be used, but ensure it’s supported by a baking sheet when moving in and out of the oven to prevent spills.
Practical Scenarios: Matching the Mold to Your Recipe
Let’s apply this knowledge. Your recipe’s style should guide your hardware.
- For a Classic New York-Style Cheesecake: A 9-inch springform pan is ideal. Its height accommodates the dense batter, and the removable sides are essential for presenting that tall, majestic slice. The aluminum construction ensures the heat penetrates fully to set the rich interior.
- For a Delicate Japanese Soufflé Cheesecake: A tall-sided, round solid pan or a specialized tube pan is often recommended. The high sides support the rise, and the solid construction works perfectly with the necessary water bath for its jiggly, cloud-like texture.
- For a No-Bake Cheesecake: Your options open up dramatically. Springforms are still great for clean slices, but silicone molds in fun shapes, a decorative pie dish, or even a rectangular tart pan can create stunning results without worrying about heat conduction.
- For Individual Portions: Mini springforms, silicone cupcake molds, or even glass ramekins are perfect. Baking time drops significantly, usually to 20-25 minutes. This is a fantastic way to practice and control portions.
Expert Tips for Flawless Release and Care
Choosing the mold is half the battle; preparing and maintaining it is the other.
- The Art of Preparation: For baked cheesecakes, always grease your pan lightly, unless the manufacturer advises against it for non-stick coatings. Lining the base with a parchment paper round is a foolproof insurance policy for easy release. For crusts, use a flat-bottomed glass or measuring cup to press the crumbs firmly and evenly up the sides—this prevents crumbling during slicing.
- The Critical Cooling Process: Patience is a virtue. After baking, let the cheesecake cool in the turned-off oven with the door slightly ajar for about an hour. This gradual temperature change minimizes thermal shock, the leading cause of sinking and cracking. Then, cool completely at room temperature before refrigerating for at least 4 hours, preferably overnight. This full setting time is what gives you clean, perfect slices.
- Mold Maintenance: Hand-wash your springform pans to preserve the mechanism and non-stick coating. Ensure they are thoroughly dry before storing to prevent rust or water spots. Proper care extends the life of your tools significantly.
Addressing Your Cheesecake Queries
I often get asked the same few questions, so let’s tackle them directly.
Can I use a regular cake pan instead of a springform? Yes, absolutely. A round cake pan with high sides will work. The key is to line the bottom and sides with parchment paper with an overhang, creating “slings” that allow you to lift the entire cheesecake out once chilled. It requires more prep but is a reliable method.
My springform pan always leaks in the water bath. What can I do? This is the most common springform struggle. My proven method is to wrap the entire outside of the assembled pan—bottom and sides—with two layers of extra-wide, heavy-duty aluminum foil. I then place this wrapped pan into a slightly larger silicone pan or oven bag before setting it in the water bath. This creates a redundant waterproof barrier.
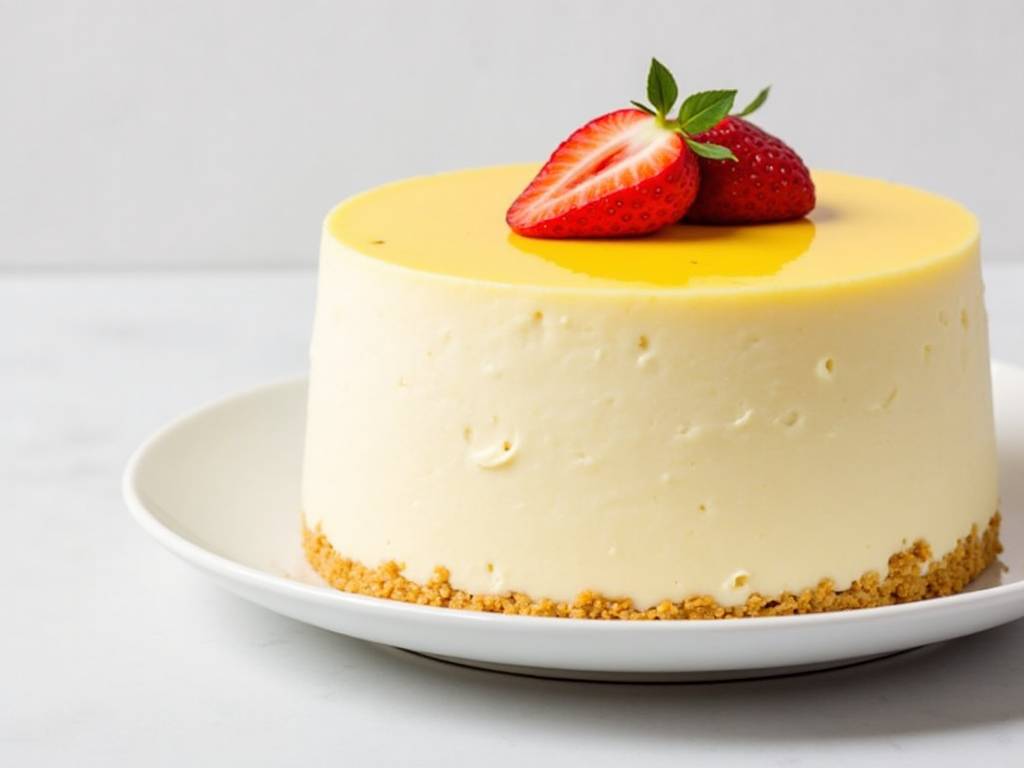
Does a darker colored pan affect my cheesecake? It can. Darker metals absorb more heat, which can lead to a darker, firmer crust and potentially quicker edge setting. If using a dark non-stick pan, consider reducing your oven temperature by 25°F (about 15°C) and keeping a close eye on the baking time to prevent over-baking the edges before the center is set.
The right mold is the silent partner in your cheesecake success. It’s the element that translates your careful mixing and quality ingredients into a structurally sound, beautifully presented dessert. By understanding the why behind material, size, and preparation, you move from following a recipe to mastering a technique. So, the next time you embark on how to make cheesecake, give your mold choice the thoughtful consideration it deserves. Your perfect slice awaits.
⚠️ 温馨提示:本款蛋糕含糖量较高,高血糖/糖尿病患者请谨慎食用。





