 bluename
 How to Make Cheesecake Chilling Time: The Key Step to Perfect Texture
I’ve been there. You’ve followed the recipe to the letter, baked a cheesecake that looks flawless coming out of the oven, only to slice into it hours later and find a dense, almost rubbery texture, or worse, a filling that hasn’t fully set. The anticipation turns to disappointment. The culprit, more often than not, is rushing or misunderstanding the cheesecake chilling time. This isn’t just a passive waiting period; it’s the most critical, active phase of transformation that determines whether your dessert is good or sublime. As a professional baker, I can tell you that mastering this step is what separates a homemade treat from a professional-quality creation.
Think of the chilling process as the final, silent bake. While the oven’s heat coagulates the proteins and sets the structure, the cold refines it. It’s during cheesecake chilling time that the fats firm up gracefully, the flavors have a chance to marry and intensify, and that iconic creamy-yet-firm texture is achieved. Skipping or shortening this step is like serving a steak right out of the sous-vide bag without searing it—you’re missing the finish that defines the experience.
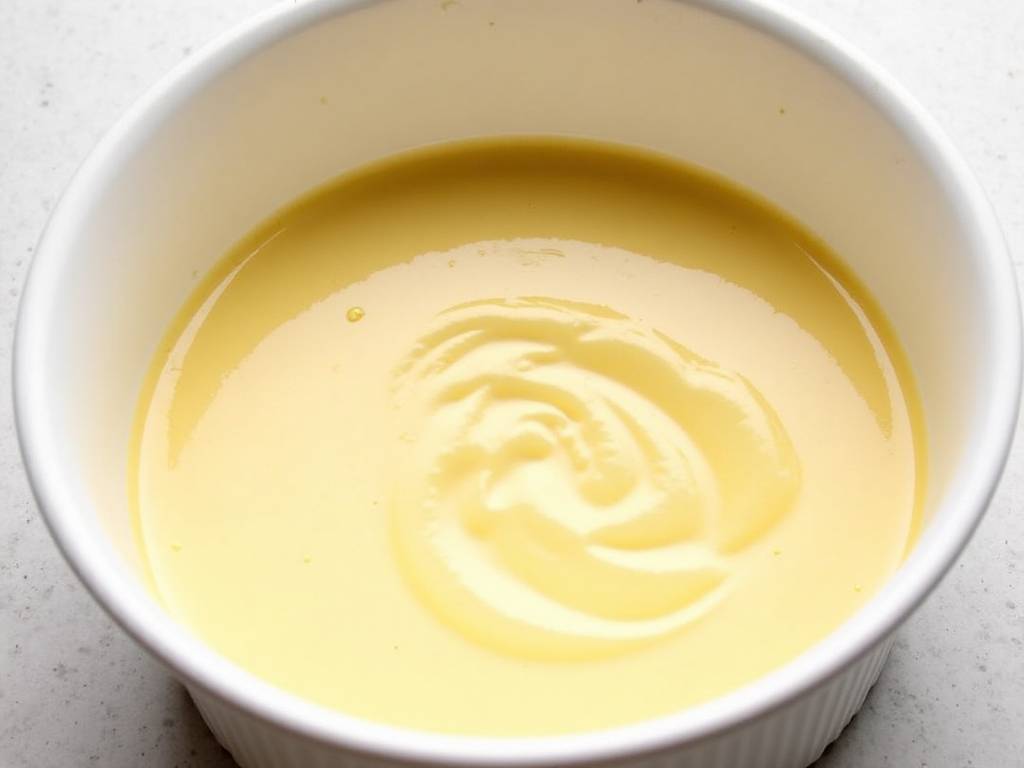
Why Chilling is Non-Negotiable: The Science Behind the Set
Let’s break down what actually happens in your refrigerator. A freshly baked cheesecake is delicate. Its internal structure, built by eggs and stabilized by the cream cheese, is still fragile and warm.
First, fat stabilization. Cream cheese and heavy cream are emulsion of fat and water. When warm, these fats are soft. Chilling solidifies these fats, giving the cheesecake its body and preventing it from oozing or collapsing when cut. A study published in the Journal of Dairy Science notes that the crystallization of milk fat under controlled cooling is crucial for the desired firmness and mouthfeel in dairy-based desserts.
Second, moisture redistribution. During baking, moisture evaporates and moves towards the surface. A slow, gradual chill allows this moisture to redistribute evenly back throughout the cake. This prevents a soggy bottom or a weepy, wet top and ensures every bite is uniformly creamy. Rushing this with a freezer can cause uneven crystallization and a grainy texture.
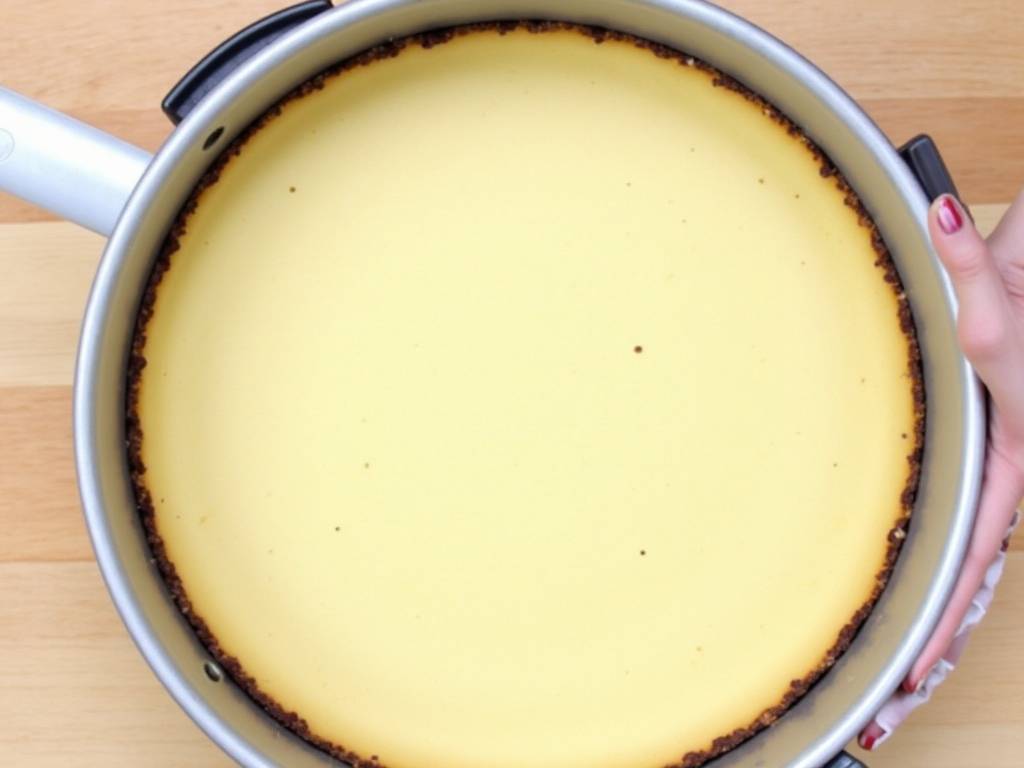
Third, flavor development. This is the secret weapon. Cold temperatures mute flavors. By allowing the cheesecake to chill thoroughly, the ingredients—the tang of the cream cheese, the vanilla, the citrus zest—have time to blend and their true depth to emerge. A cheesecake tasted warm will lack the rounded, rich flavor profile of one properly rested. It’s akin to letting a stew rest overnight; the magic happens as it cools.
The Two-Stage Chill: Your Blueprint for Perfect Texture
Based on my experience and the consensus among pastry chefs, a two-stage chilling method is foolproof. It manages the temperature drop to protect the texture.
Stage 1: The Countertop Cool (1-2 Hours) Once out of the oven, run a thin knife around the edge of the springform pan to release the cake (this prevents dramatic cracking as it contracts). Do NOT move it. Let it sit on the counter, in its turned-off oven with the door ajar, or simply at room temperature away from drafts. This gradual cooldown from baking temperature to room temperature is the first critical phase. Moving a hot cheesecake directly to the fridge exposes it to a shock of cold air and humidity, which can lead to condensation on the surface (making it sticky) and increase the risk of cracking from sudden contraction.
Stage 2: The Refrigerator Set (The Essential Cheesecake Chilling Time) After the cake is completely at room temperature, it’s time for the main event. Loosely cover the top with parchment paper or wax paper (avoid plastic wrap touching the surface if you can) and place it in the refrigerator. Here’s where patience is key.
- Minimum Threshold: At least 4 hours. This will set the cake, but it will still be on the softer, more mousse-like side.
- Optimal Window: 6 to 12 hours. For most classic baked cheesecakes, this is the sweet spot. The texture will be perfectly set, creamy, and sliceable.
- Gold Standard: Overnight (24 hours). This is my unwavering recommendation for any cheesecake I serve professionally. A full 24-hour cheesecake chilling time guarantees an impeccable, firm texture, clean slices, and peak flavor. The difference between a 6-hour and a 24-hour chill is profoundly noticeable.
Special Considerations for Different Cheesecake Types
Not all cheesecakes chill the same. Adjusting your expectations and timing is part of the art.
No-Bake Cheesecakes: These rely entirely on chilling to set, usually via gelatin or whipped cream. They often require a longer initial set, frequently needing the full 6-12 hours in the fridge, and benefit greatly from being made a day ahead.
Japanese Cotton Cheesecakes & Soufflé-Style: These lighter, flour-containing cakes have a more delicate, airy structure. They still require chilling but can be served after a minimum of 3-4 hours. Their texture is best enjoyed slightly cooler than room temperature, not ice-cold.
New York-Style (Dense and Rich): The king of cheesecakes demands the most respect. Its high density of cream cheese, eggs, and sour cream means heat is retained for much longer. A full 24-hour chill is not a suggestion—it’s a requirement for it to achieve its famous firm-yet-velvety bite.
Troubleshooting: Common Chilling Pitfalls and How to Avoid Them
- Weepy or Watery Surface: This is often condensation. Ensure the cake is fully cooled to room temperature before refrigerating. Placing a paper towel over the top before covering can help absorb moisture.
- Cracks After Chilling: If a crack appears during the chill, it’s usually due to an issue during baking (overmixing, oven temperature too high) or cooling too quickly. The countertop cool stage is your best defense.
- Too Hard or Ice-Crystal Texture: You likely placed it in the freezer to “speed things up.” While a brief 30-minute freezer stint can help with slicing, prolonged freezing without proper wrapping causes ice crystals to form in the filling, disrupting its smoothness.
- Soggy Crust: A proper pre-bake (blind baking) of the crust and ensuring the filling is not poured in while overly hot will help. Also, letting the chilled cheesecake sit at room temperature for 20-30 minutes before serving can prevent condensation from forming on the plate and softening the base.
Frequently Asked Questions
Can I put my cheesecake in the freezer to chill it faster? You can, but with caution. The freezer is great for a final 30-minute firm-up before serving for ultra-clean slices. However, using it to replace the refrigerator chill time risks creating ice crystals and a uneven, sometimes grainy texture. For the bulk of the setting process, the refrigerator’s gentle, consistent cold is irreplaceable.
How do I know for sure my cheesecake is fully chilled and set? The best test is the jiggle test when it first comes out of the oven (the center should have a slight, creamy jiggle, not a liquid wave). After chilling, the visual and touch test is key. The surface will be completely firm to a gentle touch, and the sides will have pulled away slightly from the pan. When you insert a knife, it should meet with consistent, slight resistance.
My recipe says chill for 2 hours, but you recommend much longer. Why the difference? Many recipes shorten the chill time to make the recipe seem quicker and more appealing. A 2-hour chill will set a cheesecake, but it won’t optimize it. Think of the stated time as the bare minimum for edibility, and the extended time as the secret to excellence. In professional baking, long, slow chilling is standard practice.
Mastering the cheesecake chilling time is the ultimate act of baking discipline. It requires you to trust the process, plan ahead, and understand that the best things come to those who wait—specifically, those who wait while their cheesecake rests peacefully in the refrigerator. By embracing this crucial step, you transform your cheesecake from a simple baked good into a refined dessert with a texture that is dense yet smooth, rich yet balanced, and utterly unforgettable. The perfect slice is your reward for patience.
⚠️ 温馨提示:本款蛋糕含糖量较高,高血糖/糖尿病患者请谨慎食用。





