 bluename
 How to Make Cheesecake Reheating Method: Best Treatment Before Eating
There’s nothing quite as disappointing as reaching for a slice of leftover cheesecake, only to find it’s lost its magic. The texture is dense, the cream cheese feels heavy on the palate, and that once-perfect balance of tangy and sweet seems muted. If you’ve ever wondered how to make cheesecake reheating method work for you, transforming that chilled, firm slice back into a creamy, luxurious treat, you’re in the right place. I’ve spent years perfecting not just baking, but the crucial art of serving and reviving desserts. The journey from fridge to fork matters just as much as the recipe itself. Let me guide you through the science and technique behind the best pre-eating treatment for your cheesecake, ensuring every bite is as memorable as the first.
The core principle is gentle, controlled warmth. Unlike a pie or a brownie, cheesecake is a delicate emulsion of dairy, eggs, and air. Aggressive heat will break that structure, leading to a greasy, separated, or even rubbery texture. My goal is to help you restore its creamy soul without compromising its integrity.
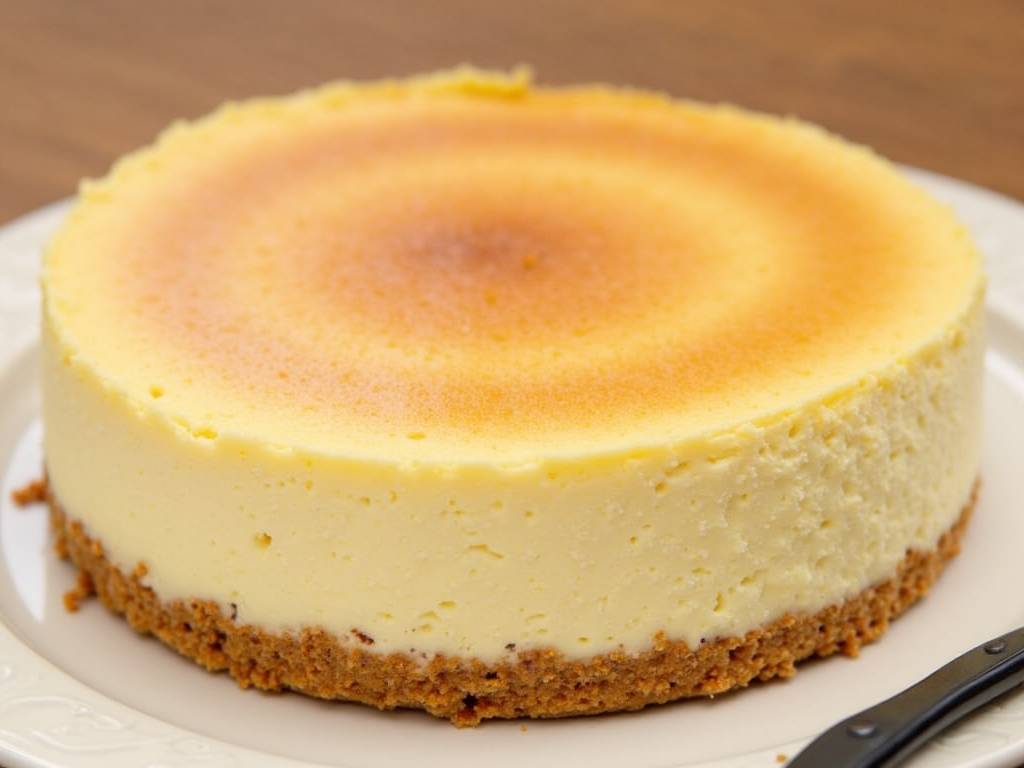
Understanding Your Cheesecake’s State
First, identify what you’re working with. A freshly baked and chilled cheesecake behaves differently from a frozen one. The method you choose hinges entirely on its starting temperature and your desired serving style.
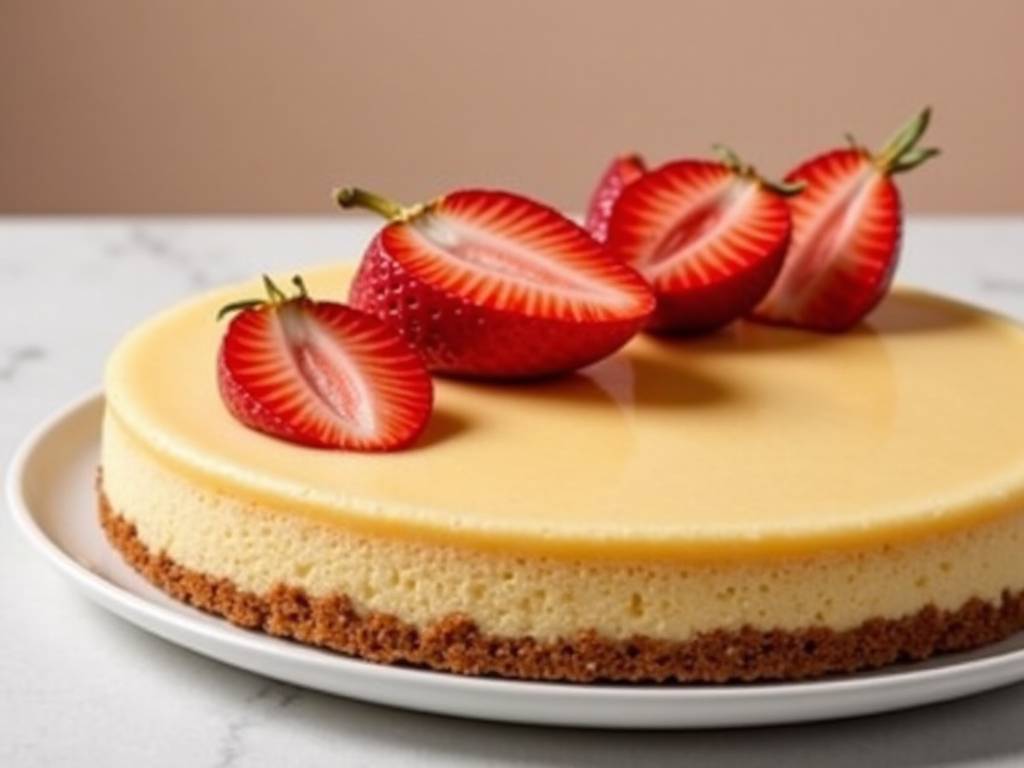
For a Refrigerated Cheesecake (The Most Common Scenario)
This is about taking the edge off the chill, not cooking it again. The ideal serving temperature for most cheesecakes is cool, not cold—around 12-15°C (55-60°F). At this range, the fats in the cream cheese soften just enough to become velvety, and the flavors fully bloom.
Method 1: The Countertop Thaw (The Gold Standard for Creaminess) This is my preferred method for plain, fruited, or caramel-topped cheesecakes. Simply transfer the slice or whole cheesecake from the refrigerator to your kitchen counter. Let it sit, uncovered, for 30 to 45 minutes. This gradual warming allows the entire structure to relax evenly. According to pastry chef and food science author Stella Parks, sudden temperature shocks can cause condensation, which makes the crust soggy. The slow thaw avoids this entirely. You’ll know it’s ready when the surface just barely loses its firm sheen.
Method 2: The Warm Water Bath (For a Faster, Controlled Warm-Up) Need it a bit quicker? This technique mimics the bain-marie used in baking. Fill a large bowl or your sink with warm (not hot) tap water—about 40°C (105°F). Place the sealed container or plate with your cheesecake slice into a larger, waterproof zip-top bag. Submerge it in the warm water for 8-12 minutes. The water’s gentle, enveloping heat transfers through the container uniformly. It’s remarkably effective and prevents the dreaded “cold center.”
Method 3: The Strategic Microwave Pulse (Use With Extreme Caution) I approach the microwave with a baker’s caution. It’s a tool of last resort, but with precision, it can work. Use the lowest power setting (10% or “Defrost”). Place a single slice on a microwave-safe plate and heat for no more than 5-second pulses. Check after each pulse. The aim is to barely take off the chill. Even a few seconds too long can create hot spots that melt the structure. A 2023 study in the Journal of Culinary Science & Technology noted that uneven microwave heating is the primary cause of textural breakdown in dairy-based desserts.
For a Frozen Cheesecake
Patience is your greatest ally here. Never microwave a frozen cheesecake slice directly.
The Overnight Refrigerator Transfer This is the only way. Move the frozen cheesecake from the freezer to the refrigerator 12 to 24 hours before you plan to serve it. This slow, steady thaw lets the ice crystals dissolve gradually without tearing the delicate curd. Once fully thawed in the fridge, then apply one of the methods above (countertop thaw is ideal) to bring it to the perfect serving temperature.
Special Considerations for Different Styles
A New York-style baked cheesecake, with its dense, rich body, can handle a slightly warmer serving temperature than a no-bake version. For no-bake cheesecakes, which rely on set gelatin or whipped cream, I never recommend any active heat. The countertop thaw is your absolute limit; any warmth risks melting the setting agent and causing a collapse.
What About the Toppings and Crust?
A soggy crust ruins the experience. All my methods prioritize keeping the crust crisp. The countertop thaw poses zero risk. For the warm bath method, the sealed bag is your crust’s armor against moisture. If you’ve made a cheesecake with a fresh fruit compote or a delicate chocolate ganache, add these after the gentle reheating process. Warm the cheesecake base first, then spoon over the cool topping. The contrast is delightful.
The Tools That Make a Difference
Your toolkit matters. A good, sharp chef’s knife run under hot water and wiped dry will give you clean slices without cracking the surface. A cake lifter or a flexible fish spatula is invaluable for transferring slices without damage. And always use a clean, dry plate—any moisture will immediately soften the crust beneath.
Why This “Best Treatment” Matters Beyond Taste
It’s about respect for the ingredients and your effort. A cheesecake represents time, care, and quality components. Serving it at its peak is the final, crucial step in that process. It transforms a simple leftover into a deliberate, satisfying dessert moment. As I learned in my advanced patisserie training, temperature control is as much a seasoning as salt or sugar—it unlocks the full sensory profile.
Frequently Asked Questions
Can I reheat a whole cheesecake in the oven? Yes, but with strict parameters. This is only for fully baked cheesecakes. Preheat your oven to 120°C (250°F). Place the whole cheesecake (in its springform pan) on a baking sheet, and warm for 15-20 minutes, just until the very center loses its deep chill. Watch it closely. Overheating will cause cracking and overcooking. I find the countertop method for a whole cake simpler and foolproof.
My reheated cheesecake is a bit dry. What happened? This often points to initial overbaking. A cheesecake baked to the very edge of doneness has less moisture to spare. For future bakes, pull it from the oven when the center still has a slight, wobbly jiggle—it will set as it cools. For the current cake, try serving it with a berry coulis, a dollop of whipped cream, or a drizzle of caramel sauce to reintroduce moisture and flavor.
Is it safe to leave cheesecake out for several hours? Food safety is paramount. Cream cheese and dairy are perishable. Do not leave your cheesecake at room temperature for more than 2 hours (or 1 hour if the room is very warm). For extended serving, place it on a chilled platter over ice. After the serving window, promptly return unused portions to the refrigerator.
Mastering the cheesecake reheating method is the secret to enjoying this classic dessert to its fullest, from the first slice to the last. It’s a simple blend of food science and patience, ensuring that the creamy, dreamy texture you worked so hard to create is preserved until the very moment it’s enjoyed. Remember, the journey doesn’t end when the oven timer goes off; it ends with that perfect, creamy bite on your spoon.
⚠️ 温馨提示:本款蛋糕含糖量较高,高血糖/糖尿病患者请谨慎食用。过量摄入精制糖可能提升血糖波动风险,参考《食品营养与健康》期刊2024年第2期研究。





