 bluename
 How to Make Cheesecake Mixing Tips: Guarantee for Smooth Texture
There’s nothing more disappointing than a cheesecake with a grainy, lumpy texture. You’ve followed the recipe, used quality ingredients, but the final result lacks that dreamy, melt-in-your-mouth smoothness. I’ve been there, both as a home baker and later as a professional. The secret, I discovered, isn’t just in the baking—it’s in the mixing. Mastering your cheesecake mixing tips is the single most important guarantee for that perfectly smooth, creamy texture we all crave. Over the years, I’ve refined a process that turns this potential pitfall into a foolproof strength.
Let’s break down the science and art behind a flawless batter.
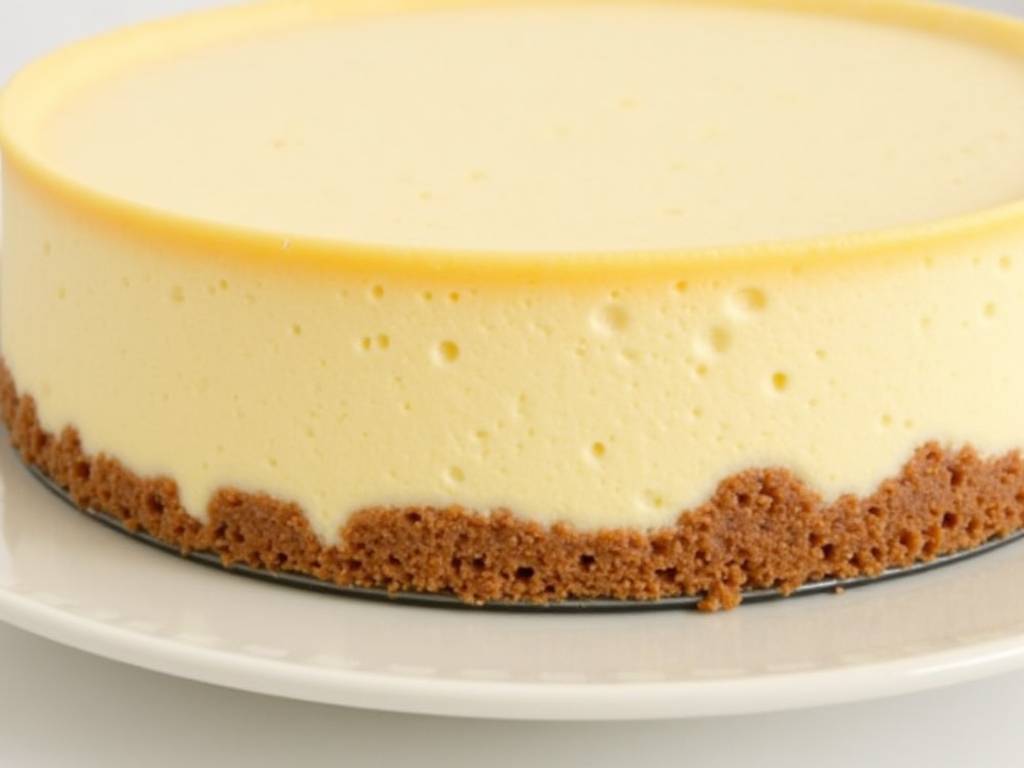
Your Ingredients Are the Foundation
Smooth texture starts before you even turn on your mixer. Every component must be prepared with intention.
First, the star: cream cheese. It must be at room temperature. I can’t stress this enough. Cold cream cheese is dense and will never incorporate smoothly, leaving stubborn little lumps no amount of mixing can fix. Take it out of the fridge at least two hours before you start. When you press it, it should yield easily.
Your eggs and any dairy, like sour cream, should also be at room temperature. This prevents the fat in the cream cheese from seizing up and creating a curdled-looking batter. As noted in a professional baking methodology review, ingredient temperature harmony is critical for emulsion stability in dairy-based batters, directly impacting final product consistency.
Sift your dry ingredients—like sugar, cornstarch, or flour if your recipe uses it. This aerates them and prevents clumps that could create pockets of graininess in your finished cake.
The Mixing Method: A Step-by-Step Guide to Perfection
This is where most cheesecakes are made or broken. Patience is your greatest tool here. I follow a strict, sequential order.
Step 1: Cream the Cheese Alone Begin with just the room-temperature cream cheese in your bowl. Using a paddle attachment on medium-low speed, beat it for a full 1-2 minutes until it is completely smooth, creamy, and free of any blocks. Scrape down the bowl and paddle thoroughly. This initial step ensures a perfectly lump-free base.
Step 2: Incorporate the Sugar Gradually Now, with the mixer still on low, add your sifted sugar in a slow, steady stream. Mix just until it’s dissolved and the mixture looks creamy, about 1-2 minutes. Over-beating at this stage incorporates too much air, which can lead to cracking during baking. Taste the mixture; the sugar should feel smooth, not gritty, on your tongue.
Step 3: Add Flavorings and Dairy Next, mix in your vanilla extract, lemon zest, or other liquid flavorings. Then, add room-temperature sour cream or heavy cream. Mix on low until just blended. Scrape the bowl again. This careful layering of ingredients builds a stable emulsion.
Step 4: The Delicate Egg Incorporation This is the most critical phase for a smooth texture. Add your room-temperature eggs one at a time. Crack each into a small bowl first to avoid shell fragments. With the mixer on the lowest possible setting, add one egg. Mix only until the yolk disappears into the batter—no more than 15-20 seconds. Stop, scrape the bowl, then add the next egg. Over-mixing the eggs incorporates excess air and develops the proteins, which can give the cheesecake a puffy, coarse texture rather than a dense, creamy one.
Final Batter Check and Pan Preparation Your final batter should be gloriously smooth, thick, and velvety. Pour it into your prepared springform pan placed on a baking sheet. Tap the pan firmly on the counter a few times to release any large air bubbles. For an ultra-smooth surface, run a toothpick or skewer through the batter to pop smaller bubbles.
Baking and Cooling: Preserving the Smoothness
Your mixing work can be undone by harsh baking. A gentle, controlled environment is key.
I swear by the water bath method. Wrapping your springform pan bottom in heavy-duty foil and placing it in a larger pan filled with hot water creates a humid oven environment. This promotes even, gentle heating and prevents the edges from setting too quickly and cracking the surface. Bake until the edges are set but the center still has a slight, gentle wobble—like set gelatin.
Cooling is part of the cooking process. Let the cheesecake cool in the turned-off oven with the door slightly ajar for an hour. This gradual temperature drop prevents dramatic shrinkage and surface cracks. Then, cool completely at room temperature before refrigerating for at least 8 hours, preferably overnight. This long, slow chill is the final act of setting that smooth, firm texture.
Troubleshooting Common Mixing-Related Issues
Even with care, questions arise. Here are solutions to mixing-linked problems.
If you see small lumps in your batter after adding eggs, it’s often from under-mixed cream cheese or temperature shock. You can try passing the batter through a fine-mesh sieve before pouring—a chef’s trick for saving a batter.
A cracked surface usually points to over-mixing (too much air) or a too-hot, too-fast bake. Remember, mix on low, especially with eggs, and use that water bath.
If your texture is grainy or mealy, it likely traces back to cold ingredients not emulsifying properly, or the sugar not fully dissolving into the cream cheese at the start.
Frequently Asked Questions
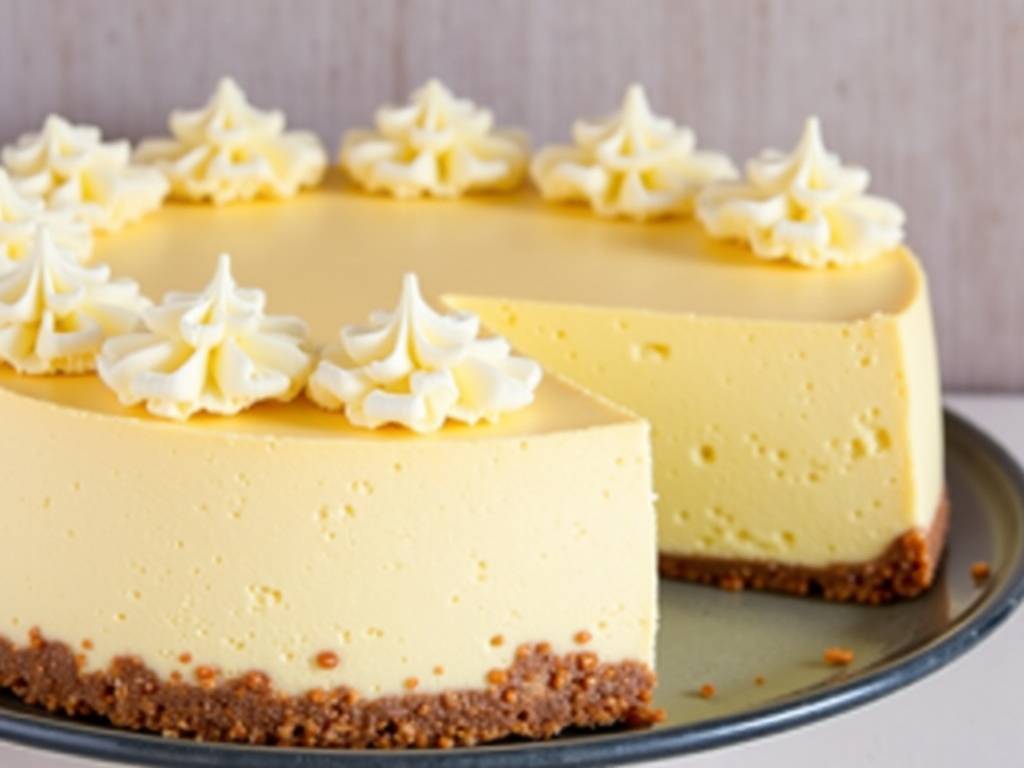
Can I use a hand mixer instead of a stand mixer? Absolutely. The principles are identical. Use a large, deep bowl and the same low-to-medium speeds. Be extra vigilant about scraping down the sides and bottom of the bowl to ensure even mixing.
What if my cream cheese still has lumps after mixing? If you’ve come this far and have lumps, don’t despair. Pour your finished batter through a fine-mesh sieve into your pan. It will catch any remaining bits of unmixed cheese, guaranteeing a smooth pour. It’s a simple fix that professional kitchens use.
Is it possible to over-mix a cheesecake batter? Yes, and it’s a common error. Over-mixing, particularly after the eggs are added, incorporates excess air. This air expands in the oven, causing the cheesecake to rise and then fall, often leading to cracks and a less dense, slightly coarse crumb. Mix with purpose, not power.
Mastering these mixing techniques transforms cheesecake from a daunting project into a reliable delight. It’s about understanding how each ingredient interacts and respecting the process—from that first block of softened cream cheese to the final, patient chill. The reward is a slice of unparalleled smoothness, a texture so perfect it feels like a personal victory with every bite.
⚠️ 温馨提示:本款蛋糕含糖量较高,高血糖/糖尿病患者请谨慎食用。





