bluename
 How to Make Cheesecake Baking Temperature: Your Key to a Cracking-Free Masterpiece
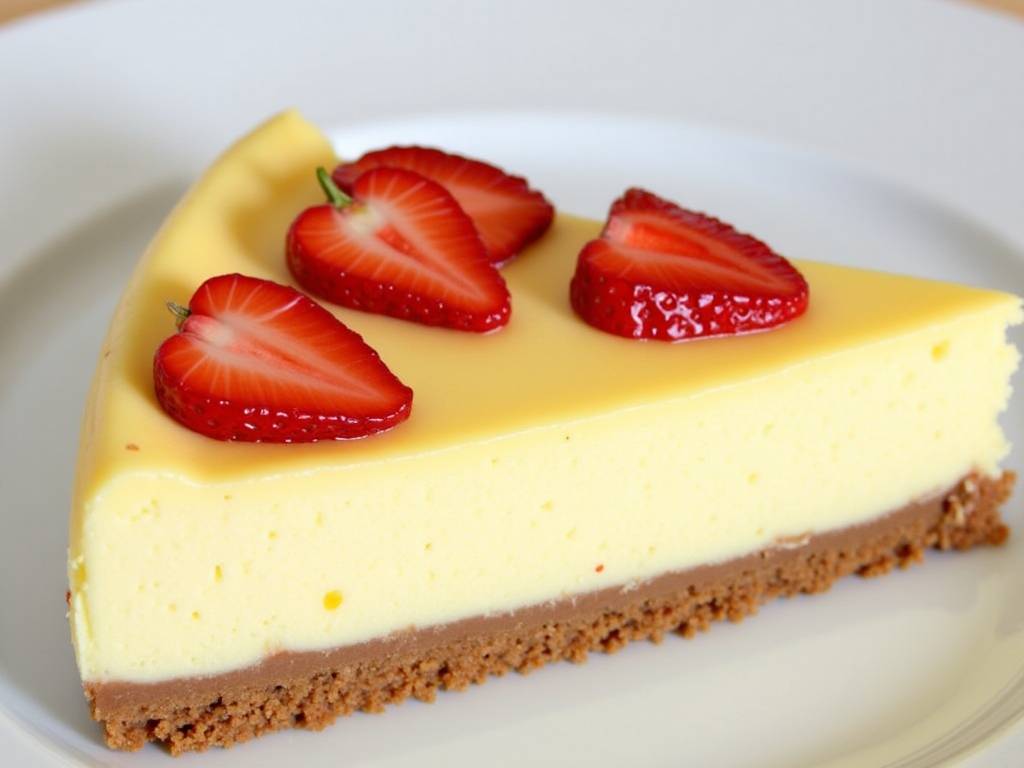
There’s nothing more disheartening than pulling a beautiful cheesecake from the oven, only to watch a deep, jagged crack tear across its surface as it cools. If you’ve been there, you know the frustration. For years, I chased the secret to that perfectly smooth, creamy, and unblemished cheesecake top. I tried every trick—beating the eggs less, adding cornstarch, even baking in a water bath with three layers of foil. But my real breakthrough came when I stopped focusing solely on the recipe and started obsessing over the cheesecake baking temperature. It wasn't just one temperature; it was the entire thermal journey from mixing bowl to cooling rack. Mastering this is the single most important factor in preventing cracks and achieving a sublime texture.
Think of your cheesecake as a delicate custard, not a cake. Its structure is held together by eggs, which are incredibly sensitive to heat. Too much, too fast, and the proteins seize up, squeezing out moisture and creating tension that leads to that infamous crack. The right cheesecake baking temperature is a gentle, controlled process that coaxes the eggs into setting without panic. It’s the difference between a stressful bake and a foolproof ritual.
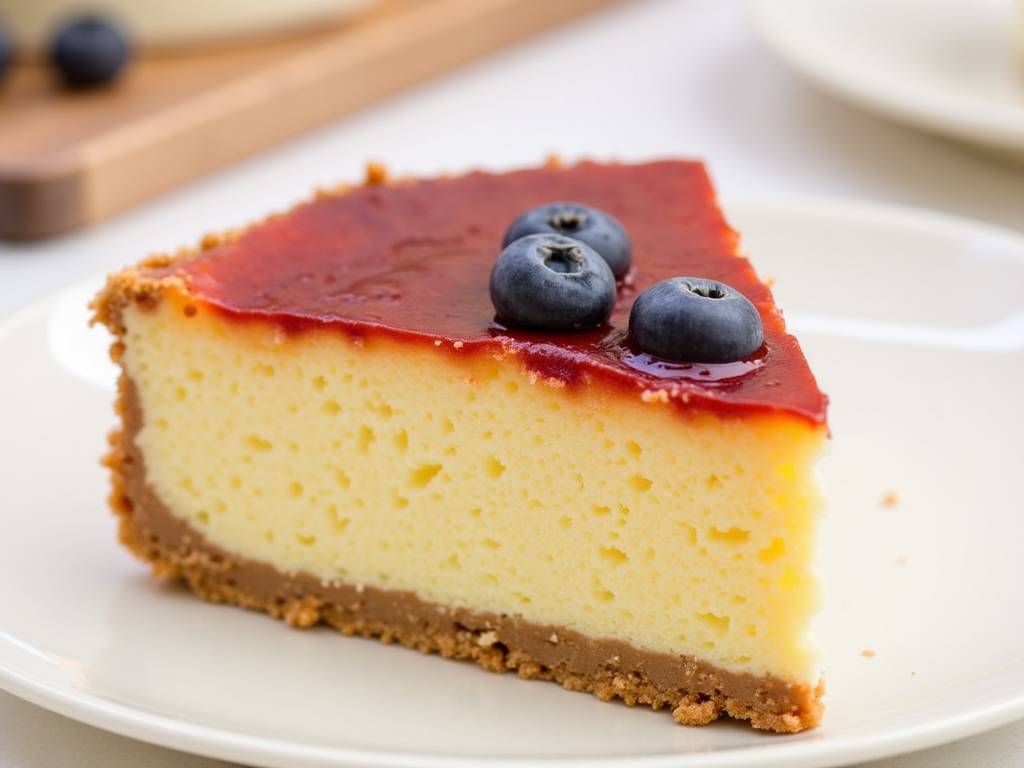
Why Temperature Control is the Heart of Cheesecake Success
Most baking failures can be traced back to temperature missteps. A study published in the Journal of Culinary Science & Technology noted that the thermal gradient—the difference in heat from the edge to the center of a baked good—is a primary cause of structural defects in egg-based desserts. Your cheesecake is a prime example.
When the oven is too hot, the edges set and firm up rapidly while the center remains liquid. As the center finally heats and expands, it has nowhere to go against the rigid outer ring, causing the surface to split. Conversely, a temperature that’s too low won’t set the eggs effectively, leading to a dense, soggy texture. The goal is a uniform, gentle set. Renowned pastry chef and author Nick Malgieri often emphasizes that “patience and low heat are the cheesecake baker’s best tools.” This isn’t just folklore; it’s food science.
The Two-Stage Baking Method: A Foolproof Temperature Blueprint
After countless tests in my own kitchen, I’ve standardized a two-stage baking method that leverages temperature to create the ideal environment. This method addresses the core issue of thermal shock.
Stage One: The Primary Bake at Moderate Heat
Start with a preheated oven at 325°F (163°C). This is your foundational cheesecake baking temperature. It’s high enough to initiate cooking but low enough to prevent a violent reaction.
Place your filled springform pan (properly wrapped in foil if using a water bath) on the center rack. Bake for 45-60 minutes. The cake is done when the edges are puffed and set, but the center—about a 3-inch diameter circle—still has a pronounced, gentle jiggle. It should look underbaked. If the center is firm, you’ve already gone too far. This jiggle is crucial; it means the center is still fluid enough to adjust during the cooling phase without building up cracking pressure.
Stage Two: The Residual Heat Finishing Phase
This is the non-negotiable secret. Once the primary bake is complete, turn off the oven. Do not open the door. Let the cheesecake sit in the turned-off oven for at least one hour. The residual heat will continue to ever-so-gradually cook the center to perfect doneness. This slow cooldown within the oven dramatically reduces the temperature differential between the cake’s core and its surface, minimizing stress and shrinkage.
The Critical Role of Water Baths and Oven Thermometers
A discussion on cheesecake baking temperature is incomplete without mentioning the water bath, or bain-marie. It’s your insurance policy. The water surrounds the pan with gentle, moist heat, ensuring the temperature never exceeds 212°F (100°C) at the cake’s exterior. This virtually eliminates the risk of the edges overcooking before the center is done. It’s the best way to guarantee that creamy, melt-in-your-mouth texture from edge to edge.
But here’s the catch: your oven’s thermostat is often a liar. I can’t tell you how many ovens I’ve used that run 25 degrees hot or cold. An inexpensive oven thermometer is your most vital tool. Always, always verify your oven’s actual temperature against the set temperature before you bake. Trusting your dial is the first step toward failure.
The Cooling Ritual: Where Cracks Often Form
Your temperature management doesn’t end when the cake leaves the oven. The cooling stage is where many cracks finally manifest. After its hour in the turned-off oven, run a thin knife around the edge of the cake to release it from the pan. This prevents the contracting cake from sticking to the sides and tearing. Then, let it cool completely on a wire rack at room temperature. Only after it is fully cool should you refrigerate it, ideally for a minimum of 4 hours, but overnight is king. This slow, staged cooling allows the structure to firm up gracefully.
Putting It All Together: A Sample Temperature-Timeline
Let’s visualize the perfect thermal journey for a classic New York-style cheesecake:
- Ingredients at Room Temp: 2 hours (Ensures smooth blending without overmixing).
- Oven Preheating: 30 minutes at 325°F (163°C), with oven thermometer confirmed.
- Primary Bake: 55 minutes at 325°F. Edges set, center jiggly.
- Residual Heat Bake: 60 minutes in the turned-off, closed oven.
- Counter Cool: 2 hours, after running a knife around the edge.
- Chill: 8+ hours in the refrigerator.
This timeline isn’t fast, but it is reliable. It respects the chemistry of your ingredients.
Frequently Asked Questions
My cheesecake still cracked slightly. What did I do wrong? First, don’t despair—it will still taste incredible! The most likely culprit is overbaking during the primary stage. Next time, reduce the primary bake time by 5-10 minutes. The center should be jigglier than you think is safe. Also, ensure you didn’t over-beat the batter after adding the eggs, as this incorporates too much air that expands and collapses.
Can I skip the water bath? It seems like a hassle. You can, but you become solely reliant on perfect, exact oven temperature and vigilant timing. The water bath is a buffer against oven hotspots and minor temperature fluctuations. For a guaranteed silky texture, especially for dense recipes, I never skip it. A good trick is to place a large roasting pan with hot water on the rack below your cheesecake to add steam to the oven environment.
Why does my cheesecake sink in the middle after cooling? A slight dip is normal, but a significant sinkhole usually indicates underbaking or a sudden temperature change. If the center was extremely wobbly when you turned the oven off, it may not have had enough residual heat to fully set. Ensure your oven retains heat well during the second stage, and never rush the cooling by placing a warm cheesecake directly in the fridge.
Mastering the cheesecake baking temperature transforms the process from a gamble into a science. It’s about guiding your ingredients with patience and control. By embracing the low-and-slow primary bake, the crucial residual heat phase, and a disciplined cooling ritual, you equip yourself with the knowledge to produce flawlessly smooth, crack-free cheesecakes every single time. Remember, the perfect slice isn’t just about flavor—it’s about the confidence that comes from understanding the heat.
⚠️ 温馨提示:本款蛋糕含糖量较高,高血糖/糖尿病患者请谨慎食用。