 bluename
 How to Make Cheesecake Water Bath Method: Baking Method for Even Heating
If you’ve ever pulled a cheesecake from the oven only to find a cracked, sunken top, you know the frustration. That beautiful, creamy dream can turn into a crumbled mess in an instant. For years, I struggled with this exact problem. My cheesecakes would puff up beautifully, then fall dramatically, leaving behind a network of cracks. The culprit? Uneven, aggressive heat. That’s when I mastered the water bath method for cheesecake, the ultimate baking technique for gentle, even heating. This method is the secret weapon that transforms a good cheesecake into a spectacularly smooth, crack-free, and luxuriously creamy masterpiece. It’s not just a trick; it’s a fundamental principle for perfect baking.
Let me walk you through why this method is non-negotiable, how to execute it flawlessly, and share the recipe that never lets me down.
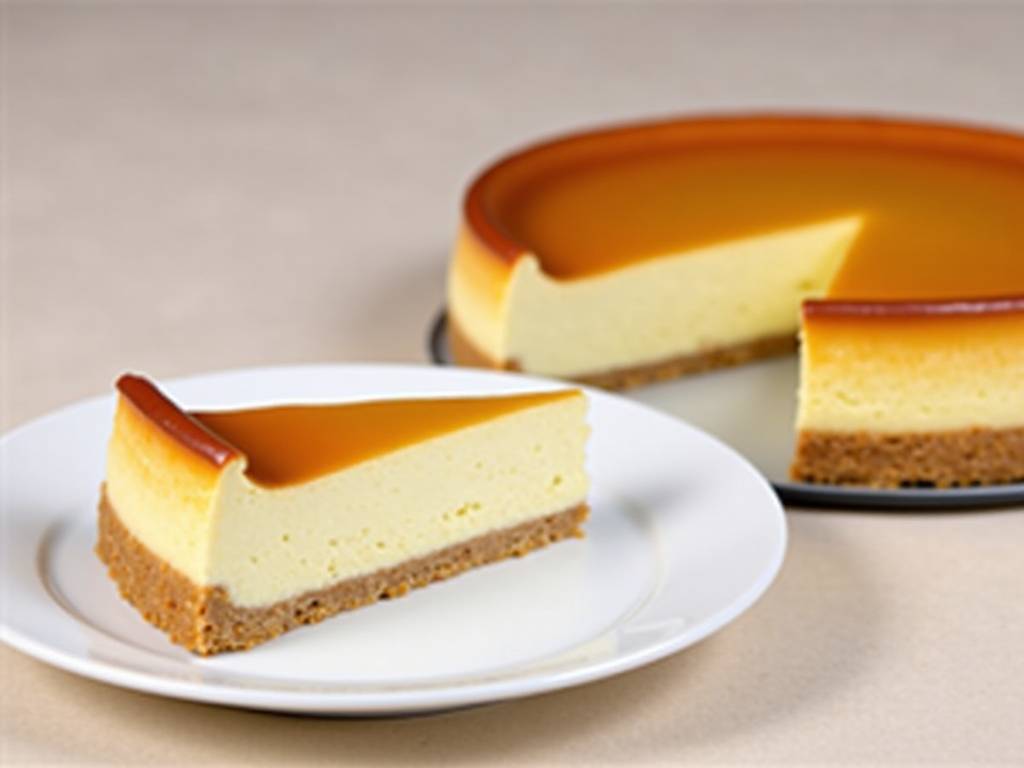
Why the Water Bath is a Game-Changer for Cheesecake
Think of a cheesecake as a delicate custard, not a cake. Its structure relies on eggs and dairy setting gently. Without a water bath, the edges of your cheesecake bake much faster than the center. The edges puff and set, while the still-liquid center continues to rise. Eventually, this uneven tension causes the surface to crack as it cools and collapses.
A water bath, or bain-marie, solves this by creating a humid, steamy environment in your oven. The water surrounding the springform pan regulates the temperature, ensuring the entire cheesecake heats evenly and gently. This prevents the proteins in the eggs from curdling and tightening too quickly, which is what leads to a dry, grainy texture and cracks. The result is a cheesecake that sets slowly and uniformly, emerging with a pristine surface and a melt-in-your-mouth consistency. As noted in professional baking texts, this gentle heat application is crucial for any egg-based custard to achieve optimal silkiness.
Essential Tools You’ll Need Before Starting
Gathering the right tools is half the battle for a stress-free water bath experience. Here’s my checklist:
- A high-quality 9-inch springform pan. This is non-negotiable for easy release.
- A roasting pan large enough to hold the springform pan with space around it.
- Heavy-duty aluminum foil. You’ll need this to create a waterproof seal around your springform pan. I recommend using two large, overlapping sheets for absolute security.
- A kettle or pitcher for hot water. Pouring hot water into the roasting pan in the oven is safer and easier.
- A large baking dish (as an alternative to a roasting pan).
- Standard mixing bowls, electric mixer, spatula, and a fine-mesh sieve.
My Foolproof New York-Style Cheesecake Recipe
This is my go-to recipe, perfected over countless batches. It’s rich, classic, and designed specifically for the water bath method.
For the Crust:
- 1 ½ cups (150g) graham cracker crumbs
- ¼ cup (50g) granulated sugar
- 6 tablespoons (85g) unsalted butter, melted
For the Filling:
- 4 packages (32 oz / 900g total) full-fat cream cheese, softened to room temperature
- 1 ¼ cups (250g) granulated sugar
- 1 cup (240g) full-fat sour cream, at room temperature
- 2 teaspoons pure vanilla extract
- 4 large eggs, at room temperature
- ⅓ cup (80ml) heavy cream
Step-by-Step Guide to the Perfect Water Bath
1. Prepare the Pan and Oven Preheat your oven to 325°F (160°C). Wrap the outside of your springform pan tightly with two layers of heavy-duty aluminum foil. This is your waterproof barrier. Press the foil firmly up the sides. Place the foil-wrapped pan inside your roasting pan. Then, make your crust by combining the crumbs, sugar, and melted butter. Press firmly into the bottom of the pan. Par-bake for 10 minutes, then let it cool while you make the filling.
2. Create the Filling with Care Using an electric mixer on medium-low speed, beat the softened cream cheese until it is completely smooth and creamy. This can take 2-3 minutes. Scrape down the bowl often. Any lumps now will remain in the final bake. Gradually add the sugar and beat until incorporated. Next, blend in the sour cream and vanilla. The key here is low speed and patience; we do not want to incorporate excess air.
Add the eggs one at a time, beating just until the yolk disappears before adding the next. Over-beating the eggs incorporates too much air, which can cause the cheesecake to puff and fall. Finally, stir in the heavy cream until the batter is homogenous. For an ultra-silky texture, I often pour the finished batter through a fine-mesh sieve into the prepared crust.
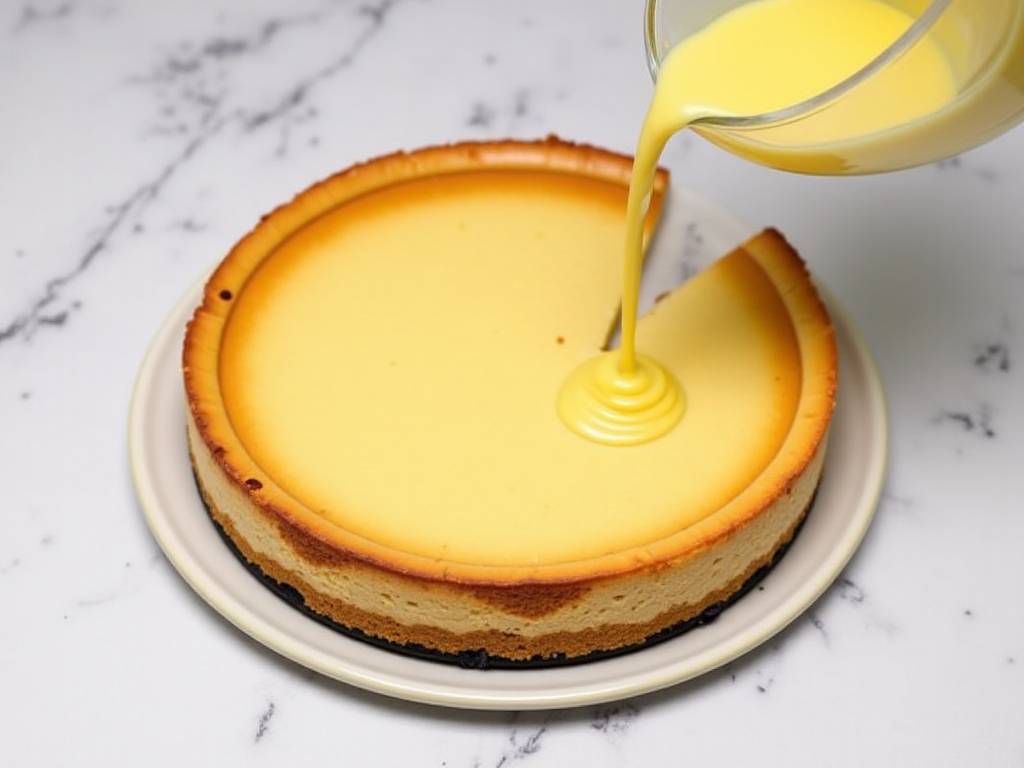
3. Assemble and Bake in the Water Bath Place your foil-wrapped pan inside the roasting pan. Pour the cheesecake batter over the crust. Carefully transfer the roasting pan to the preheated oven. Then, pour hot water into the roasting pan until it comes about halfway up the sides of the springform pan. This in-oven pouring prevents spills.
Bake for 1 hour to 1 hour 15 minutes. The cheesecake is done when the edges are set but the center still has a slight, gentle jiggle—like Jell-O—when you nudge the pan. The center will firm up as it cools.
4. The Crucial Cooling Process Turn off the oven and crack the oven door open with a wooden spoon. Let the cheesecake cool slowly in this turned-off oven for 1 hour. This gradual temperature drop is the final defense against cracking. After an hour, remove the cheesecake from the water bath, peel off the foil, and transfer it to a wire rack to cool completely to room temperature. Then, refrigerate it, uncovered, for at least 6 hours, but ideally overnight. This prolonged chilling sets the flavor and texture perfectly.
Troubleshooting Common Water Bath Issues
- Leaking Pan: Double-wrap with heavy-duty foil and ensure no tears. Some bakers also place the springform pan inside a silicone cake strap.
- Soggy Crust: A proper par-bake and a well-sealed foil wrap are your best defenses. The foil should come high enough up the sides to prevent any seepage.
- Water Getting Into the Batter: This usually happens if the foil seal fails or if water is splashed in during pouring. Be meticulous with the foil and pour the water gently against the side of the roasting pan.
Frequently Asked Questions
Can I bake a cheesecake without a water bath? You can, but the results are less guaranteed. For a similar effect, you can place a pan of hot water on the rack below your cheesecake to add steam to the oven. However, for the most even, gentle, and crack-free heating, a true water bath is superior. It’s the method recommended by professional pastry chefs for a reason.
What if I don’t have a roasting pan large enough? A common alternative is to place the foil-wrapped springform pan inside a deep baking dish or even on a sturdy baking sheet with raised edges. Then, place this setup on the oven rack and pour water into the larger pan or sheet. The goal is to create a water reservoir that surrounds the lower part of the cheesecake pan.
How do I know for sure when the cheesecake is done baking? Resist the urge to use a toothpick. The visual and tactile "jiggle test" is the gold standard. The center (about a 3-inch diameter circle) should jiggle slightly when you gently shake the pan, while the edges look puffed and set. It will continue to cook from residual heat as it cools in the turned-off oven.
Mastering the water bath method for cheesecake is the single most impactful skill you can learn for consistent, professional-quality results at home. It requires a bit more setup, but the payoff—a stunning, silky-smooth cheesecake that earns awe at every gathering—is absolutely worth it. Embrace the process, trust the gentle heat, and you’ll never fear a crack again.
⚠️ 温馨提示:本款蛋糕含糖量较高,高血糖/糖尿病患者请谨慎食用。





