 bluename
 How to Make Cheesecake Cracking Repair: Method to Remedy Cracking Cakes
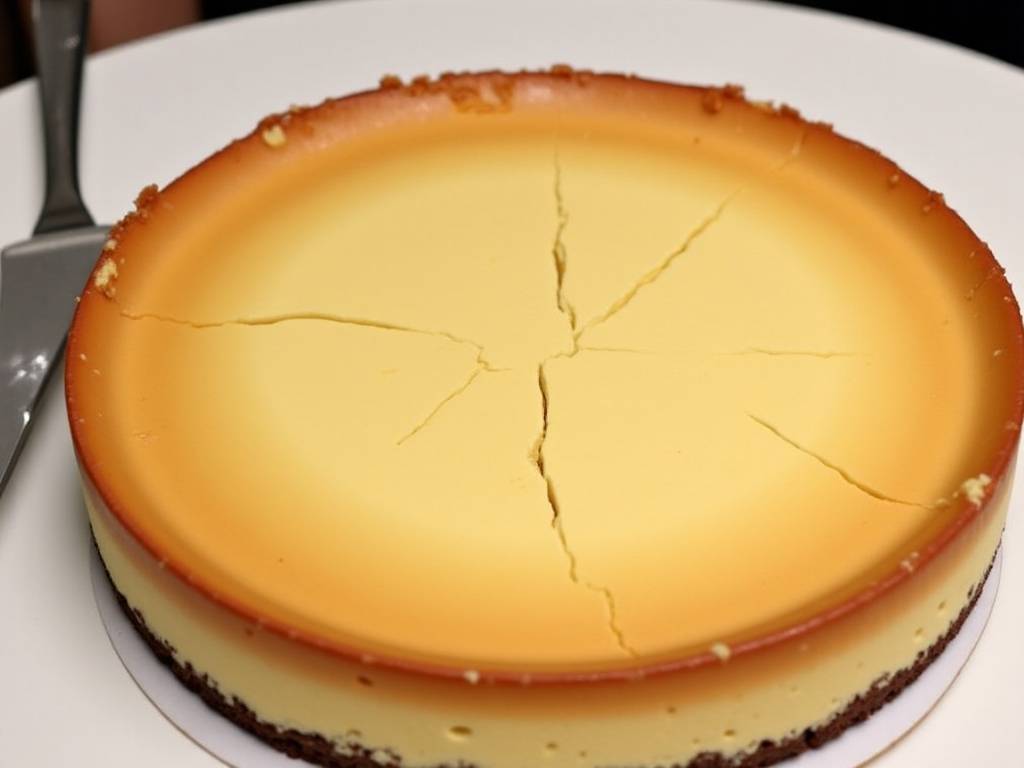
There’s nothing quite as disheartening as pulling a beautifully baked cheesecake from the oven, only to find a deep, jagged crack running right through its center. I’ve been there, and I know that sinking feeling. You’ve invested time, quality ingredients, and care, but that crack seems to undo it all. The good news? A cracked cheesecake is almost never a lost cause. In this guide, I’ll walk you through exactly how to make cheesecake cracking repair a simple, stress-free process. More importantly, I’ll share the science-backed methods to prevent cracks from happening in the first place, turning you into a confident, crack-free cheesecake baker.
Understanding Why Cheesecakes Crack
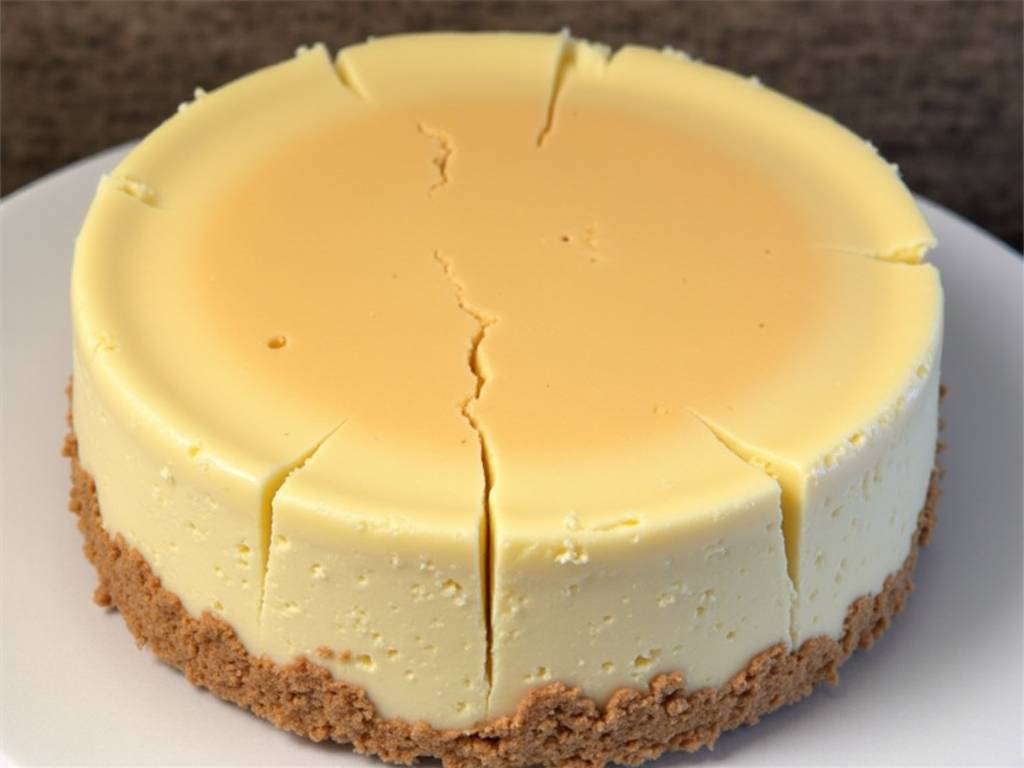
Before we fix the problem, let’s understand it. A cheesecake cracks primarily due to sudden, drastic temperature changes causing rapid contraction. Think of it like the earth’s crust—when it cools and shrinks too quickly, it fractures. The proteins in the eggs and cheese set under heat, and if that heat is removed too abruptly, they pull apart, creating those dreaded fissures. According to a technical bulletin from the Culinary Institute of America’s Baking Science department, “the differential cooling rate between the surface and the core of a dense, protein-rich batter like cheesecake is the primary mechanical cause of surface cracking.” In simple terms, the outside cools and sets faster than the inside, which is still expanding, leading to a structural compromise.
Immediate Repair Methods: Saving Your Cake
So, your cheesecake has cracked. Don’t panic! Here are my go-to methods for seamless cheesecake cracking repair.
The Creamy Topping Cover-Up This is the easiest and most delicious fix. Simply prepare a little extra sour cream topping (a mix of sour cream, a touch of sugar, and vanilla) or a thin layer of sweetened whipped cream. Once the cake is completely cool, gently spread it over the surface. The topping will fill the cracks and create a smooth, finished look. For a fruit cheesecake, a lush berry compote or glossy chocolate ganache works wonders. It transforms the flaw into a feature.
The Strategic Slice and Redecorate If the crack is severe, turn it into a design element. After chilling the cake thoroughly, carefully slice it along the crack line. You now have two neat halves. Reassemble them on a serving platter with the cut sides tightly together—the chill will help them adhere. Then, pipe rosettes of whipped cream or line fresh fruit along the seam. Voilà! A custom-designed cake where the “repair” becomes the centerpiece.
Proactive Prevention: The Key to Flawless Cheesecakes
True mastery lies in prevention. By controlling the baking environment, you can consistently achieve that smooth, unblemished surface.
The Water Bath is Non-Negotiable This is the single most effective technique. Wrapping your springform pan in heavy-duty foil and placing it in a larger pan filled with hot water creates a gentle, humid oven environment. It ensures even, slow heating and prevents the edges from cooking faster than the center. The steam moderates the temperature, allowing the cake to set gradually without stress. I never skip this step for classic baked cheesecakes.
Master the Cool-Down Process How you cool the cake is as critical as how you bake it. When baking time is up, turn off the oven. Crack the oven door open slightly with a wooden spoon, and let the cheesecake sit inside for about an hour. This gradual temperature drop—from the oven’s residual heat to the kitchen air—minimizes thermal shock. Then, transfer it to a wire rack to cool completely to room temperature before refrigerating for at least 4 hours, preferably overnight.
Avoid Overmixing and Overbaking Overbeating the batter incorporates too much air, which expands and collapses during baking, leading to cracks. Mix just until ingredients are combined. As for doneness, the center should still have a slight wobble—like set Jell-O—when you gently shake the pan. It will firm up as it chills. Relying on a set time rather than visual and tactile cues is a common pitfall. The internal temperature should be around 150°F (65°C) for a perfect, creamy set.
Recipe: A Foolproof, Crack-Resistant Classic Cheesecake
Let’s put theory into practice. Here is my foundational recipe, designed with prevention in mind.
Ingredients:
- 2 pounds (900g) full-fat cream cheese, room temperature
- 1 1/4 cups (250g) granulated sugar
- 1 tablespoon pure vanilla extract
- 4 large eggs, room temperature
- 2/3 cup (160ml) full-fat sour cream, room temperature
- 2/3 cup (160ml) heavy cream
- A prepared graham cracker crust in a 9-inch springform pan
Instructions:
- Preheat your oven to 325°F (160°C). Prepare a water bath: boil a kettle of water. Double-wrap the outside of your springform pan with heavy-duty aluminum foil.
- In a large bowl, beat the softened cream cheese on medium-low speed until perfectly smooth and creamy, about 2 minutes. Scrape down the bowl.
- Add the sugar and vanilla. Beat on low until fully incorporated. Scrape down the bowl again.
- Add the eggs one at a time, beating on low speed just until each yolk disappears before adding the next. Overbeating here incorporates air—be gentle.
- Whisk together the sour cream and heavy cream in a separate bowl. With the mixer on low, slowly add this to the cheese mixture, mixing just until the batter is homogeneous and silky.
- Pour the batter into the prepared crust. Place the foil-wrapped pan into a large roasting pan. Place it in the oven, then carefully pour the hot water into the roasting pan until it comes halfway up the sides of the springform.
- Bake for 60-75 minutes. The edges will be set, but the center will have a slight jiggle. Turn off the oven, crack the door, and let it cool for 1 hour inside.
- Remove from the oven and water bath, cool to room temperature on a rack, then refrigerate uncovered for at least 6 hours before releasing the pan and serving.
⚠️ 温馨提示:本款蛋糕含糖量较高,高血糖/糖尿病患者请谨慎食用。
Addressing Your Cheesecake Concerns
Can I fix a crack while the cheesecake is still warm? I do not recommend it. Attempting to repair a warm cake can make the texture gummy or cause it to break further. Always let it cool completely so the structure is firm before applying any topping or filling.
Is a cracked cheesecake safe to eat? Absolutely! A crack is purely a cosmetic issue. It has no impact on safety or flavor. Your cheesecake will taste just as rich and delicious.
My cheesecake didn’t crack but sunk in the middle. What happened? This usually indicates underbaking or too much moisture in the batter. The structure didn’t set fully. Next time, ensure your ingredients are at room temperature to promote even baking, and use the “slight wobble” test for doneness. A small dip is normal, but a significant sinkhole suggests it needed a few more minutes in the oven.
Remember, even the most experienced bakers encounter a crack now and then. It’s a sign you’re working with a delicate, temperature-sensitive dessert—the mark of a real baked custard, not a factory-made cake. With these repair tricks and preventive techniques in your arsenal, you can serve every cheesecake with pride, whether it’s perfectly smooth or beautifully disguised. The goal is deliciousness, and a little crack never stood in the way of that.





