 bluename
 How to Make Chia Seed Cheesecake? A Guide to the Perfect Filling & Low-Fat Choice
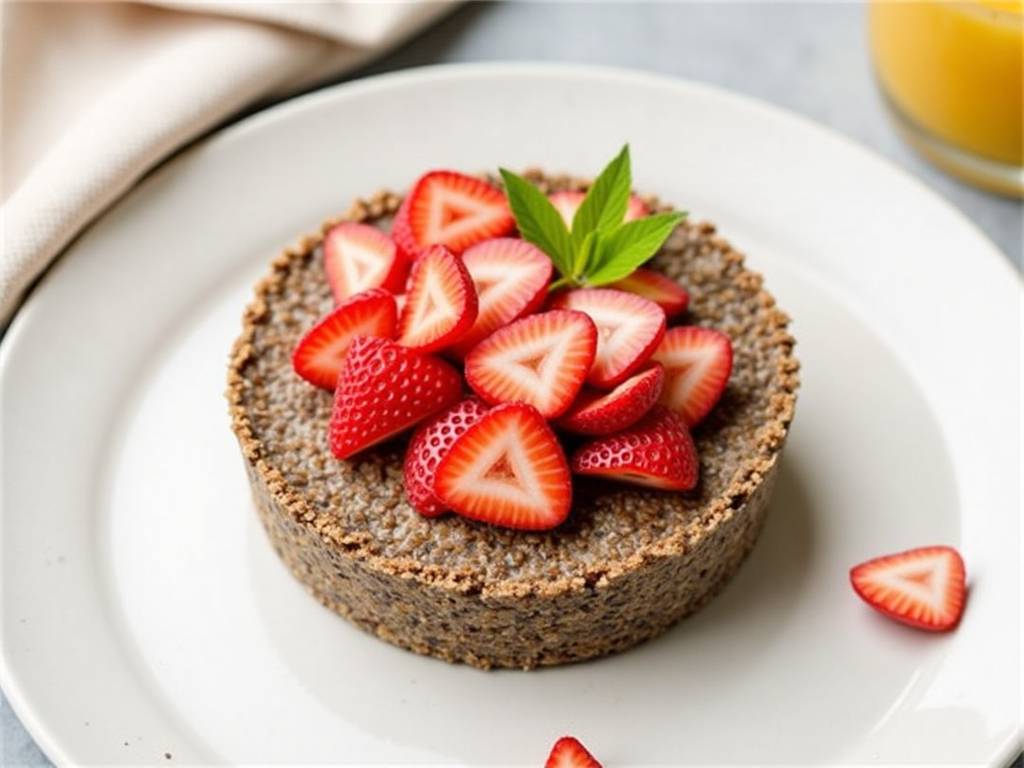
I know exactly what you’re looking for. You want the creamy, indulgent experience of a classic cheesecake, but you’re also mindful about what goes into your body. Maybe you’re seeking more fiber, plant-based nutrients, or simply a lighter option that doesn’t skimp on satisfaction. That’s where mastering how to make chia seed cheesecake becomes a game-changer. This guide is your answer, focusing on creating that dreamy filling and making smart, low-fat choices without compromising an ounce of flavor.
For years, I experimented in my kitchen, balancing the desire for decadent desserts with a commitment to mindful eating. The journey led me to chia seeds—a true superfood that transforms textures and boosts nutritional value. Paired with clever ingredient swaps, it allows us to create a cheesecake that feels both luxurious and aligned with a health-conscious lifestyle. Let’s build this masterpiece together, step by step.
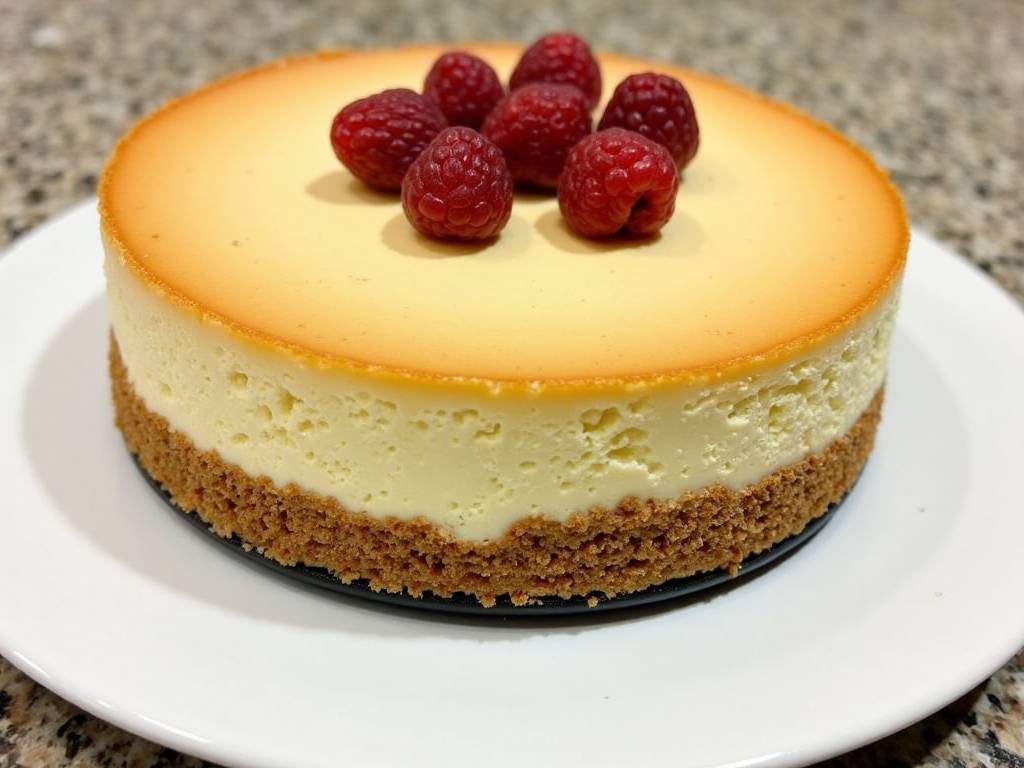
Why Chia Seeds Are Your Cheesecake’s Secret Weapon
Before we preheat the oven, let’s talk about our star ingredient. Chia seeds are far more than a trendy topping. When soaked, they develop a unique gel-like consistency. This property is key for our recipe.
In the filling, this gel acts as a brilliant binder and thickener. It helps create a lush, cohesive texture that holds its shape beautifully, allowing us to potentially reduce reliance on eggs or excessive amounts of full-fat dairy. Nutritionally, they’re a powerhouse. Just a two-tablespoon serving packs nearly 10 grams of fiber, which, as noted in several nutritional studies, can help promote a feeling of fullness and support digestive health. By incorporating them, we’re not just making a dessert; we’re adding a functional, nutrient-dense component.
Crafting the Ultimate Chia Seed Cheesecake Filling
The filling is the heart of the cheesecake. Here’s how to achieve a perfectly smooth, rich, and flavorful centerpiece with chia seeds playing a supporting role.
Ingredients You’ll Need:
- 16 oz (450g) cream cheese, softened (for a low-fat choice, see next section)
- 1/2 cup (120ml) full-fat Greek yogurt or sour cream
- 2/3 cup (130g) granulated sugar or alternative sweetener
- 2 large eggs, at room temperature
- 3 tablespoons chia seeds
- 1/4 cup (60ml) milk or plant-based milk
- 2 teaspoons pure vanilla extract
- 1 tablespoon all-purpose flour or cornstarch (for stability)
- A pinch of salt
Step-by-Step Process:
First, prepare your chia gel. In a small bowl, combine the 3 tablespoons of chia seeds with the 1/4 cup of milk. Stir well and set aside for 15-20 minutes. You’ll see it transform into a thick, pudding-like gel. This is your natural texture enhancer, ready to go.
Now, in a large mixing bowl, beat the softened cream cheese until it’s completely smooth and creamy. This is crucial—no lumps allowed. Gradually add the sugar and beat until well incorporated. Scrape down the sides of the bowl as needed.
Next, blend in the Greek yogurt and vanilla extract. Then, add the eggs one at a time, beating on low speed just until each egg is mixed in. Over-beating at this stage can incorporate too much air, leading to cracks during baking.
It’s time for our secret weapon. Spoon in the prepared chia seed gel and the tablespoon of flour or cornstarch. Beat on low until the mixture is homogenous—you’ll notice it has a beautifully thick, velvety consistency. As a professional baker, I’ve found this step consistently improves the mouthfeel and structural integrity of the final bake.
Pour this luscious filling over your prepared crust in the springform pan. Smooth the top with a spatula. For the perfect, crack-free bake, place the pan into a larger roasting dish and fill the outer dish with about an inch of hot water (this is a water bath). Bake in a preheated 325°F (160°C) oven for 50-60 minutes, until the edges are set but the center still has a slight jiggle.
Smart Low-Fat Choices for a Lighter Slice
Creating a lower-fat version doesn’t mean sacrificing creaminess. It’s about intelligent substitutions. Based on my recipe development work, here are the most effective swaps.
Your primary lever is the dairy. Instead of full-fat cream cheese, opt for a blend of low-fat or Neufchâtel cream cheese and part-skim ricotta. The ricotta adds a lovely lightness and protein. Replacing full-fat sour cream with non-fat or low-fat Greek yogurt is another excellent move. It provides tanginess and a protein boost while cutting significant fat.
For the crust, ditch the traditional graham cracker and butter base. A crust made from blended dates, a touch of coconut oil, and nuts or oats is naturally sweet, high in fiber, and contains healthier fats. It complements the chia seed filling perfectly.
Remember, fat carries flavor. When reducing fat, we must compensate elsewhere. Amplify flavor with an extra teaspoon of high-quality vanilla, a zest of lemon or orange, or a dash of spice like cinnamon. These additions create a complex taste profile that makes you forget anything is “missing.”
Baking, Setting, and Serving Your Masterpiece
Once baked, turn off the oven and crack the door open. Let the cheesecake cool slowly in this environment for about an hour. This gradual temperature change is the best defense against dramatic sinking or cracking. Then, transfer it to the refrigerator to chill completely for at least 6 hours, preferably overnight. This patience is non-negotiable—it allows the flavors to meld and the texture to become perfectly firm yet creamy.
When ready to serve, run a thin knife under hot water, dry it, and gently slide it around the edge of the pan before releasing the springform. Garnish with fresh berries, a drizzle of fruit compote, or a simple dusting of powdered sugar. The slight crunch of a few whole chia seeds on top adds a nice textural contrast and visual cue to the healthy twist inside.
Here are answers to some common questions I receive:
Can I make this cheesecake completely vegan? Absolutely. The formula changes, but the principle remains. Use a blend of soaked cashews and coconut cream as your base, agar-agar or more chia gel as the setter, and a nut-date crust. The chia seeds remain a key player for texture and nutrition in a vegan chia seed cheesecake.
My filling turned out too runny. What happened? The most likely culprits are under-measuring the chia seeds, not allowing the gel to form fully, or under-baking. Ensure your chia gel is thick before adding it, and remember the center should jiggle like set gelatin, not wiggle like liquid. Proper chilling time is also essential for final set.
How long will this cheesecake keep? Stored in an airtight container in the refrigerator, your cheesecake will stay fresh and delicious for up to 5 days. You can also freeze individual slices for up to 2 months. Thaw overnight in the fridge before serving.
Mastering how to make chia seed cheesecake is about embracing a new approach to baking—one where wellness and indulgence coexist. By understanding the role of the chia filling and making informed low-fat choices, you empower yourself to create a dessert that truly satisfies on every level. It’s a testament to the fact that with a little knowledge and creativity, you can have your cake and feel good about eating it, too.
⚠️ 温馨提示:本款蛋糕含糖量较高,高血糖/糖尿病患者请谨慎食用。(本款提供低糖配方选择,建议食用前咨询专业医护人员。)





