 bluename
 How to Make Quinoa Cheesecake? A Deliciously Nutritious High-Protein Dessert Guide
I know the struggle all too well. You’re craving something creamy, decadent, and utterly satisfying—a classic cheesecake. But then, a little voice whispers about sugar crashes, empty calories, and that post-dessert slump. What if you could indulge in a slice of heaven that actually nourishes your body? That’s exactly why I developed this Quinoa Cheesecake recipe. It’s more than just a dessert; it’s a nutritious high-protein dessert designed for anyone who loves great food but also values feeling great afterwards. This guide will walk you through every step, transforming simple, wholesome ingredients into a show-stopping treat that’s as good for you as it is delicious.
Why a Quinoa Cheesecake is a Game-Changer
For years in my kitchen, I’ve been experimenting with ways to add nutritional depth to classic desserts. The goal is never to compromise on flavor, but to enhance it with better ingredients. Quinoa, often hailed as a superfood, became my secret weapon. Unlike traditional graham cracker crusts, a quinoa base adds a delightful nutty flavor and a satisfying crunch.
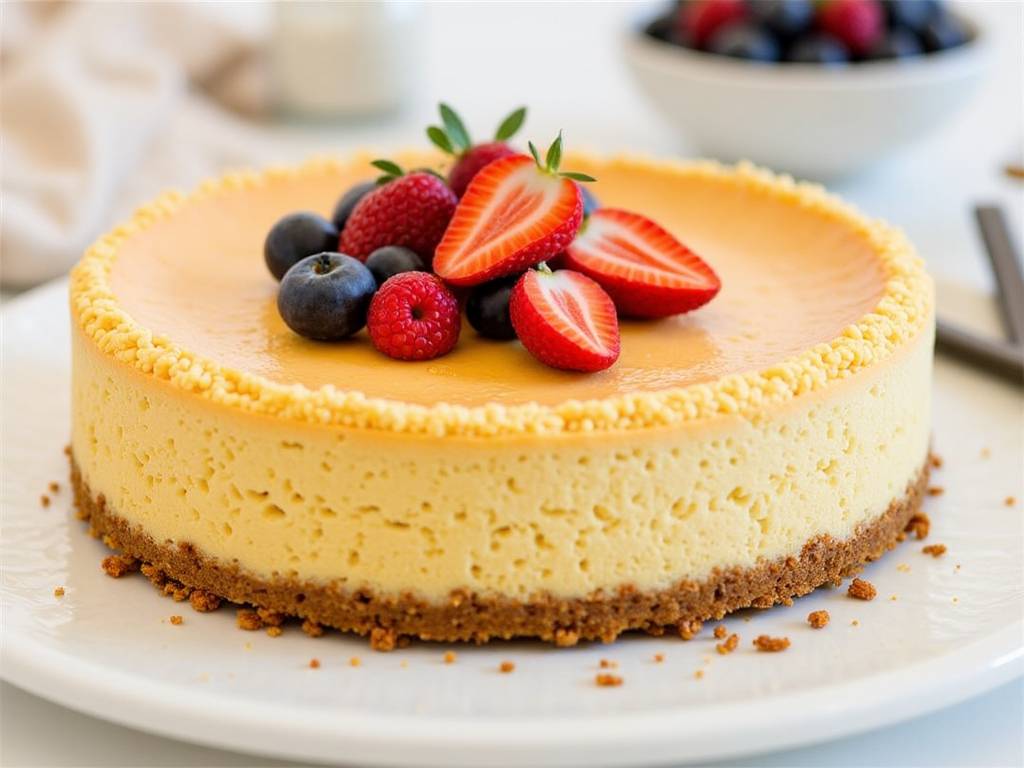
More importantly, it packs a serious nutritional punch. Quinoa is a complete protein, containing all nine essential amino acids. According to a review in the Journal of Food Science and Technology, quinoa’s high-quality protein and fiber content can contribute to better satiety and stable energy release. By incorporating it into our cheesecake, we’re building a dessert that supports your wellness goals from the crust up.
Gathering Your Wholesome Ingredients
The beauty of this recipe lies in its simplicity and quality. Here’s what you’ll need to create this protein-packed masterpiece. I recommend using organic ingredients where possible for the cleanest flavor profile.
For the High-Protein Quinoa Crust:
- 1 cup cooked quinoa (cooled completely)
- 1/2 cup almond flour or oat flour
- 1/4 cup pure maple syrup or honey
- 2 tablespoons melted coconut oil
- 1 teaspoon vanilla extract
- A pinch of sea salt
For the Luxurious High-Protein Filling:
- 16 ounces (450g) full-fat cream cheese, softened to room temperature
- 1 cup plain Greek yogurt (I prefer full-fat for creaminess)
- 1/2 cup pure maple syrup or a natural sweetener of your choice
- 2 large eggs, at room temperature
- 1/4 cup cooked quinoa (cooled)
- 2 tablespoons lemon juice
- 1 tablespoon pure vanilla extract
- 1/4 cup unflavored or vanilla plant-based protein powder (optional, for an extra boost)
- A pinch of salt
Step-by-Step: Crafting Your Nutritious Masterpiece
Follow these steps closely for a perfectly set, crack-free cheesecake. The key, as I’ve learned from countless batches, is patience and attention to temperature.
Preparing the Quinoa Crust First, ensure your cooked quinoa is thoroughly cooled and dry. Preheat your oven to 325°F (160°C). In a medium bowl, combine the cooled quinoa, almond flour, maple syrup, melted coconut oil, vanilla, and salt. Mix until the texture resembles wet sand and holds together when pinched.
Press this mixture firmly and evenly into the bottom of a 7-inch or 8-inch springform pan lined with parchment paper. Use the bottom of a glass to compact it firmly—this prevents a crumbly crust. Pre-bake the crust for about 15 minutes until it’s just set and lightly fragrant. Remove and let it cool while you prepare the filling. This step creates a stable, flavorful foundation.
Creating the Silky, High-Protein Filling In the bowl of a stand mixer fitted with the paddle attachment, beat the softened cream cheese on medium-low speed until it’s completely smooth and lump-free. This is crucial. Scrape down the bowl and beater.
Add the Greek yogurt, maple syrup, lemon juice, vanilla, and salt. Beat on low until just combined. Next, add the eggs one at a time, mixing on low speed after each addition until only just incorporated. Over-beating the eggs incorporates too much air, which can lead to cracking during baking.
Finally, gently fold in the 1/4 cup of cooled quinoa and the protein powder (if using) with a spatula. The quinoa adds a subtle texture and visual interest, while the protein powder seamlessly boosts the nutritional profile without altering the classic cheesecake flavor we all love.
Baking for Perfection Pour the filling over the pre-baked and cooled crust. Smooth the top with an offset spatula. Place the springform pan into a larger baking dish. Create a water bath by pouring hot water into the larger dish until it comes about halfway up the sides of the springform pan.
Bake for 50-60 minutes. The center should still have a slight jiggle—like set Jell-O—when you gently shake the pan. The edges will be slightly puffed and set. Turn off the oven, crack the oven door open, and let the cheesecake cool slowly in the oven for one hour. This gradual temperature change is the professional baker’s trick to prevent unsightly cracks.
The Essential Chill After its oven cool-down, transfer the cheesecake to a wire rack to cool completely to room temperature. Then, cover it loosely and refrigerate for at least 6 hours, but ideally overnight. This extended chill is non-negotiable. It allows the flavors to meld beautifully and the texture to firm up into that perfect, sliceable creaminess.
Customizing Your Healthy Cheesecake
One of the joys of this recipe is its versatility. Here are a few of my favorite twists:
- Chocolate Swirl: Melt 1/4 cup dark chocolate and swirl it into the filling before baking.
- Berry Compote Topping: Simmer fresh or frozen berries with a touch of maple syrup and lemon zest for a vibrant, antioxidant-rich topping.
- Citrus Zest: Add the zest of one lemon or orange to the filling for a bright, fresh note.
Serving and Storing Your Creation
Run a thin knife under hot water, dry it, and then carefully slide it around the edge of the cheesecake before releasing the springform pan. Slice with a clean, hot knife for perfect pieces.
Store any leftovers covered in the refrigerator for up to 5 days. You can also freeze individual slices wrapped tightly in plastic wrap and foil for up to 2 months. Thaw overnight in the fridge.
I get asked these questions all the time, so let’s address them directly:
Can I make this quinoa cheesecake dairy-free? Absolutely. For the filling, substitute the cream cheese with a high-quality, firm vegan cream cheese alternative and use a thick, plain dairy-free yogurt. The crust is naturally dairy-free as written. The texture will be slightly different but still delicious.
My cheesecake cracked in the center. What went wrong? Don’t worry, it’s still delicious! Cracking usually happens from over-mixing the eggs (which adds too much air), a sudden temperature change, or over-baking. The water bath and slow cooling method outlined above are your best defenses against this. Remember, a slight jiggle in the center is your goal when you take it out of the oven.
Is the protein powder necessary? Not at all. The quinoa, Greek yogurt, and eggs already provide a significant protein boost compared to a standard cheesecake. The protein powder is an optional add-in for those, like athletes or anyone with higher protein needs, looking to maximize the content. The recipe works perfectly without it.
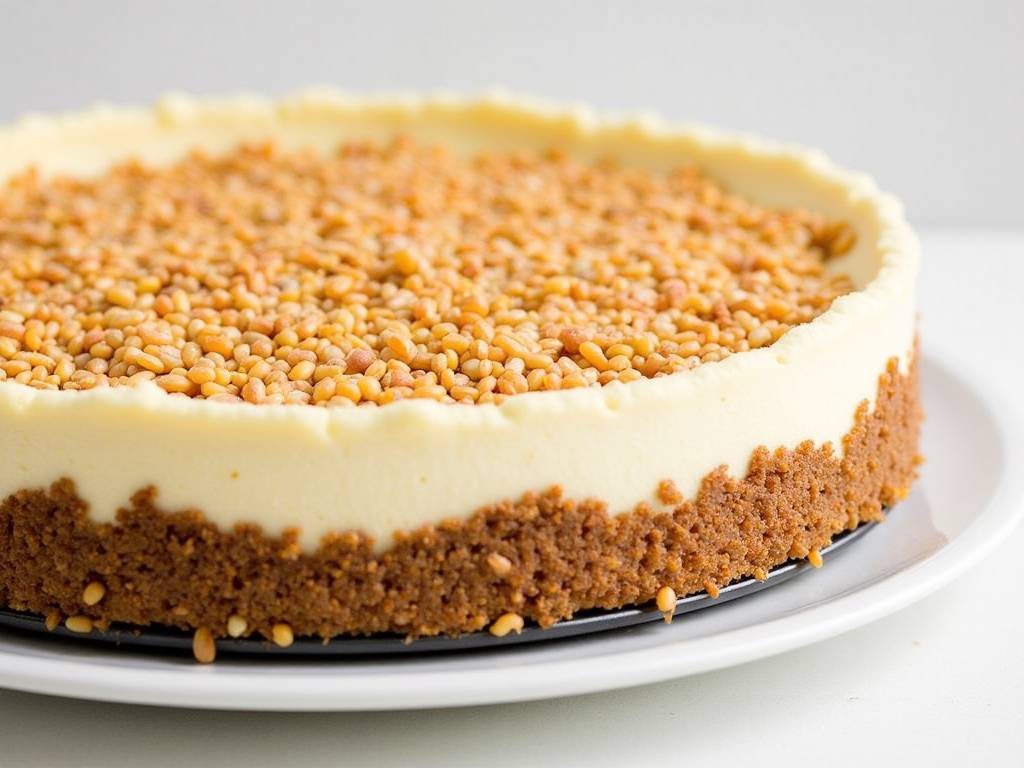
Embracing a mindful approach to desserts doesn’t mean giving up on joy or flavor. This Quinoa Cheesecake proves that you can have it all: incredible taste, a luxurious texture, and ingredients that contribute to your well-being. It’s a celebration of how smart baking can transform everyday staples into something extraordinary. So, preheat your oven, and get ready to bake a dessert that truly satisfies, in every sense of the word.
⚠️ 温馨提示:本款蛋糕含糖量较高,高血糖/糖尿病患者请谨慎食用。(本款为低糖配方,建议食用前咨询专业医护人员)。





