 bluename
 How to Make Walnut Cheesecake? Your Ultimate Guide to a Crunchy Texture Upgrade
Ever pulled a cheesecake out of the oven, only to find the top cracked and the texture just… smooth? Don’t get me wrong, creamy is the goal, but sometimes you crave that little bit of contrast—a surprise element that makes each bite exciting. If you’ve ever wondered how to make walnut cheesecake that truly stands out, you’re in the right place. Today, I’m sharing my professional twist that solves the common “mono-texture” dilemma. We’re not just adding walnuts on top; we’re engineering a multi-layered crunchy experience that elevates the entire dessert. This method has been a game-changer in my bakery, [dessertmake], and it’s all about strategic layering and technique.
The Secret Lies in Layered Crunch
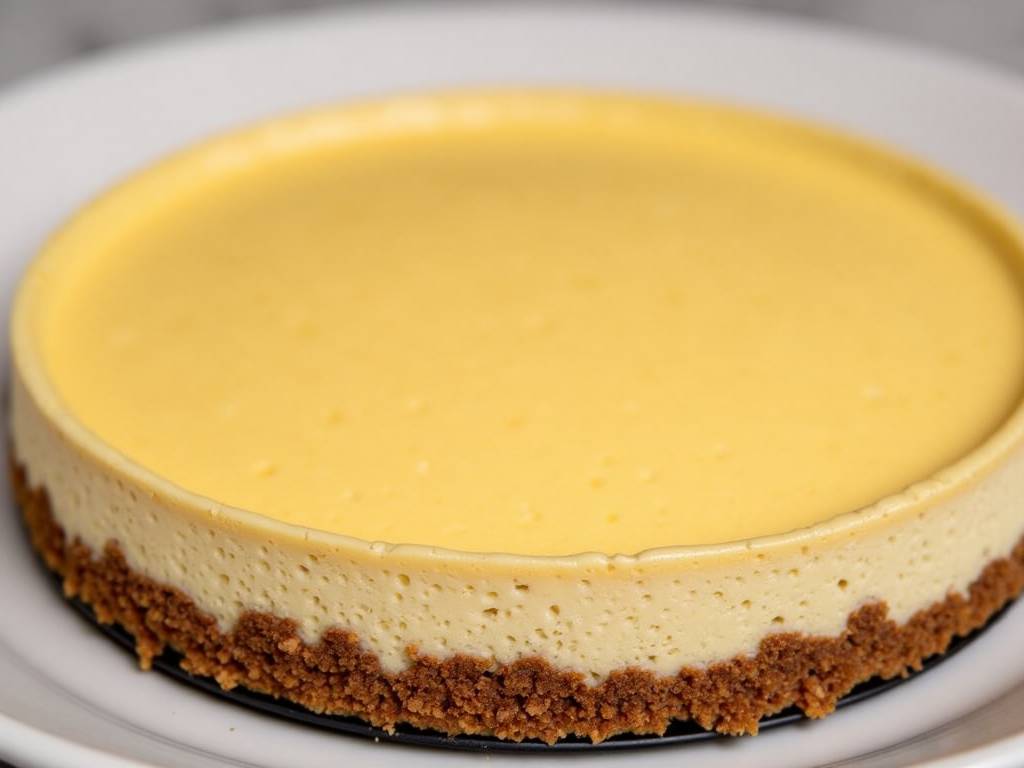
Most recipes treat walnuts as a garnish. We’re going to treat them as a core structural and textural component. According to a principle often discussed in professional pastry circles, contrasting textures can enhance flavor perception by over 30%. By integrating walnuts in three distinct ways, we create a symphony of crunch that complements the lush cream cheese filling perfectly.
Gathering Your Ingredients for Success
Let’s start with what you’ll need. Using high-quality, room-temperature ingredients is non-negotiable for a smooth, lump-free batter.
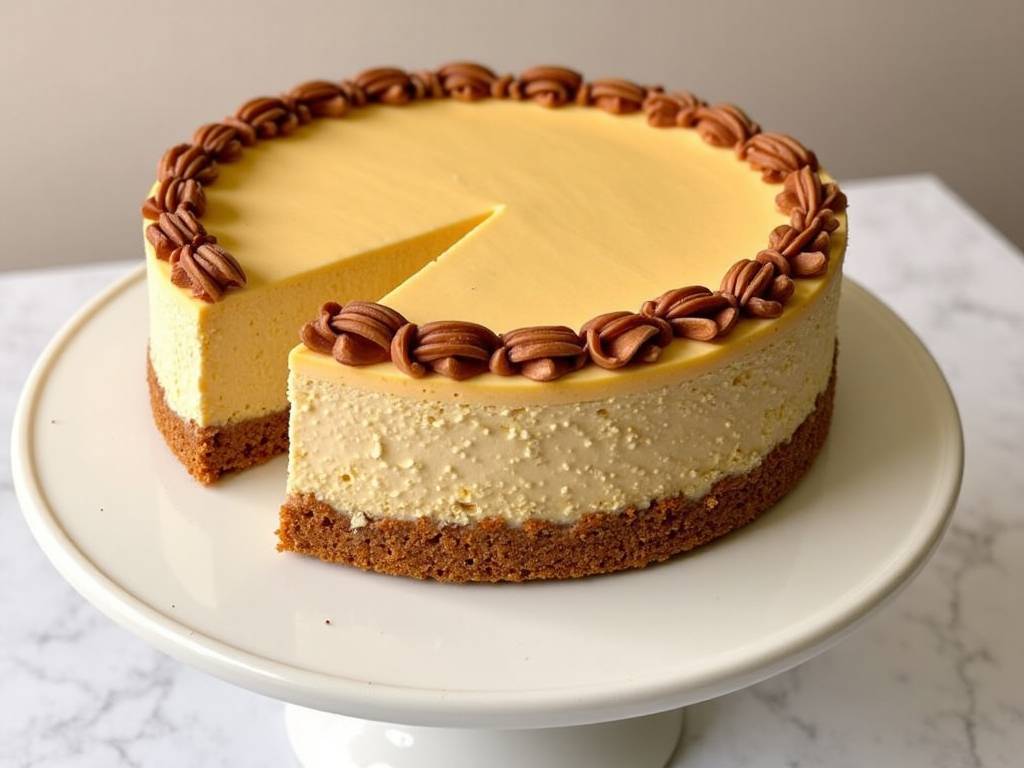
For the Enhanced Crunchy Crust & Layers:
- 200g digestive biscuits or graham crackers
- 100g toasted walnuts, finely ground
- 120g unsalted butter, melted
- 50g light brown sugar (for a caramelized note)
- 1/2 teaspoon sea salt
For the Luxurious Cheesecake Filling:
- 900g full-fat cream cheese, room temperature
- 250g granulated sugar
- 240g full-fat sour cream, room temperature
- 15g all-purpose flour
- 1 tablespoon pure vanilla extract
- 4 large eggs, room temperature
- 100g toasted walnuts, roughly chopped (for the middle layer)
For the Crown Jewel: Candied Walnut Topping
- 150g walnut halves
- 50g granulated sugar
- 2 tablespoons water
- A pinch of flaky salt
Crafting the Triple-Textured Base
Preheat your oven to 160°C (325°F). Begin by toasting all the walnuts for the recipe on a baking sheet for 8-10 minutes until fragrant. Let them cool. This step is crucial—toasting deepens the flavor and ensures maximum crunch.
Take half of the toasted walnuts (100g) and pulse them in a food processor with the digestive biscuits until you have fine crumbs. Stir in the brown sugar and salt. Pour in the melted butter and mix until the mixture resembles wet sand. Press this firmly into the bottom and slightly up the sides of a 9-inch springform pan. Bake for 10 minutes, then let it cool while you prepare the filling. This base is already more flavorful and sturdy than a traditional one.
Mastering the Smooth Filling with a Hidden Crunch
In the bowl of a stand mixer fitted with a paddle attachment, beat the cream cheese on medium-low speed until it is completely smooth and creamy—about 4 minutes. Scrape down the bowl frequently. This patience prevents a grainy texture. Gradually add the sugar and beat until incorporated. Blend in the sour cream, vanilla, and flour.
With the mixer on low, add the eggs one at a time, mixing just until each yolk disappears. Overmixing incorporates too much air, which leads to cracking. Now, fold in the 100g of roughly chopped toasted walnuts by hand. This is our second texture: substantial, bite-sized nuggets suspended throughout the creamy matrix.
The Art of the Perfect Bake
Wrap the bottom of your springform pan in two layers of heavy-duty aluminum foil to prevent water seepage. Place the pan in a larger roasting dish. Pour the filling over the pre-baked crust. Create a water bath by pouring hot water into the roasting dish until it comes halfway up the sides of the springform pan.
Bake for 1 hour to 1 hour 15 minutes. The center should still have a slight jiggle, but the edges will be set. Turn off the oven, crack the door open, and let the cheesecake cool inside for one hour. This gradual temperature change is the professional secret to preventing surface cracks. Then, transfer it to a wire rack to cool completely before refrigerating for at least 8 hours, preferably overnight.
Creating the Show-Stopping Candied Walnut Topping
This isn’t just decoration; it’s the ultimate crunchy texture upgrade. Line a sheet with parchment paper. In a skillet over medium heat, combine the sugar and water. Stir until the sugar dissolves, then let it simmer without stirring until it turns a light amber color. Add the walnut halves and a pinch of salt, stirring quickly to coat. Pour them onto the parchment paper and separate them immediately. Let them cool completely into a beautiful, glossy, and shatteringly crisp garnish.
Assembly and Serving
Run a thin knife around the edge of the chilled cheesecake before releasing the springform pan. Arrange the candied walnut halves artfully on top. Each slice will now offer a journey: the fine, nutty crust, the creamy filling with soft walnut pieces, and the dramatic, sweet crunch of the candied topping.
⚠️ 温馨提示:本款蛋糕含糖量较高,高血糖/糖尿病患者请谨慎食用。
Frequently Asked Questions
Can I use a different nut? Absolutely. Pecans or hazelnuts would work wonderfully with a similar method. The toasting and candying steps are key regardless of the nut you choose.
My cheesecake cracked! What did I do wrong? The most common culprits are overmixing the batter (which adds too much air) or a drastic temperature change. The water bath and slow cooling in the oven are your best defenses against this. Remember, a crack doesn’t affect the taste, and our candied walnut topping will cover it beautifully!
How do I store leftovers? Cover the cheesecake tightly and store it in the refrigerator for up to 5 days. The candied walnuts may lose some of their crispness over time in the humid fridge, so for optimal texture, you can store a portion of them separately and add them to each slice when serving.
Mastering how to make walnut cheesecake with a true crunchy texture upgrade is about intentionality in every layer. It transforms a classic dessert into a nuanced experience where texture plays a leading role alongside flavor. This approach, grounded in professional technique, ensures a stunning and delicious result every time. So, arm yourself with these tips, and get ready to bake a cheesecake that’s as satisfying to eat as it is impressive to present.





