 bluename
 The art of dessert decoration is a wonderful way to elevate a simple treat into a show-stopping masterpiece. While fresh fruit and whipped cream are classic choices, learning how to make decorative chocolate for cheesecake opens up a world of creative possibilities. Imagine delicate chocolate curls, elegant lace patterns, and charming custom shapes adorning your creamy cheesecake. Not only are these decorations stunningly beautiful, but they also add a delightful crunch and an extra layer of rich chocolate flavor.
You might think that creating such professional-looking garnishes requires a pastry chef's expertise, but it's surprisingly accessible. With a few simple techniques and an understanding of how to work with chocolate, you can transform your homemade cheesecakes into works of art. This guide will walk you through everything you need to know, from selecting the right type of chocolate to mastering various shaping methods.
Let's start with the most important ingredient: the chocolate itself. Not all chocolate is created equal when it comes to decorating. For the best results, you'll want to use what's known as "couverture" chocolate. This type of chocolate contains a higher percentage of cocoa butter compared to regular baking chocolate. Why does this matter? Cocoa butter is the key to achieving a fine, glossy finish and a satisfying "snap" when the chocolate sets. It also makes the chocolate more fluid when melted, which is perfect for creating thin, delicate designs.
You can find high-quality couverture chocolate in dark, milk, or white varieties at specialty baking stores or online. If couverture isn't available, a good quality chocolate bar from the grocery store can work, but avoid chocolate chips. Chocolate chips contain stabilizers that help them keep their shape in cookies, but these same stabilizers make them difficult to melt smoothly and temper properly for decorations.
The single most crucial process in working with chocolate for decorations is tempering. Tempering is a method of heating and cooling chocolate to specific temperatures. This process stabilizes the cocoa butter, ensuring your finished decorations are glossy, firm, and snap cleanly. Untempered chocolate will be dull, soft, and can develop a grayish-white coating called a "bloom," which is safe to eat but not very attractive.
Here is a simple method for tempering chocolate at home. You'll need a digital thermometer for accuracy.
First, chop your chosen chocolate into small, uniform pieces. This helps it melt evenly. Place about two-thirds of the chocolate in a heatproof bowl. Set the remaining one-third aside.
Create a double boiler by setting the bowl over a pot of gently simmering water. Make sure the bottom of the bowl does not touch the water. Stir the chocolate constantly as it melts. For dark chocolate, heat it to between 115°F and 120°F (46°C to 49°C). For milk or white chocolate, which are more sensitive, heat to a slightly lower temperature of 110°F to 115°F (43°C to 46°C).
Once it reaches the correct temperature, immediately remove the bowl from the heat. Carefully wipe the bottom of the bowl to prevent any steam or water from getting into the chocolate. Even a single drop of water can cause the chocolate to "seize," turning it into a grainy, thick mess.
Now, add the reserved, unmelted chocolate pieces to the bowl. This is called "seeding." Stir continuously. The residual heat from the melted chocolate will melt the new pieces, and this action of cooling and stirring encourages the cocoa butter to form stable crystals.
Continue stirring until the temperature drops to about 88°F to 90°F (31°C to 32°C) for dark chocolate, or 86°F to 88°F (30°C to 31°C) for milk or white chocolate. Your chocolate is now tempered and ready to use. To test it, you can spread a small dab on a piece of parchment paper. It should set within a few minutes at room temperature and be glossy and hard.
Now for the fun part: creating the decorations! Here are several popular and beautiful techniques you can try.
One of the simplest yet most elegant decorations is the chocolate curl. For this, you'll need a block of tempered chocolate that is slightly warm to the touch. You can use a vegetable peeler. Hold the peeler at a slight angle and pull it towards you along the edge of the chocolate block. Long, thin curls will form. For larger, more dramatic curls, use a wide, flat cheese plane. The warmth of the chocolate is key; if it's too cold, it will flake instead of curl. Gently place your curls on a parchment-lined tray and allow them to set completely.
Another stunning option is creating chocolate lace or transfer sheets. This technique produces a beautiful, professional-looking pattern. You will need a plastic transfer sheet, which has a patterned side. These sheets are available online with various designs like lace, swirls, or geometric patterns.
Spread your tempered chocolate evenly over the patterned side of the transfer sheet using an offset spatula. You want a thin, uniform layer. Let it set partially until it is no longer liquid but still slightly pliable. Using a sharp knife or a pizza cutter, score the chocolate into your desired shapes—squares, triangles, or long, thin strips. Once it is completely set and hard, you can break it along the scored lines. The design from the sheet will be perfectly transferred onto the chocolate, creating a breathtaking effect.
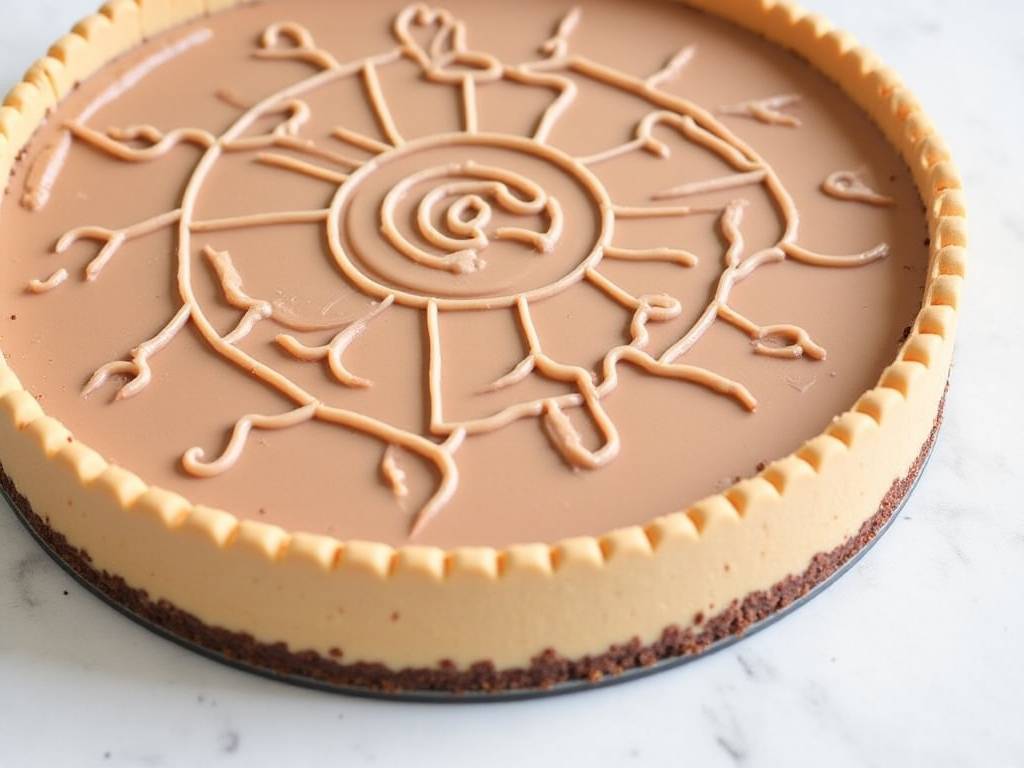
For custom shapes and free-form designs, piping is your best friend. Place your tempered chocolate in a piping bag. You can use a variety of piping tips for different effects. A small round tip is perfect for writing words, drawing intricate patterns, or creating delicate webs. A star tip can create pretty rosettes or borders.
Pipe your designs directly onto a sheet of parchment paper. Practice your designs on the parchment first before you commit to piping directly onto a cheesecake. This allows you to perfect your technique and also creates standalone decorations that you can place on the cake later. Let the piped designs set completely at room temperature.
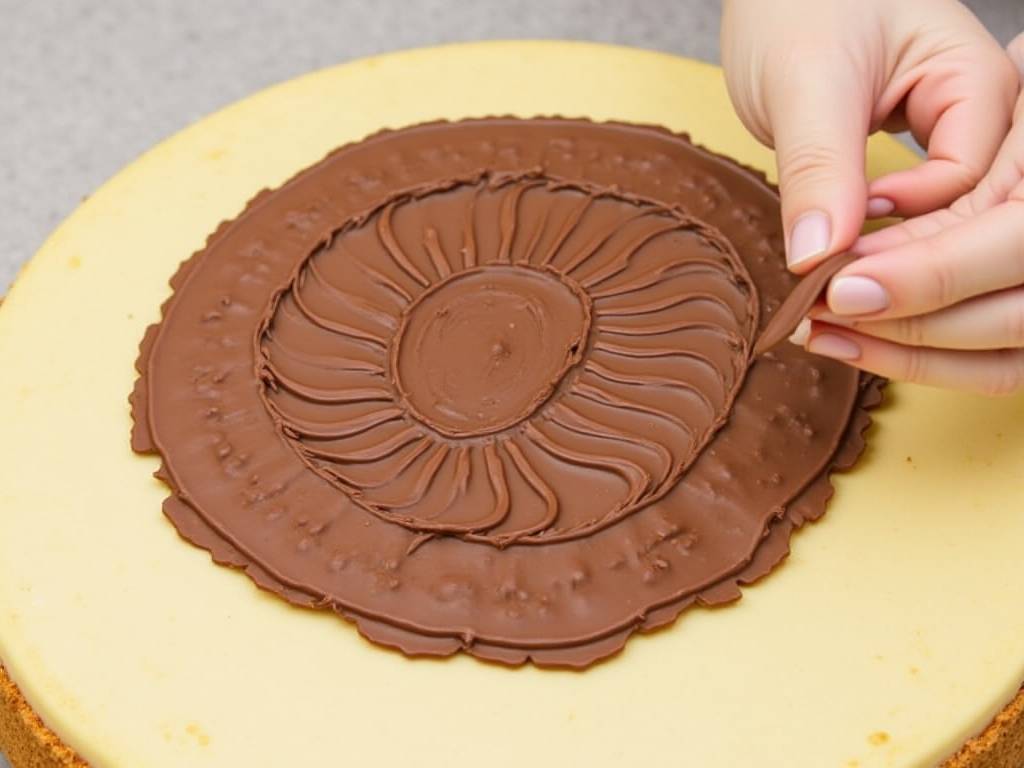
If you love the look of delicate, abstract shapes, the "chocolate feather" technique is wonderfully easy. Simply spread a thin layer of tempered chocolate onto a smooth, cold surface like a marble slab or the back of a baking tray. Before it sets, drag a fork or a small comb through the chocolate in sweeping, curved motions. This will create wispy, feather-like patterns. Once set, you can carefully lift these delicate shards and arrange them artistically on your cheesecake.
Creating molded chocolate decorations is another fantastic way to add a three-dimensional element. You can use silicone molds in almost any shape imaginable—hearts, stars, flowers, or even themed shapes for holidays. Simply fill the clean, dry mold with tempered chocolate, tap it gently to remove air bubbles, and scrape off the excess with a straight edge. Let it set completely, then pop the shapes out of the mold. They will have a beautiful, glossy finish and a perfect shape.
Once your beautiful chocolate decorations are made, storing them correctly is important to preserve their shine and snap. Keep them in a cool, dry place away from direct sunlight. An airtight container is best. Do not refrigerate them unless your kitchen is very warm and humid, as condensation can form when you take them out, causing the chocolate to become sticky and lose its gloss. If you must refrigerate them, place the container in the fridge and let the decorations come to room temperature still inside the container before opening it to prevent condensation.
When you are ready to decorate your cheesecake, the world is your oyster. For a minimalist look, arrange a few elegant curls or shards on one side of the cake. For a more dramatic effect, create a ring of molded flowers or lace squares around the outer edge. You can also create a tall, impressive structure by leaning several large chocolate shards against each other in the center of the cake. The combination of the smooth, creamy cheesecake and the crisp, rich chocolate is a textural dream.
Remember, practice makes perfect. Your first attempts at tempering or making curls might not be flawless, but they will still be delicious. The process of learning how to make decorative chocolate for your cheesecakes is a rewarding skill that will impress your family and friends and make every dessert feel like a special occasion. So, gather your chocolate, your tools, and your creativity, and start transforming your cheesecakes from simply delicious to truly magnificent.





