 bluename
 How to Make Mini Fruit Cheesecake Tarts? Bite-Sized Fruit Treats
Do you love the creamy, rich indulgence of cheesecake but dread the commitment of slicing into a whole cake? Perhaps you're planning a party and need elegant, individual desserts that wow guests without the fuss. The solution is mastering how to make mini fruit cheesecake tarts. These bite-sized delights combine a buttery crust, a velvety cheesecake filling, and a burst of fresh fruit topping. They are perfect for portion control, beautiful presentation, and satisfying your sweet tooth in just a few perfect bites. This guide will walk you through every step, from selecting the right ingredients to the final garnish, ensuring you create professional-quality treats at home.
Why Mini Fruit Cheesecake Tarts Are a Must-Try

Their popularity isn't by chance. According to a recent culinary trends report, individual-sized desserts have seen a 40% increase in menu placement due to their visual appeal and convenience. Pastry chef Elena Martinez notes, "Mini tarts offer a complete flavor experience in one bite. They allow for creative freedom with seasonal fruits, making them a versatile dessert for any occasion." Unlike a large cheesecake, these mini versions require no water bath, set faster, and offer endless customization. You can prepare a batch and mix-and-match toppings to cater to different tastes.
Essential Tools and Ingredients for Success
Before we begin, gathering the right equipment and high-quality ingredients is crucial. This foundation ensures your mini fruit cheesecake tarts have the perfect texture and flavor.
You will need a standard 12-cup muffin tin. For easy removal, silicone or non-stick pans are excellent, but a regular metal tin lined with parchment squares works perfectly. A food processor or a simple zip-top bag and rolling pin will help you create the crust. Other basics include mixing bowls, an electric hand mixer or stand mixer, a spatula, and a small cookie scoop or spoon for filling.
For the crust, use finely ground graham crackers or digestive biscuits. The binding agent is unsalted butter, melted. A pinch of salt enhances the flavor. The filling centers around full-fat cream cheese, brought to room temperature for a smooth, lump-free consistency. Granulated sugar, a touch of sour cream or Greek yogurt for tang, a fresh egg, vanilla extract, and a small amount of all-purpose flour (which helps stabilize the filling) complete the list. For the topping, choose a variety of fresh fruits like strawberries, blueberries, raspberries, kiwi, or mango. A simple fruit glaze (apricot jam thinned with water) will give them a professional, glossy finish.
Step-by-Step Guide to Perfect Mini Cheesecake Tarts
Let's break down the process into manageable stages. Following these steps carefully is the key to achieving a crisp crust and a creamy, non-cracked filling.
Preparing the Buttery Crust Base
Start by preheating your oven to 325°F (160°C). Crush your biscuits into fine, even crumbs using a food processor. In a medium bowl, combine the crumbs with melted butter and salt. The mixture should resemble wet sand and hold together when pinched. Place a heaping tablespoon of the mixture into each muffin cup. Use a small glass or tamper to press the crumbs firmly and evenly into the bottom and slightly up the sides. Pre-bake the crusts for 5-7 minutes. This step prevents a soggy base. Let them cool slightly while you prepare the filling.
Creating the Velvety Cheesecake Filling
Ensure your cream cheese is completely soft. Beat it with an electric mixer on medium speed until it is perfectly smooth and creamy, about 2 minutes. This is the most critical step to avoid lumps. Gradually add the sugar and beat until incorporated. Then, add the sour cream (or yogurt), vanilla, and flour, mixing until just combined. Finally, add the egg on low speed. Mix only until the egg is fully blended; overmixing incorporates too much air, which can cause the filling to rise and fall dramatically, leading to cracks. The batter should be thick, smooth, and silky.
Baking and Cooling for the Ideal Texture
Divide the filling evenly among the cooled crusts, filling each about ¾ full. Gently tap the pan on the counter to release any air bubbles. Bake for 15-20 minutes. The tarts are done when the edges are set, but the centers still have a slight jiggle. Turn off the oven, crack the door open, and let the tarts cool inside for 30 minutes. This gradual cooling process is the professional secret to preventing surface cracks. Then, transfer the pan to a wire rack to cool completely. Once at room temperature, refrigerate the tarts for at least 4 hours, preferably overnight, to allow them to set fully and develop flavor.
Adding the Fresh Fruit Topping and Glaze
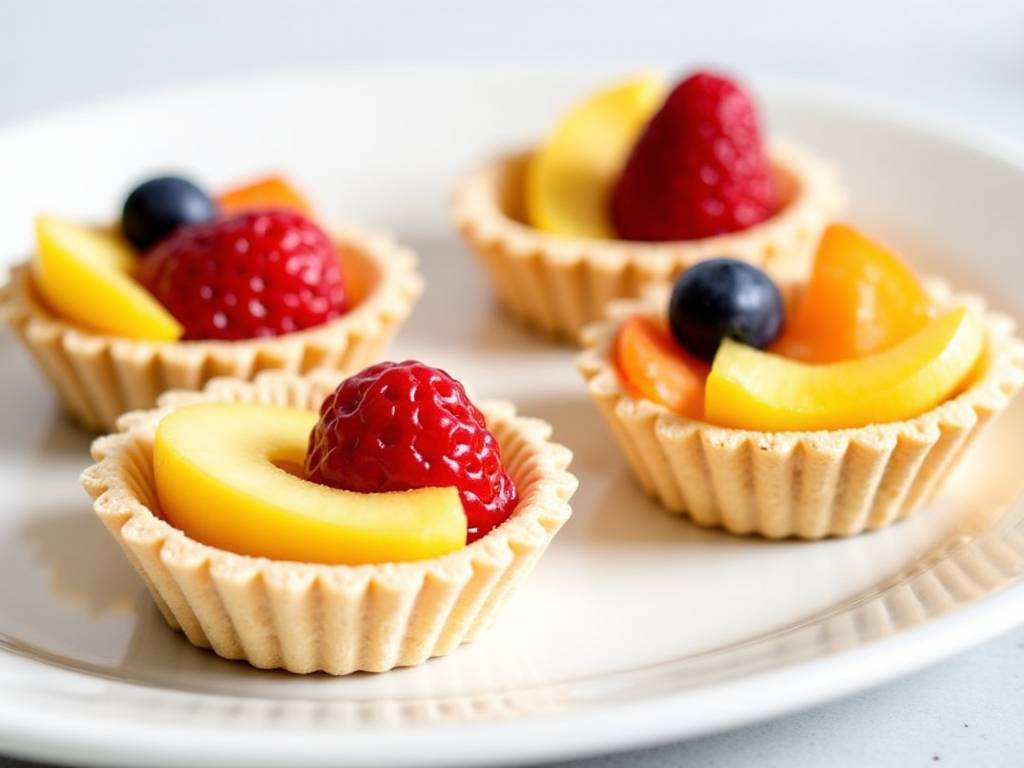
This is where your creativity shines. After the tarts are thoroughly chilled, carefully remove them from the pan. Arrange your washed, dried, and sliced fruits artfully on top of each tart. For a shiny, professional finish, warm a few tablespoons of apricot jam with a teaspoon of water. Brush this thin glaze lightly over the fruit. It not only adds shine but also acts as a protective seal to keep the fruit fresh.
Expert Tips for Flawless Results
If your filling is too runny, your cream cheese may have been too warm or the egg was over-mixed. Always use cool, room-temperature ingredients as specified. For a clean release from a metal pan, running a thin knife around the edge before chilling can help. Experiment with crusts by using vanilla wafers, Oreo cookies (without the filling), or even crushed pretzels for a sweet-and-salty twist. Feel free to add lemon zest to the filling for brightness or a swirl of fruit puree before baking.
Frequently Asked Questions
Can I make these tarts ahead of time? Absolutely. In fact, they are an excellent make-ahead dessert. You can bake and refriger them in an airtight container for up to 3 days. Add the fresh fruit topping on the day you plan to serve them for the best texture and appearance.
Can I freeze mini cheesecake tarts? Yes, but without the fruit topping. Place the chilled, unfrosted tarts on a baking sheet to freeze solid, then transfer to a freezer-safe container for up to 2 months. Thaw overnight in the refrigerator and add toppings before serving.
My filling cracked. What went wrong? The most common causes are overmixing the batter (which adds too much air), overbaking, or cooling too quickly. The gradual cooling method inside the turned-off oven is essential to minimize this. Remember, small cracks can always be hidden by your beautiful fruit arrangement!
Mastering how to make mini fruit cheesecake tarts opens up a world of delightful dessert options. They are surprisingly simple, endlessly adaptable to seasons and preferences, and guaranteed to impress. From the crisp, buttery base to the lush, creamy filling and the vibrant, fresh fruit crown, each component plays a part in creating a harmonious bite. So, gather your ingredients, embrace the process, and get ready to enjoy these perfect bite-sized fruit treats.
⚠️ 温馨提示:本款蛋糕含糖量较高,高血糖/糖尿病患者请谨慎食用。





