 bluename
 How to Make Portable Cheesecake Cups? Your Guide to On-the-Go Sweet Snacks
Ever craved a creamy, decadent slice of cheesecake but found yourself stuck in traffic, at your desk, or simply without a plate and fork? The classic dessert, while beloved, isn’t exactly known for its portability. This is where the genius of portable cheesecake cups comes in. These individual, no-bake treats are the perfect solution for anyone seeking convenient, mess-free, and utterly delicious on-the-go sweet snacks. They combine the rich, satisfying flavor of traditional cheesecake with the practicality needed for modern, busy lifestyles. Whether you’re meal-prepping healthy desserts, packing a lunchbox surprise, or needing a grab-and-go treat for a picnic, mastering how to make portable cheesecake cups is a game-changer.
Why Portable Cheesecake Cups Are a Snack Revolution
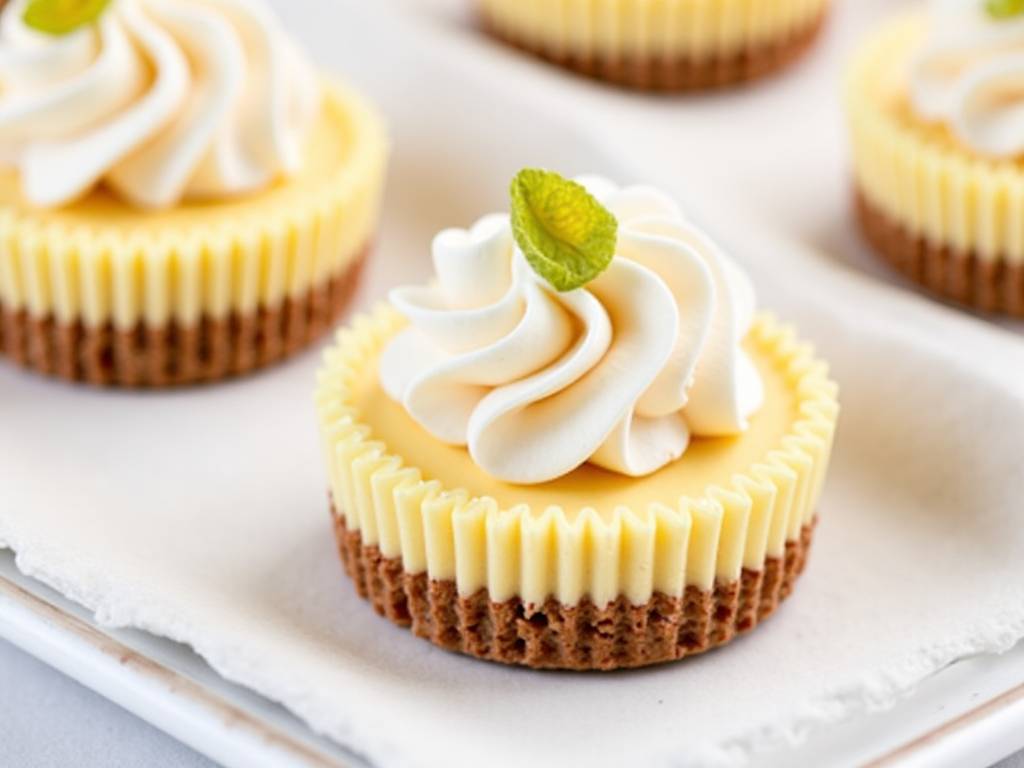
The demand for convenient yet high-quality food options is soaring. A recent report on snack consumption trends highlighted that over 60% of consumers are actively looking for “better-for-you” indulgent snacks that don’t compromise on taste. Portable cheesecake cups answer this call perfectly. They offer portion control, reduce food waste, and allow for endless customization. From a nutritional perspective, when you make them at home, you control the ingredients—opting for reduced-sugar versions, incorporating protein-rich Greek yogurt, or using a nut-based crust for added fiber. As noted by culinary nutritionist Dr. Emma Wilson, “Homemade snack cups empower individuals to satisfy their sweet tooth while aligning with specific dietary preferences, turning a moment of indulgence into a more balanced choice.”
Your Essential Tools and Ingredients
Before we dive into the process of how to make portable cheesecake cups, let’s gather your arsenal. You won’t need any special equipment, which is part of their appeal.
Equipment:
- Airtight Containers: The star of the show. Use 4-8 oz mason jars, reusable dessert cups, or even BPA-free plastic containers with secure lids.
- Mixing Bowls
- Electric Hand Mixer or Stand Mixer: For achieving that perfectly smooth, lump-free cheesecake filling.
- Spatula
- Food Processor (optional): Useful for making a fine crumb crust.
Core Ingredients for the Classic Version:
- For the Crust: Graham cracker crumbs, melted butter, and a touch of sugar. For a gluten-free twist, use gluten-free cookies or oats.
- For the Filling: Full-fat cream cheese (softened to room temperature), powdered sugar (dissolves easier), vanilla extract, and heavy cream or whipped topping for stability.
- The Portable Advantage: The layered structure in a cup is inherently more stable than a sliced cake, preventing the filling from oozing and the crust from crumbling in your bag.
Step-by-Step: Crafting Your Perfect Portable Cheesecake Cups
Follow this clear, fail-proof method to create your batch of on-the-go sweet snacks.
Step 1: Prepare the Crust Base In a bowl, combine 1 cup of fine graham cracker crumbs with 3 tablespoons of melted butter and 1 tablespoon of sugar. Mix until it resembles wet sand. Press 1.5 to 2 tablespoons of this mixture firmly into the bottom of each cup. Use the bottom of a glass or a tamper to create a compact, even layer. This solid base is crucial for portability. Place the cups in the refrigerator to set while you make the filling.
Step 2: Create the Luxurious Filling Using your mixer, beat 16 oz of softened cream cheese on medium speed until completely smooth and creamy, about 2 minutes. This step is critical—no lumps allowed. Gradually add ½ cup of powdered sugar and 1 teaspoon of pure vanilla extract, beating until combined. In a separate bowl, whip 1 cup of cold heavy cream to stiff peaks. Gently fold the whipped cream into the cream cheese mixture until no white streaks remain. This technique keeps the filling light and airy yet stable.
Step 3: Layer and Seal for Portability Remove your cups from the fridge. Spoon or pipe the cheesecake filling over the chilled crust, leaving a little space at the top if adding toppings. Smooth the top with a spatula. For the ultimate on-the-go readiness, add your lid and seal tightly. This prevents odors from the fridge from seeping in and protects the dessert during transport. The cups can now be refrigerated for at least 4 hours, or ideally overnight, to set perfectly.
Creative Flavor Variations and Toppings
The fun begins with customization. Here are ideas to tailor your portable cheesecake cups:
- Fruit Swirl: Before sealing, add a dollop of strawberry or raspberry puree and use a toothpick to swirl it artistically into the filling.
- Chocolate Lover’s: Mix 2 tablespoons of cocoa powder into the filling and use crushed chocolate cookies for the crust. A few chocolate chips on top seal the deal.
- Lemon Berry: Add 2 tablespoons of fresh lemon zest and a tablespoon of juice to the filling. Top with fresh blueberries or a raspberry.
- Salted Caramel: Drizzle store-bought or homemade salted caramel over the set filling just before serving.
- Protein-Packed: Substitute half the cream cheese with plain Greek yogurt and consider adding a scoop of vanilla protein powder (adjust liquid if needed).
Packaging and Travel Tips for True On-the-Go Enjoyment
Your delicious creation is only as good as its arrival condition. For safe travel, keep the cups chilled until the moment you leave. A small insulated lunch bag with a freezer pack is ideal for commutes or day trips. If you’re adding fresh fruit or a wet topping like fruit compote, consider packing it in a tiny separate container to add just before eating, maintaining the perfect texture. Always use containers with leak-proof, snap-tight lids.
Frequently Asked Questions
Can I make portable cheesecake cups dairy-free? Absolutely. Use high-quality vegan cream cheese and coconut cream (chilled and whipped) instead of heavy cream. The method remains identical, offering a delicious plant-based version of this on-the-go sweet snack.
How long do they last in the refrigerator? Properly stored in their sealed containers, they will stay fresh and delicious for 3-4 days. We do not recommend freezing as it can alter the creamy texture of the filling upon thawing.
My filling turned out runny. What went wrong? This usually happens if the cream cheese wasn’t fully softened (leading to lumps and overmixing) or if the heavy cream was under-whipped. Ensure all ingredients are at the correct temperature and whip the cream to firm peaks. Chilling for the full recommended time is non-negotiable for the perfect set.
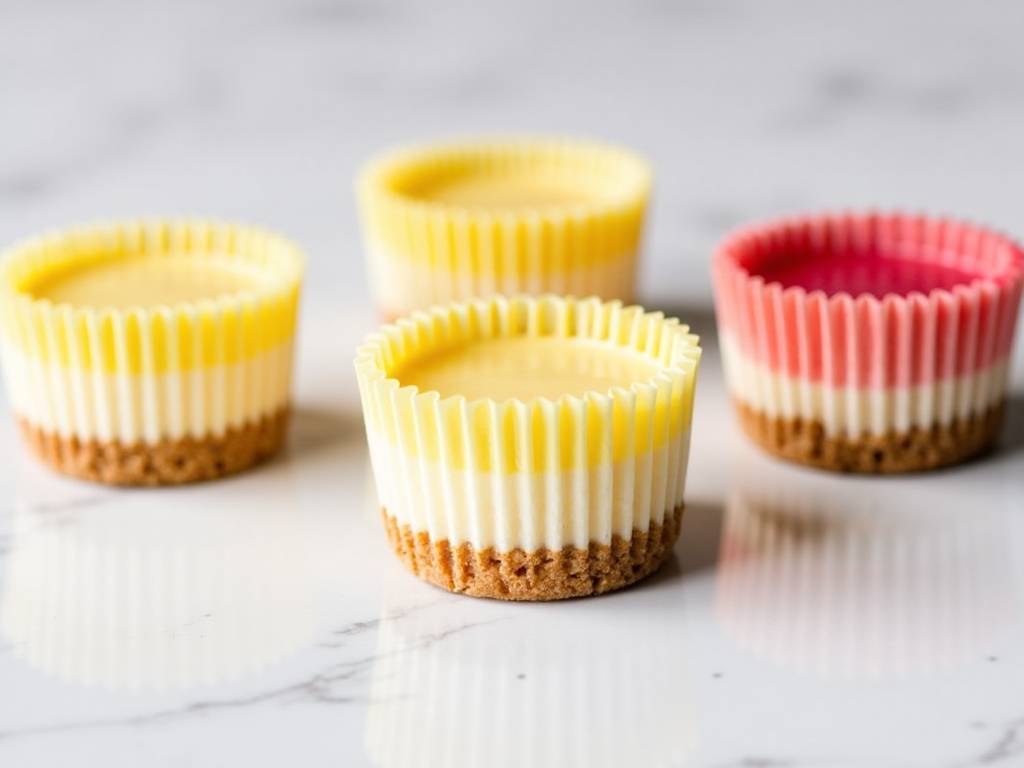
Mastering how to make portable cheesecake cups opens up a world of convenient indulgence. They are more than just a dessert; they are a practical, customizable, and crowd-pleasing solution for busy days. With your preferred flavors sealed in a jar, you carry a moment of homemade joy wherever you go. So, gather your cups, experiment with flavors, and never be without a perfect sweet treat again.
⚠️ 温馨提示:本款蛋糕含糖量较高,高血糖/糖尿病患者请谨慎食用。





