 bluename
 How to Make Fitness Cheesecake? Your Ultimate High-Protein, Low-Fat Option
Are you caught in the delicious dilemma of craving a creamy slice of cheesecake while trying to stick to your fitness goals? You're not alone. The classic dessert, often loaded with sugar, full-fat cream cheese, and a buttery crust, can feel completely off-limits. But what if you could enjoy that rich, satisfying texture and tangy flavor without the guilt? The good news is, you absolutely can. This guide is dedicated to answering the pressing question: How to Make Fitness Cheesecake? We’ll walk you through creating a delicious High-Protein Low-Fat Option that nourishes your body and delights your taste buds, proving that healthy eating doesn't mean sacrificing indulgence.
This recipe isn't about deprivation; it's about smart, delicious substitution. By leveraging modern ingredients and simple techniques, we transform a calorie-dense treat into a powerhouse of nutrition. According to a perspective in Food Nutrition & Health, strategic ingredient swaps in traditional recipes can significantly improve their macronutrient profile, making them more compatible with active lifestyles and weight management goals.
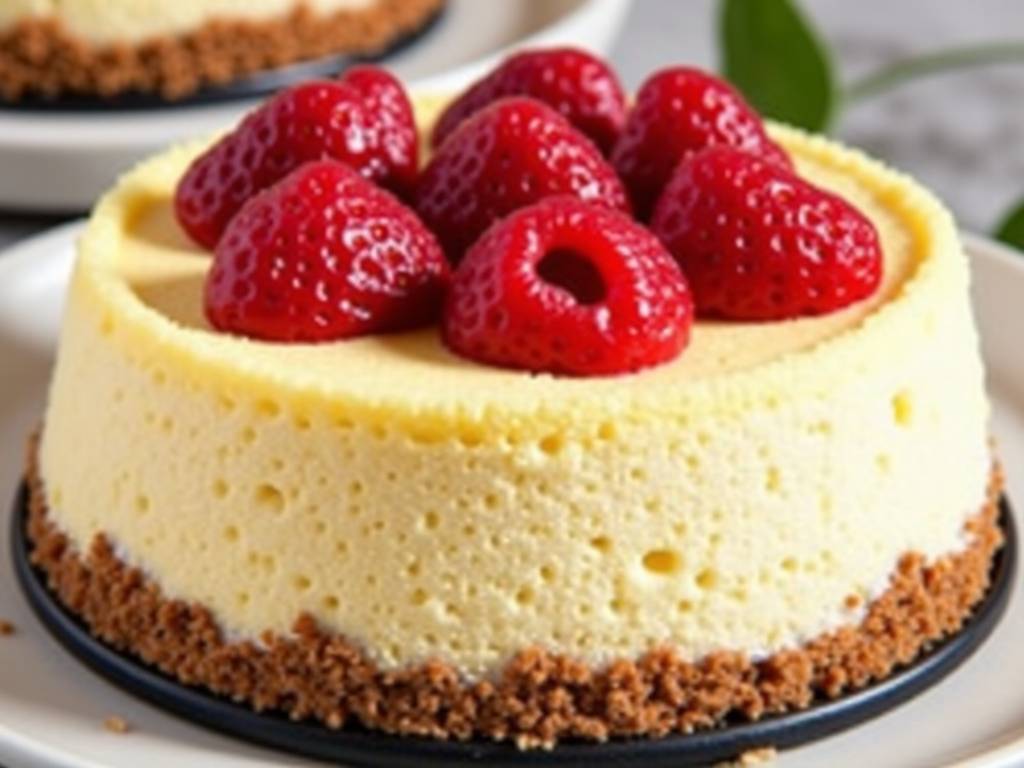
Why Choose a Fitness Cheesecake?
Traditional cheesecake can pack over 400 calories and 30 grams of fat per slice. A fitness-focused version slashes those numbers while boosting protein, a crucial macronutrient for muscle repair, satiety, and metabolic health. Choosing a high-protein low-fat option means you get to enjoy dessert as part of a balanced diet. It supports your energy levels, helps manage cravings, and aligns with goals from muscle building to lean maintenance. Think of it not as "cheat food" but as "goal-friendly fuel."
Essential Ingredients for Your High-Protein, Low-Fat Masterpiece
The magic lies in the swap. Here’s what you’ll need to build a better cheesecake:
- The Protein-Packed Base: Instead of full-fat cream cheese, we use a combination of low-fat or fat-free cream cheese and plain Greek yogurt. Greek yogurt is the star here, offering a thick, tangy base with nearly double the protein of regular yogurt and minimal fat.
- The Sweetener Strategy: We drastically reduce refined sugar. Options include pure maple syrup, honey (in moderation), or zero-calorie sweeteners like monk fruit or erythritol for a truly low-sugar version. These alternatives help prevent the blood sugar spikes associated with traditional desserts.
- The Crust Revolution: Forget the buttery graham cracker crust. Our foundation is made from fiber-rich oats, almonds, or protein powder blended with a touch of nut butter or banana for binding. This adds protein, fiber, and healthy fats.
- The Flavor & Structure Team: Eggs or egg whites provide structure and extra protein. A splash of vanilla or almond extract, lemon zest, or even a scoop of flavored protein powder can elevate the taste without adding empty calories.
Step-by-Step Guide: How to Make Your Fitness Cheesecake
Follow these clear steps for a foolproof, delicious result.
Preparing the High-Fiber, Protein Crust
Start by preheating your oven to 325°F (160°C). In a food processor, combine 1 cup of rolled oats, ½ cup of almond flour, 2 tablespoons of your preferred protein powder (vanilla works well), and a pinch of salt. Pulse until finely ground. Add 2-3 tablespoons of melted coconut oil or almond butter and 1-2 tablespoons of maple syrup. Pulse until the mixture resembles wet sand and holds together when pinched. Press this mixture firmly and evenly into the bottom of a springform pan lined with parchment paper. Bake for 10-12 minutes until lightly golden, then set aside to cool.
Creating the Low-Fat, High-Protein Filling
This is where the creamy magic happens. Ensure all your filling ingredients are at room temperature for a smooth blend. In a large mixing bowl, beat 16 ounces of low-fat cream cheese until completely smooth. Add 2 cups of plain, non-fat Greek yogurt and beat again until fully incorporated and no lumps remain.
Next, incorporate your sweetener. Add ½ cup of pure maple syrup or an equivalent amount of your chosen sweetener. Then, mix in 2 whole eggs and 1 extra egg white, one at a time, beating just until combined after each addition. Over-beating can incorporate too much air and cause cracking. Finally, stir in 1 tablespoon of pure vanilla extract, the zest of one lemon, and a tablespoon of cornstarch or arrowroot powder to help stabilize the filling.
Baking and Cooling for Perfect Texture
Pour the creamy filling over your pre-baked and cooled crust. Smooth the top with a spatula. Place the springform pan into a larger baking dish. Create a water bath by pouring hot water into the larger dish until it comes about halfway up the sides of the springform pan. This gentle, moist heat is the secret to preventing cracks and ensuring an ultra-creamy texture.
Bake for 45-55 minutes. The center should still have a slight jiggle when you gently shake the pan. Turn off the oven, crack the door open, and let the cheesecake cool inside for one hour. This gradual temperature change is another crack-prevention step. Then, remove it from the oven and water bath, and let it cool completely at room temperature before refrigerating for at least 6 hours, preferably overnight. This patience is non-negotiable for the perfect sliceable texture.
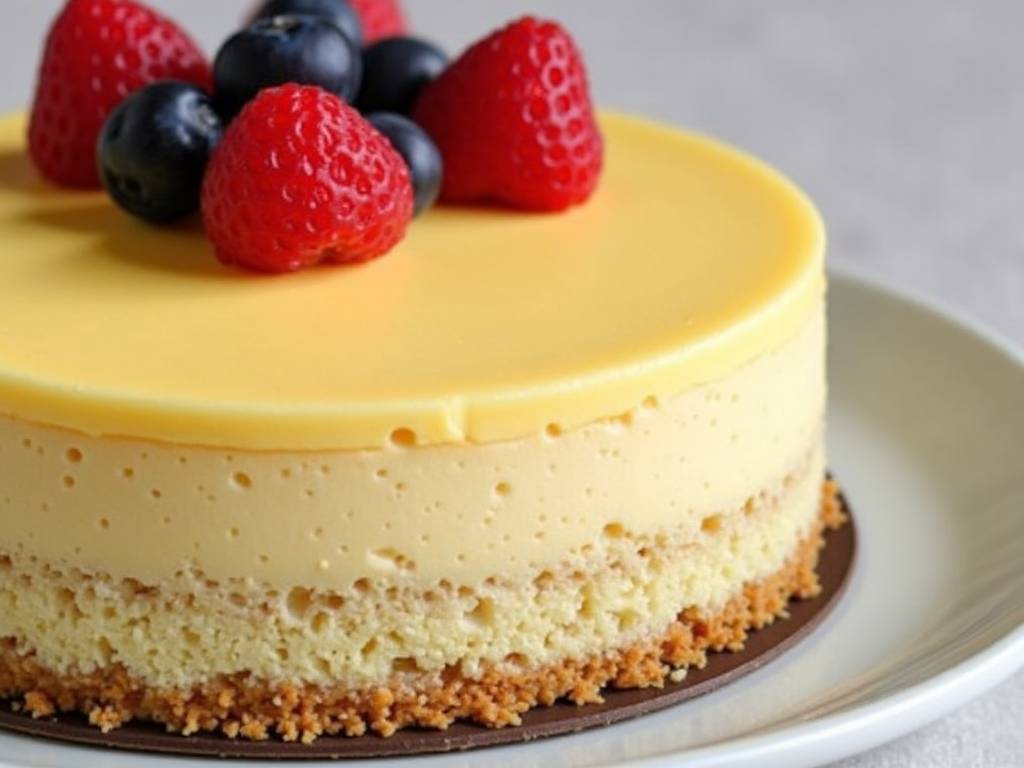
Customization and Flavor Variations
Your fitness cheesecake is a blank canvas. After mastering the base, try these variations:
- Chocolate Peanut Butter: Add ¼ cup of unsweetened cocoa powder and 2 tablespoons of powdered peanut butter to the filling.
- Berry Swirl: Before baking, swirl ¼ cup of sugar-free berry jam or pureed fresh berries into the top of the filling.
- Tropical Twist: Fold ½ cup of crushed pineapple (well-drained) into the filling and top with toasted coconut flakes after baking.
Nutritional Breakdown: What You're Really Eating
A slice of this fitness cheesecake (1/8 of the recipe) provides a vastly different profile than its traditional counterpart. You can expect approximately:
- Calories: 220-260
- Protein: 18-22g
- Fat: 8-10g (primarily healthier fats from nuts and coconut oil)
- Carbohydrates: 20-25g
- Sugar: 8-12g (significantly less than the 30g+ in traditional versions)
This balance makes it an excellent post-workout recovery treat or a satisfying yet light dessert. As noted in Food Nutrition & Health, incorporating high-protein foods into snacks can enhance feelings of fullness and support muscle protein synthesis, making this dessert a strategic choice.
Common Questions About Fitness Cheesecake
Can I make this recipe dairy-free? Yes, though the texture will vary. Substitute the cream cheese with a dairy-free alternative and use a thick, plain plant-based yogurt. The crust can easily remain dairy-free.
Do I have to use a water bath? For the creamiest, most professional result, yes. The steam from the water bath creates an even, gentle heat that cooks the cheesecake slowly and prevents the surface from drying out and cracking. If you skip it, the texture may be denser and the top more likely to crack.
How long will it keep in the refrigerator? Your fitness cheesecake will stay fresh and delicious in an airtight container in the fridge for up to 5 days. It also freezes well for up to 2 months. Simply thaw overnight in the refrigerator before serving.
Creating your own fitness cheesecake is a rewarding journey that bridges the gap between health and pleasure. This high-protein low-fat option empowers you to take control of your ingredients, customize flavors to your liking, and enjoy a dessert that truly aligns with your wellness journey. It’s proof that with a little knowledge and creativity, you never have to feel deprived. So, preheat your oven, gather your upgraded ingredients, and get ready to bake a cheesecake that loves your body back.
⚠️ 温馨提示:本款蛋糕含糖量较高,高血糖/糖尿病患者请谨慎食用。(本款为低糖配方,建议食用前咨询专业医护人员)。





