 bluename
 There's something truly magical about a classic cheesecake. That rich, creamy filling sitting atop a subtly sweet, crumbly crust is a dessert that feels both indulgent and comforting. If you've ever been intimidated by the thought of making one, let me assure you: you can do this. While it requires patience and attention to detail, the process is straightforward and incredibly rewarding. This guide is designed to walk you through every single step, anticipating your questions and ensuring your first classic cheesesake is a resounding success.
Let's start by talking about the equipment you'll need. Having the right tools makes the process smoother and helps prevent common issues, like a cracked top. The most crucial piece of equipment is a 9-inch springform pan. The removable sides make it so much easier to get your beautiful cheesecake out in one piece. You'll also need a large mixing bowl, an electric mixer (a stand mixer with a paddle attachment is fantastic, but a hand mixer works perfectly well), a spatula, a roasting pan for a water bath, and aluminum foil.
Now, for the star ingredients. Using high-quality, room-temperature ingredients is the secret to a smooth, lump-free filling. For the classic New York-style cheesecake we're making, you will need about 32 ounces of full-fat cream cheese. Don't be tempted by the low-fat versions; the fat is essential for the proper texture and flavor. You'll also need granulated sugar, a bit of all-purpose flour to help stabilize the filling, sour cream (for tang and creaminess), vanilla extract for flavor, and three large eggs.
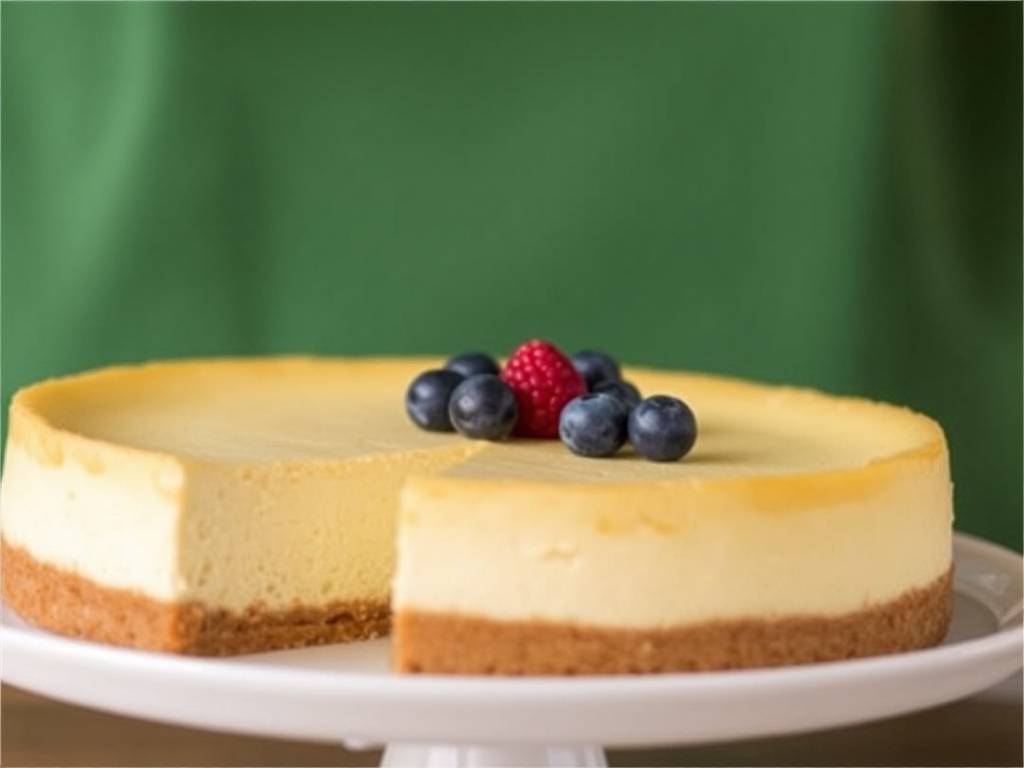
For the crust, the choice is yours. A classic graham cracker crust is always a winner. You'll need about 1.5 cups of graham cracker crumbs, some granulated sugar, and melted unsalted butter to bind it all together. Some people love a Biscoff or digestive biscuit crust for a deeper flavor, and that works wonderfully too.
The first step is to prepare your pan and make the crust. Preheat your oven to 325°F (160°C). Take your springform pan and wrap the outside tightly in a double layer of heavy-duty aluminum foil. This is a very important step to prevent water from the water bath seeping into the pan. Then, lightly grease the inside of the pan.
In a medium bowl, combine the graham cracker crumbs and sugar. Pour in the melted butter and mix with a fork until the crumbs are evenly moistened and have the texture of wet sand. Pour this mixture into your prepared springform pan and press it firmly and evenly into the bottom and about halfway up the sides. Using the flat bottom of a measuring cup helps to press it down firmly and evenly. Place the crust in the preheated oven and bake for about 10 minutes. This "pre-baking" or "blind baking" helps the crust set and prevents it from becoming soggy later. Once done, remove it from the oven and let it cool on a wire rack while you prepare the filling. Reduce the oven temperature to 300°F (150°C).
Now, for the most important part: the filling. Remember, all your refrigerated ingredients must be at room temperature. This is non-negotiable for a smooth, creamy texture. If you try to mix cold cream cheese, you will end up with a lumpy batter no matter how long you mix it. Take the cream cheese, eggs, and sour cream out of the fridge at least an hour or two before you start.
Place the room-temperature cream cheese in your large mixing bowl. Beat it on medium-low speed with your electric mixer until it is perfectly smooth and creamy. This should take about 2 minutes. Scrape down the sides and the bottom of the bowl with a spatula to ensure no lumps are hiding.
Now, gradually add the granulated sugar and the all-purpose flour. Beat on low speed until these are just combined. Scrape down the bowl again. Next, mix in the sour cream and vanilla extract. Beat until everything is beautifully blended and smooth. It's crucial not to overmix once we add the eggs, as incorporating too much air can cause the cheesecake to puff up and then crack as it cools.
The final step for the filling is to add the eggs. Add them one at a time, beating on low speed only until the yolk is just mixed in after each addition. After you add the last egg, mix just until the batter is uniform and smooth. Do not overmix! At this point, your batter should be thick, luxuriously smooth, and free of any lumps.
Pour the finished filling over your pre-baked and cooled crust. Use a spatula to spread it evenly. Now, it's time for the water bath, also known as a "bain-marie." This is the professional baker's secret to a perfectly baked, crack-free cheesecake. The water bath creates a steamy environment in the oven, which cooks the cheesecake gently and evenly, preventing the top from drying out and cracking.
Place your foil-wrapped springform pan into a large roasting pan. Carefully carry the roasting pan to the oven and place it on the center rack. Then, pour hot water into the roasting pan until it comes about halfway up the sides of the springform pan. Be careful not to splash any water into the cheesecake.
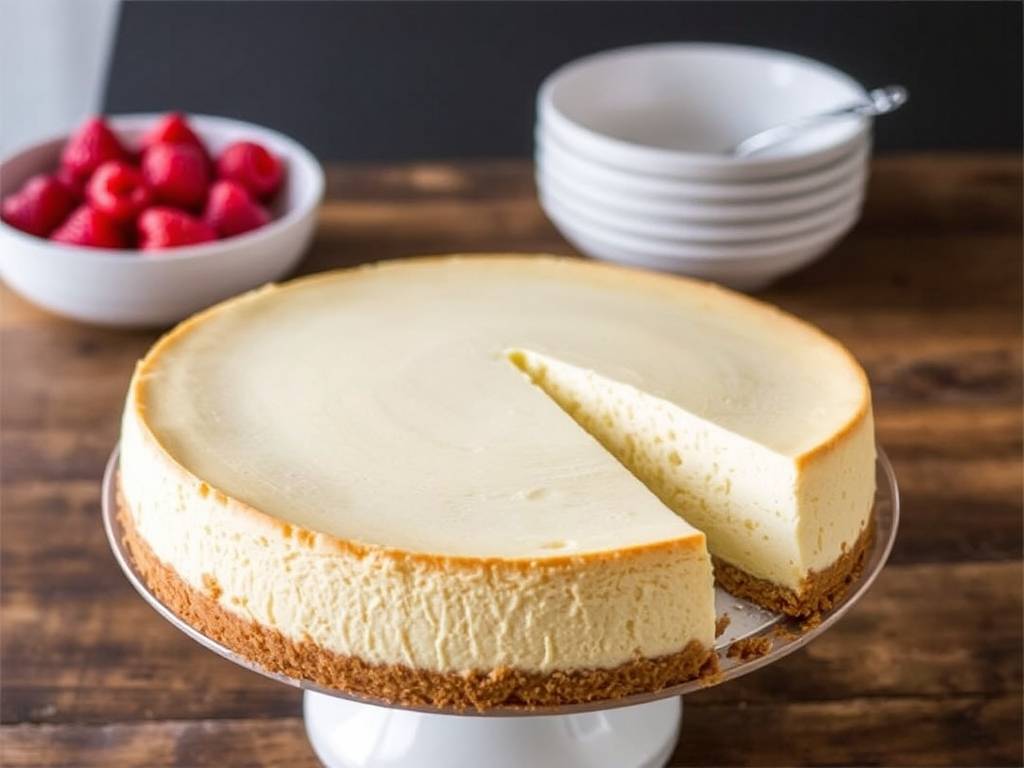
Bake the cheesecake at 300°F (150°C) for about 1 hour and 30 to 1 hour and 45 minutes. The baking time can vary, so look for visual cues. The edges of the cheesecake should look set, but the center should still have a slight wobble to it, like Jell-O, when you gently shake the pan. This jiggly center is key; it will continue to cook as it cools.
Once the cheesecake is done, turn off the oven, crack the oven door open with a wooden spoon, and let the cheesecake cool slowly inside the oven for about an hour. This gradual temperature change is another critical step to prevent cracking. After an hour, remove the cheesecake from the oven and the water bath, and let it cool completely on a wire rack. Once it's at room temperature, run a thin knife around the edge of the pan to loosen it, but do not remove the ring yet. Then, refrigerate it for at least 4 hours, but ideally overnight. This long chilling time is essential for the cheesecake to set properly and develop its full, rich flavor.
When you're ready to serve, unclasp and remove the ring from the springform pan. Slice your cheesecake with a sharp, thin knife. For clean slices, dip the knife in hot water and wipe it clean between each cut. Serve it plain, which is a classic delight, or with a topping of fresh berries, a fruit compote, or a drizzle of chocolate or caramel sauce.
Making a classic cheesecake is a labor of love, but by following these detailed steps—using room-temperature ingredients, avoiding overmixing, employing a water bath, and allowing for a slow cool-down and a long chill—you are guaranteed a stunning, professional-quality dessert that will impress everyone. Enjoy the process and the delicious results





