 bluename
 There's something truly magical about a perfect cheesecake. That first slice revealing a creamy, impossibly smooth interior, resting on a crisp, buttery base—it’s a dessert that feels both indulgent and elegant. Yet, for many home bakers, achieving that dreamy texture without cracks, a soggy crust, or a dense, heavy filling can seem like an elusive goal.
Fear not! Creating a flawless, restaurant-quality cheesecake in your own kitchen is entirely within reach. It’s not about secret ingredients, but rather about understanding the science and a few crucial techniques. This guide will walk you through every single step, demystifying the process and sharing the professional secrets that guarantee a smooth, tall, and incredibly tasty dessert every time.
Let's start with the foundation of any great endeavor: the ingredients. Using high-quality components is the first secret to a sublime cheesecake.
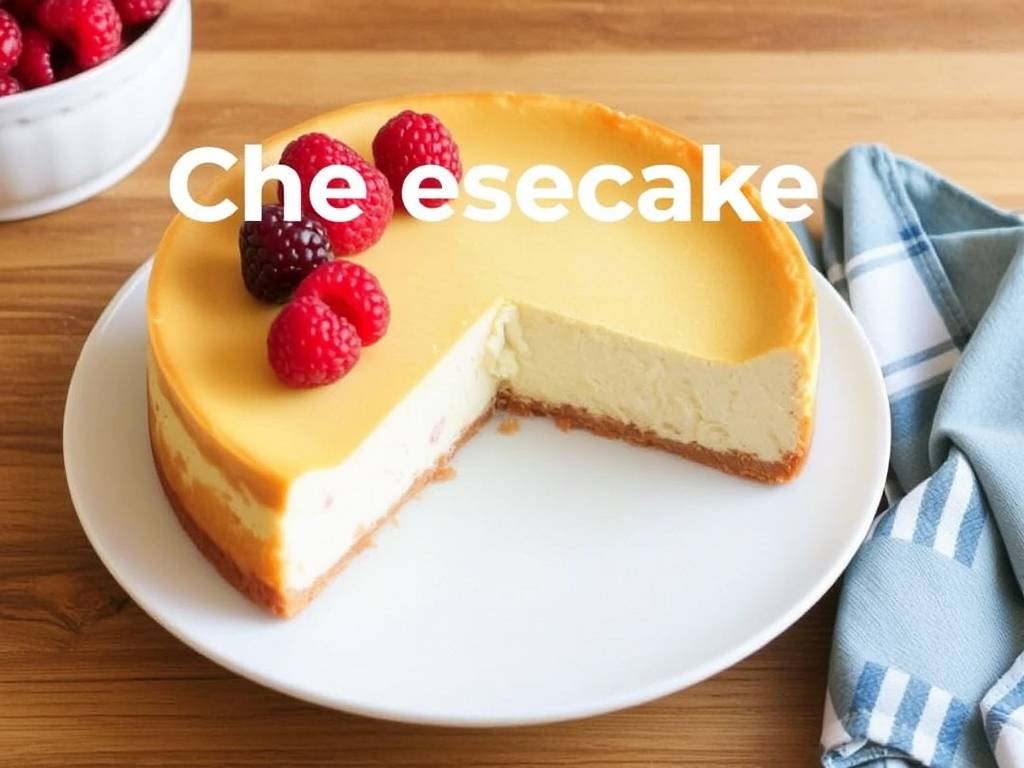
For the crust, you have options. The classic is simple: graham cracker crumbs, a bit of sugar, and melted butter. For a deeper flavor, try biscoff cookies or digestive biscuits. The key here is the butter—it should be unsalted so you can control the salt level, and just enough to make the crumbs look like wet sand. They should hold together when pinched, but not be greasy.
Now, for the star of the show: the cheese. Full-fat, block-style cream cheese is non-negotiable. The tubs of spreadable cream cheese contain more water and stabilizers, which can prevent your cake from setting properly and lead to a softer, sometimes gummy texture. Always, always bring your cream cheese to room temperature. This is perhaps the most critical step for a lump-free cheesecake batter. Cold cream cheese will never blend smoothly, leaving you with tiny lumps no matter how long you mix.
Your eggs should also be at room temperature. Cold eggs can re-solidify the fat in the cream cheese, leading to a curdled-looking batter. Lastly, use full-fat sour cream or heavy cream. This adds richness and moisture, contributing to that velvety mouthfeel.
Before you even turn on your oven, there's some preparation that will make your life much easier. Lining your springform pan is a cheat code for easy removal. Cut a circle of parchment paper for the bottom and a strip for the sides. This prevents any chance of sticking and makes for a beautiful presentation.
Another pro tip for how to prevent a soggy cheesecake crust is to create a moisture barrier. After pressing your crumb mixture firmly into the bottom and slightly up the sides of the pan, take a little melted butter and brush it over the entire inner surface of the crust. Pre-bake the crust for about 10 minutes at 350°F (175°C). This sets the crust and creates a seal, keeping it crisp against the wet filling.
Now, we enter the phase where most mistakes happen: making the batter. The goal is to incorporate as little air as possible. Why? Air bubbles expand in the oven and then collapse as the cake cools, creating those dreaded cracks.
Start by beating your room-temperature cream cheese alone until it is completely smooth, scraping down the bowl and beater thoroughly. Any little lumps now will be lumps in your finished cake.
Next, add the sugar and beat again until just combined. Now, add your flavorings—vanilla extract, a touch of lemon zest, whatever you like. Then, add the eggs one at a time, mixing on low speed until just incorporated after each addition. Do not overmix! Once the last egg is in, stop the mixer.
This is the time to gently fold in your sour cream or heavy cream. Use a spatula and a gentle hand. The batter should be glossy, thick, and perfectly smooth. If you see any air bubbles, you can tap the bowl on the counter a few times to help them rise to the surface and pop.
The baking method is the true secret to a crack-free classic cheesecake. We are going to use a water bath, or bain-marie. This gentle, humid heat is what ensures even cooking and prevents the edges from overcooking and pulling away from the center, which is the primary cause of cracking.
Wrap the bottom and sides of your springform pan tightly with two layers of heavy-duty aluminum foil. This is to prevent any water from seeping in. Place the wrapped pan in a large roasting pan and pour your batter over the pre-baked crust.
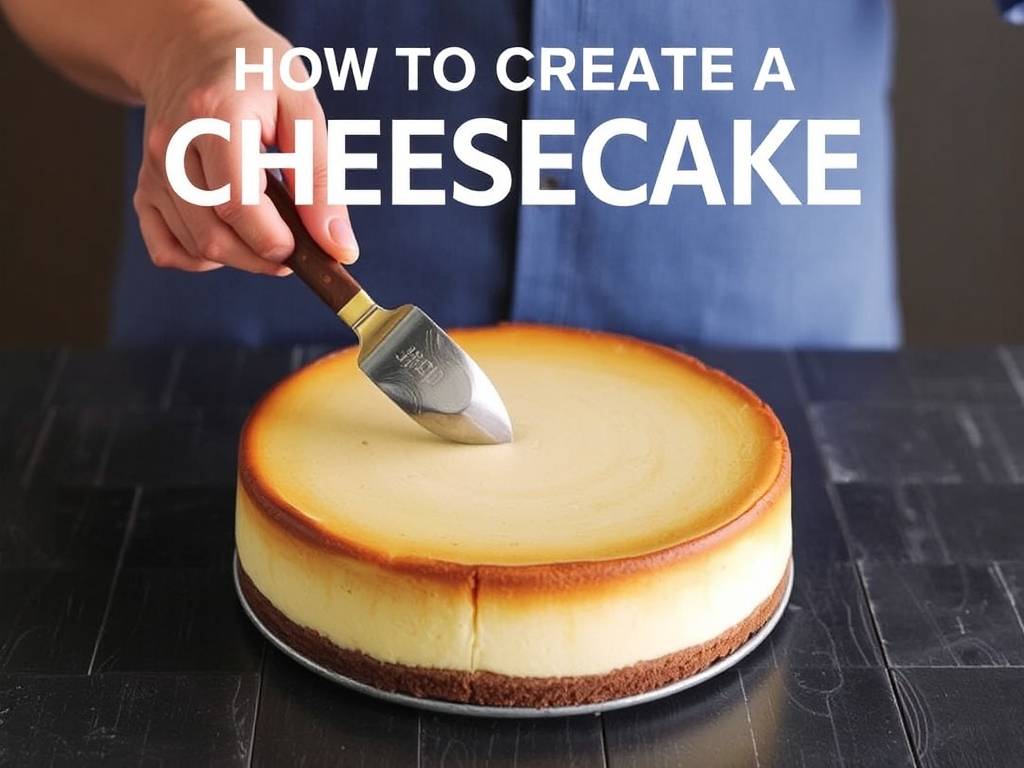
Now, place the roasting pan on your oven rack and pour hot (almost boiling) water into the roasting pan until it comes about halfway up the sides of the springform pan.
Bake at a relatively low temperature, around 325°F (160°C). The baking time is long, usually 1 to 1.5 hours. The cake is done when the edges are set but the center still has a slight jiggle—like Jell-O—when you gently shake the pan. The center should not be liquid, but it should wobble. It will firm up as it cools.
This is the hardest part for many bakers: patience. Once the baking time is up, turn off the oven, crack the oven door open, and let the cheesecake cool slowly inside the oven for about an hour. This gradual temperature change is the final defense against cracking. After that, remove it from the water bath and let it cool completely on a wire rack before running a knife around the edge and releasing the springform collar.
Then, it must chill. A minimum of 4 hours, but ideally overnight. This waiting period is essential for the flavor to meld and the texture to set into that firm-yet-creamy perfection we’re after.
Even with all this care, sometimes a tiny crack might appear. Don't despair! This is where your toppings come in. A lush layer of sour cream topping, a glossy fruit compote, or a simple drizzle of salted caramel can cover a multitude of sins and add another dimension of flavor.
For a simple berry compote for cheesecake, just simmer fresh or frozen berries with a little sugar and a squeeze of lemon juice until they break down and the sauce thickens slightly. Let it cool completely before spreading it over your chilled cake.
Storing your masterpiece is simple. Keep it covered in the refrigerator. It will be at its best for about 4-5 days. For longer storage, cheesecake freezes beautifully. Wrap the whole cake or individual slices tightly in plastic wrap and then in aluminum foil. Thaw it overnight in the refrigerator before serving.
So, the next time you crave a slice of creamy, decadent cheesecake, don't think of it as a daunting challenge. See it as a rewarding process. With these secrets—room temperature ingredients, a protected crust, a gentle hand with mixing, the magic of a water bath, and the discipline of slow cooling—you are now equipped to create a dessert that will wow your family and friends. You have the knowledge to solve every common cheesecake problem. Now, go preheat that oven and get ready to bake your best cheesecake ever.





