 bluename
 How to Make Cheesecake Ice Cream: Silky Delicious Summer Treat
Is there anything more disappointing than a homemade ice cream that turns out icy, grainy, or just… bland? You crave that luxurious, creamy texture of a premium scoop, something that melts silkily on your tongue with the perfect tangy-sweet balance of a classic cheesecake. Yet, many recipes fall short, leaving you with a frozen block that’s a far cry from the dreamy dessert you envisioned. I’ve been there, and as a professional pastry chef, I’ve made it my mission to crack the code. Today, I’m sharing my perfected method for creating the ultimate cheesecake ice cream—a treat so smooth, rich, and flavorful, it will become your go-to summer indulgence.
The secret lies not in complex machinery, but in understanding the science of frozen desserts. It’s about balancing fat, sugar, and air to prevent large ice crystals from forming. My approach combines the dense, tangy profile of New York-style cheesecake with the light, scoopable perfection of gelato.
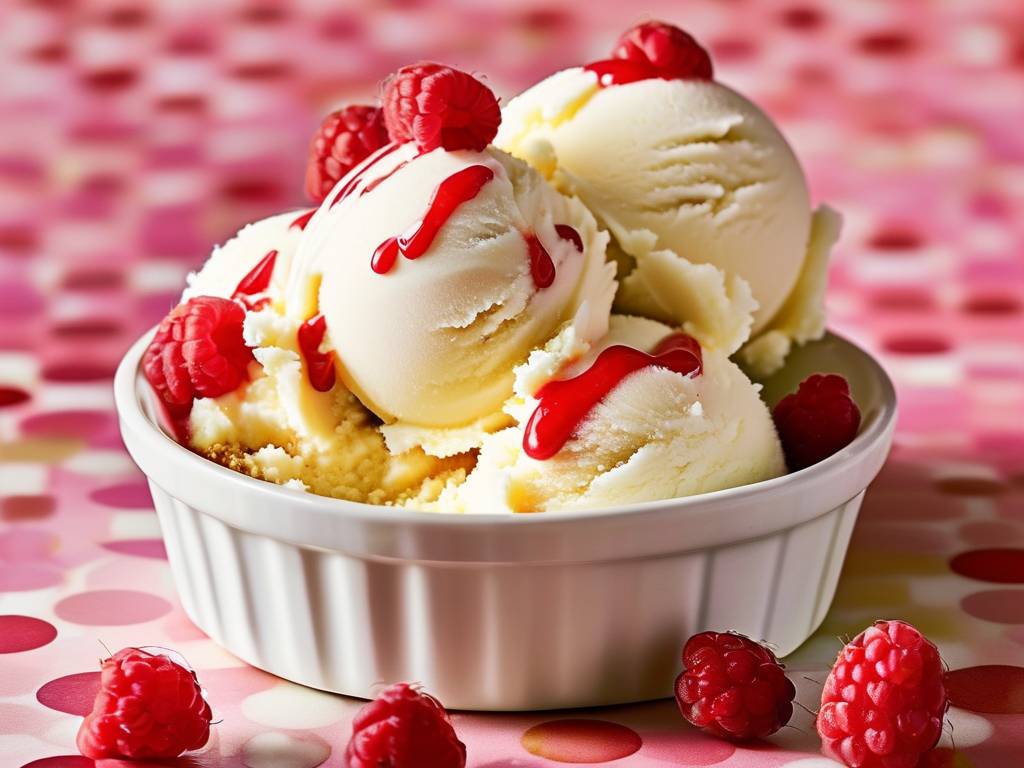
Why This Recipe Truly Works
Most ice cream bases rely heavily on custard. While delicious, that eggy flavor can overshadow the delicate, tangy notes of cream cheese. My recipe is a no-cook, no-egg Philadelphia-style base. This method highlights the pure flavor of high-quality cream cheese and sour cream, delivering an authentic “cheesecake” experience in every bite.
According to a principle often cited in professional baking circles, the fat content in dairy is crucial for creaminess. Full-fat cream cheese and heavy cream provide the necessary fat globules that coat your palate, creating that signature silky mouthfeel. Skipping the low-fat versions here is non-negotiable for texture.
Gathering Your Ingredients for Success
Quality in equals quality out. Let’s talk about what you’ll need:
- Full-Fat Cream Cheese (225g): This is the star. Bring it to room temperature. Cold cream cheese will leave lumps in your base, no matter how long you mix.
- Granulated Sugar (150g): Sugar doesn’t just sweeten; it lowers the freezing point, making the ice cream softer and scoopable straight from the freezer.
- Full-Fat Sour Cream (120g): This is the “tang” amplifier. It introduces a pleasant acidity that cuts through the richness, mimicking the flavor of baked cheesecake.
- Heavy Whipping Cream (240ml): For whipping into soft peaks. This incorporates air (overrun) and lightens the dense base.
- Whole Milk (120ml): Adjusts the fat balance for perfect scoopability.
- Vanilla Extract & Lemon Zest (1 tsp each): Vanilla adds depth, while fresh lemon zest brightens all the flavors, making them pop.
- A Pinch of Salt: Enhances every other ingredient.
Your Step-by-Step Guide to Silky Perfection
Preparing the Flawless Base
Start by ensuring your cream cheese is completely soft. Beat it in a large bowl with the sugar, salt, and lemon zest until it’s utterly smooth and no graininess remains. This could take 3-4 minutes with an electric mixer.
Next, beat in the sour cream and vanilla extract until fully incorporated. With the mixer on low, slowly stream in the whole milk. The mixture will be quite liquid now—that’s perfect. Scrape down the bowl thoroughly. At this stage, I always taste and adjust; you might want a hint more lemon zest.
The Whipping Cream Integration
In a separate, chilled bowl, whip the heavy cream to soft peaks. It should hold a gentle peak that folds over at the tip. This is key: over-whipping will make folding difficult and can lead to a grainy texture.
Now, gently fold the whipped cream into the cream cheese mixture in three additions. Use a large spatula and a light hand, turning the bowl as you go. You want to retain as much of that air as possible. The final base should be homogeneous, thick, and luscious.
Churning and the Swirl Decision
Pour the base into your ice cream maker and churn according to the manufacturer’s instructions. This usually takes 20-30 minutes. It will thicken to a soft-serve consistency.
Here’s where you decide on your mix-ins. For a classic cheesecake ice cream, I love folding in a generous amount of homemade graham cracker crumble in the last minute of churning. For a strawberry swirl cheesecake ice cream, I layer the just-churned ice cream in a container with a quick strawberry compote, using a knife to gently marble it.
The Critical Freezing Step
Transfer the churned ice cream to a lidded, freezer-safe container. Press a piece of parchment paper directly onto the surface. This simple trick prevents ice crystals from forming on top. Seal the container and freeze for at least 4-6 hours, or ideally overnight, to allow it to fully set.
Expert Tips for Next-Level Results
- Pre-Chill Everything: Chill your mixing bowl, beaters, and even the ice cream maker bowl (if required). A cold start means faster freezing and a finer texture.
- Patience with Softening: Don’t microwave the cream cheese. Let it sit out for 2-3 hours. Microwaving can alter its protein structure and sometimes cause separation.
- The Graham Cracker Trick: To keep your crumble mix-in crunchy, toast the crumbs with a little melted butter and a tablespoon of sugar, let them cool completely, and store them in the freezer before folding in.
- Scooping Ease: For the perfect scoop, let the container sit on the counter for 5-10 minutes before serving.
Flavor Variations to Explore
Once you’ve mastered the base, the world is your oyster. Try a blueberry compote swirl, or fold in chunks of baked cheesecake pieces for a double-textured delight. For a decadent twist, a salted caramel ribbon works beautifully with the tangy base. A professional chef I trained with always said, “Master the base formula, then let seasonal ingredients guide your creativity.”
Storing Your Homemade Masterpiece
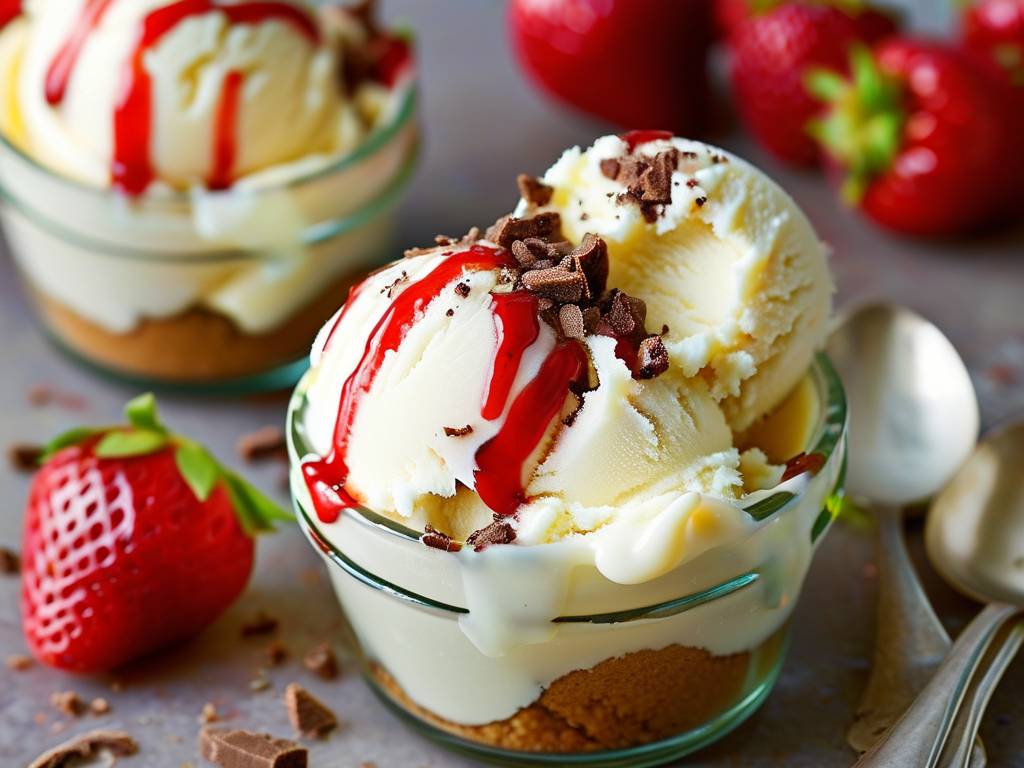
Properly stored in an airtight container with parchment on the surface, your cheesecake ice cream will maintain optimal texture for about 2 weeks. While homemade ice cream lacks commercial stabilizers, this recipe’s balanced fat and sugar content provide excellent shelf stability in the home freezer.
⚠️ 温馨提示:本款蛋糕含糖量较高,高血糖/糖尿病患者请谨慎食用。
My ice cream turned out too hard. What went wrong? This is often due to insufficient sugar or over-churning. Sugar is an anti-freeze. Ensure you’re measuring accurately. Also, stop churning as soon as it reaches soft-serve consistency. Over-churning can incorporate too much air, which then collapses and refreezes into a harder matrix.
Can I make this without an ice cream maker? Yes, but it requires vigilance. Pour the base into a shallow pan and freeze. Every 30-45 minutes for the first few hours, take it out and vigorously whisk or blend it to break up ice crystals. Repeat 3-4 times before the final freeze. The texture will be denser but still delicious.
Why is there a slight icy texture on the surface after a week? This is freezer burn, caused by temperature fluctuations and air exposure. The parchment paper step is crucial. Always press it onto the surface before sealing the container, and try to keep your freezer temperature constant.
Creating sublime cheesecake ice cream at home is entirely within your reach. It’s a process that rewards patience and attention to detail—from fully softening your cream cheese to the gentle fold of whipped cream. This recipe delivers that elusive, creamy, tangy-sweet scoop that rivals any artisanal gelateria. Remember, great desserts are about balance and quality ingredients. So, gather your tools, embrace the process, and get ready to enjoy the most satisfying homemade summer treat you’ve ever made. Your taste buds will thank you.





