 bluename
 How to Make Cheesecake Pancake: Delicious Dumpling with Thin Skin and Big Filling
Ever found yourself torn between the creamy, decadent luxury of a cheesecake and the comforting, handheld ease of a pancake? I know I have. That craving for something rich yet simple, impressive yet unfussy, is what led me down a delicious path of experimentation. The result? A perfect hybrid that solves this dessert dilemma: the Cheesecake Pancake. Imagine a delicate, golden-brown pancake “skin” enveloping a generous, luscious pocket of sweetened cream cheese filling. It’s the ultimate answer for anyone who loves the concept of a “dumpling” – thin skin, big filling – but in a sweet, breakfast-or-brunch-worthy form. Today, I’m sharing my perfected recipe and all the tips I’ve gathered as a professional dessert maker to help you master this delightful treat at home.
The magic of this creation lies in its contrast. The filling remains cool and creamy, almost like a no-bake cheesecake, while the pancake is warm and fluffy. According to a 2023 culinary trends report from the International Association of Culinary Professionals, hybrid desserts that merge familiar textures continue to see a surge in popularity, as they offer a novel experience using well-loved components. This recipe is a prime example of that trend, delivering satisfaction in every bite.
Gathering Your Ingredients for Success
Like any great dish, starting with quality ingredients makes all the difference. Let’s break down what you’ll need for both parts of our cheesecake pancake dumpling.
For the Creamy Cheesecake Filling:
- 8 ounces (225g) full-fat cream cheese, softened to room temperature
- 1/4 cup (50g) granulated sugar
- 1 large egg yolk
- 1/2 teaspoon pure vanilla extract
- A pinch of fine sea salt
For the Thin Pancake “Skin”:
- 1 cup (125g) all-purpose flour
- 2 tablespoons (25g) granulated sugar
- 1 teaspoon baking powder
- 1/2 teaspoon baking soda
- A pinch of salt
- 1 cup (240ml) buttermilk (or whole milk with 1 tbsp lemon juice)
- 1 large egg
- 2 tablespoons (28g) unsalted butter, melted and cooled
- Additional butter or oil for cooking
Crafting the Perfect “Big Filling”
The filling needs to be firm enough to hold its shape inside the pancake but soft and creamy when you bite into it. The key is thorough preparation.
First, ensure your cream cheese is truly soft. Leave it on the counter for at least an hour. Trying to blend cold cream cheese will lead to lumps. In a medium bowl, use a hand mixer or a sturdy whisk to beat the cream cheese until it’s completely smooth and creamy. This should take about 2 minutes.
Next, add the sugar and beat for another minute until well combined. Then, incorporate the egg yolk, vanilla extract, and salt. Mix until the filling is uniform and silky. Here’s a pro tip from my training: covering the bowl and chilling the filling for 30 minutes firms it up slightly, making it much easier to portion and handle when assembling the pancakes. While it chills, let’s make the batter.
Mastering the “Thin Skin” Pancake Batter
The goal for the pancake is a tender, slightly elastic wrap that cooks evenly without becoming cakey or thick. The batter consistency is crucial.
In a large bowl, whisk together the dry ingredients: flour, sugar, baking powder, baking soda, and salt. In another bowl or a large jug, whisk the buttermilk, egg, and melted butter until fully combined.
Create a well in the center of your dry ingredients and pour in the wet mixture. Gently fold everything together with a spatula until just combined. It’s absolutely fine—and actually ideal—if the batter is slightly lumpy. Overmixing develops gluten, which leads to tough, chewy pancakes, the opposite of the delicate “skin” we want. Let this batter rest for 10 minutes. This allows the flour to hydrate and the leavening agents to start working, resulting in a more consistent cook.
The Art of Assembly and Cooking
This is where the “dumpling” technique comes into play. You’ll need a good non-stick skillet or griddle and a steady hand.
Heat your skillet or griddle over medium-low heat. I emphasize medium-low because we need time to add the filling before the pancake sets completely. Grease lightly with butter or oil.
For each pancake, ladle about 1/4 cup of batter onto the hot surface. Immediately, take a heaping tablespoon of your chilled cheesecake filling and place it directly in the center of the pancake. The batter should still be very wet and loose around it.
Now, carefully ladle another 1-2 tablespoons of batter directly over the filling, just enough to cover it completely. You’re creating a batter seal. Let it cook for 2-3 minutes. You’ll know it’s ready to flip when bubbles form around the edges and the surface looks matte and set around the covered filling.
The flip requires confidence! Slide your spatula completely underneath the pancake, ensuring you have the whole thing supported. Gently but decisively flip it over. The second side will cook in about 1.5 to 2 minutes, turning a beautiful golden brown. The first one might be a test run, but you’ll quickly get the hang of it.
Serving and Flavor Variations
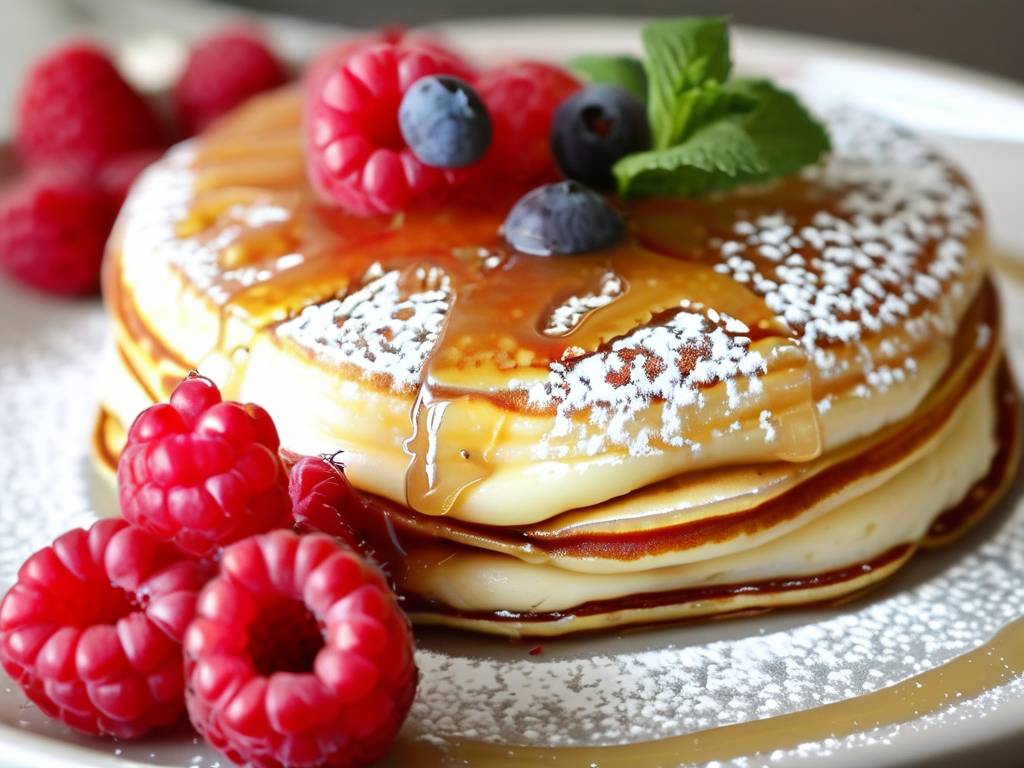
Serve these cheesecake pancakes warm. The contrast between the hot exterior and the cool, creamy center is sublime. A simple dusting of powdered sugar, a drizzle of maple syrup, or a handful of fresh berries complements them perfectly.
Once you’ve mastered the basic recipe, the fun begins. Consider these variations:
- Lemon Blueberry: Add 1 teaspoon of lemon zest to the filling and fold fresh blueberries into the pancake batter.
- Chocolate Swirl: Mix 2 tablespoons of cocoa powder into half of the cheesecake filling and swirl it with the plain filling before portioning.
- Graham Cracker: Add 2 tablespoons of crushed graham crackers to the pancake batter for that classic cheesecake crust flavor.
Addressing Your Cheesecake Pancake Questions
Why did my filling leak out during cooking? Leakage usually happens if the heat is too high (setting the skin too fast before sealing), if you used too much filling, or if the initial layer of batter was too thin. Ensure medium-low heat and a good coverage of batter on top of the filling.
Can I make the filling ahead of time? Absolutely. The cheesecake filling can be prepared, covered tightly, and refrigerated for up to 2 days. This can actually improve the flavor as it allows the vanilla to meld.
My pancake skin is too thick. What went wrong? A thick skin typically points to overmixed batter or too much batter per pancake. Remember to mix until just combined and use a 1/4 cup measure as a guide for the base layer. The batter should spread naturally into a thin circle.
Creating the perfect cheesecake pancake is about embracing the balance—the delicate, warm wrap against the rich, cool heart. It’s a recipe that feels special yet is built on simple techniques. By focusing on ingredient temperature, batter handling, and gentle cooking, you’ll be serving up these stunning “dumplings” that are sure to become a requested favorite. The joy is in that first cut, revealing the secret, creamy center within its golden cloak.
⚠️ 温馨提示:本款蛋糕含糖量较高,高血糖/糖尿病患者请谨慎食用。





