 bluename
 How to Make Cheesecake Truffles: Exquisite Small Chocolate Cheese Balls
Ever found yourself staring at a whole cheesecake, craving just a bite or two of that creamy, tangy goodness without committing to a full slice? Or perhaps you’ve struggled with leftover cheesecake that ends up drying out in the fridge. I’ve been there. The desire for portion-controlled indulgence, a stunning yet approachable dessert for gatherings, and a way to minimize food waste—these are the very reasons I fell in love with creating Cheesecake Truffles. These exquisite small chocolate cheese balls are the perfect solution. They pack all the luxurious flavor of classic cheesecake into a delightful, pop-in-your-mouth treat that’s surprisingly simple to master at home.
Why Cheesecake Truffles Are a Game-Changer
Let’s be honest, baking a perfect cheesecake can be intimidating. The fear of cracks, the precise water bath, the long cooling time—it’s a labor of love. Cheesecake truffles, however, liberate you from all that. You’re deconstructing the elements and reassembling them into something even more versatile and fun. As noted in a recent culinary trends report by The Art of Plating, “deconstructed desserts continue to gain popularity for their interactive nature and visual appeal, allowing home cooks to achieve professional-looking results with foundational techniques.” That’s exactly what we’re doing here. You gain complete control over flavor, coating, and presentation, resulting in a personalized dessert that looks like it came from a high-end patisserie.
Gathering Your Ingredients for Success
The beauty of this recipe lies in its flexibility, but starting with quality ingredients sets the foundation. Here’s what you’ll need for the classic version:
For the Cheesecake Center:
- 8 ounces (225g) full-fat cream cheese, softened
- 1 cup (about 100g) graham cracker crumbs (from about 8-10 sheets)
- 1/4 cup (30g) powdered sugar (confectioners’ sugar)
- 1/2 teaspoon pure vanilla extract
- A tiny pinch of fine sea salt
For the Chocolate Coating & Decoration:
- 8 ounces (225g) high-quality semi-sweet or dark chocolate, finely chopped
- 1 tablespoon refined coconut oil or cocoa butter (for a smoother, shinier shell)
- Toppings: Extra graham cracker crumbs, crushed nuts, freeze-dried berry powder, cocoa powder, or flaky sea salt.
A quick note on ingredients: Using full-fat cream cheese is non-negotiable for the proper rich texture and stability. For the chocolate, choose a bar you enjoy eating on its own. The quality directly translates to the final taste. I often reference the guidance of master chocolatier Jean-Pierre Wybauw, who emphasizes that “tempering—or in our case, creating a stable coating—begins with selecting chocolate that has been properly crystallized from its manufacturer.” A good couverture chocolate works wonders.
Step-by-Step: Crafting Your Exquisite Chocolate Cheese Balls
Follow these steps, and you’ll have a batch of gorgeous truffles in no time.
Step 1: Create the Cheesecake Base In a medium bowl, beat the softened cream cheese with a hand mixer or a sturdy spatula until it’s completely smooth and no lumps remain. This is crucial. Add the powdered sugar, vanilla extract, and salt. Beat again until just combined. Gently fold in the graham cracker crumbs using a spatula. The mixture will be soft but should hold together when pinched.
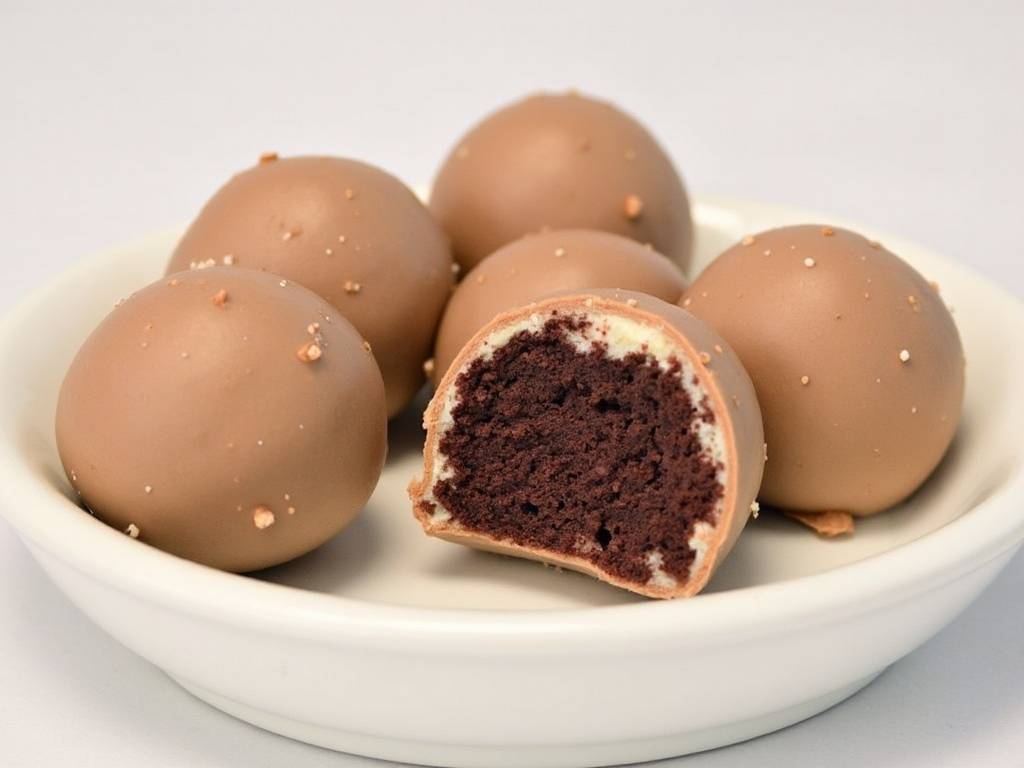
Step 2: Chill and Shape the Truffle Centers Cover the bowl and refrigerate the mixture for at least 1 hour, or until it’s firm enough to handle. This chilling time is essential for easy shaping. Using a small cookie scoop or a teaspoon, portion out the mixture. I find a 1-inch diameter ball is the perfect size. Roll each portion quickly between your palms to form a smooth ball. Place them on a parchment-lined baking sheet. Once all are shaped, freeze the balls for at least 30 minutes. A solidly frozen center is the secret to a clean, thick chocolate shell.
Step 3: Prepare the Chocolate Coating While the centers freeze, melt your chocolate. The best method is a double boiler: place the chopped chocolate and coconut oil in a heatproof bowl set over a pot of barely simmering water, ensuring the bowl doesn’t touch the water. Stir gently and constantly until just melted and smooth. Remove from heat immediately. Alternatively, you can microwave in 20-second bursts, stirring thoroughly between each burst. Let the melted chocolate cool slightly until it’s just warm to the touch.
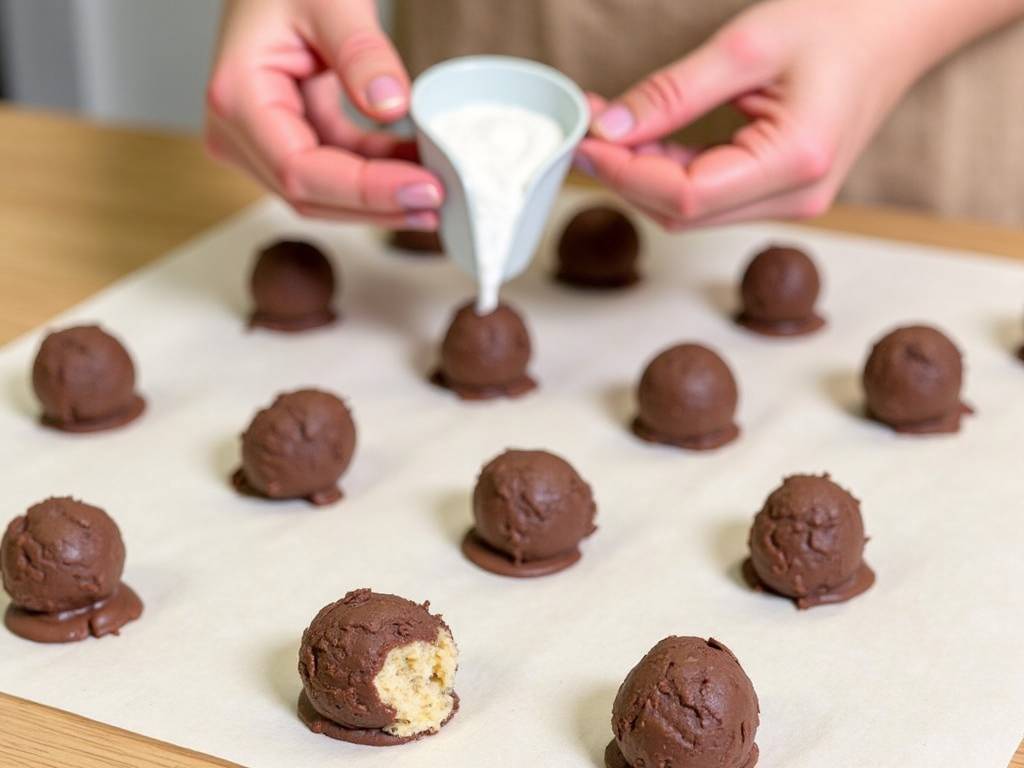
Step 4: The Dipping Ritual Remove a few truffle centers from the freezer at a time. Using a fork or a specialty dipping tool, submerge a ball completely in the melted chocolate. Lift it out, gently tap the fork against the bowl to allow excess chocolate to drip off, and then carefully slide it onto a clean parchment-lined sheet. Immediately sprinkle with your chosen toppings before the chocolate sets. Repeat with the remaining centers, working in small batches to keep them cold.
Step 5: Final Set and Serve Allow the coated truffles to set completely at room temperature, or for a faster set, refrigerate for 15 minutes. Once the chocolate shell is hard, transfer them to an airtight container. They store beautifully in the refrigerator for up to a week, and can be frozen for up to a month—just thaw in the fridge before serving.
Flavor Adventures: Beyond the Classic
Once you’ve mastered the basic formula, the creative possibilities are endless. Here are a few of my favorite twists:
- Salted Caramel: Add 2 tablespoons of thick salted caramel sauce to the cream cheese base, and drizzle with more caramel after dipping.
- Lemon Berry: Add the zest of one lemon to the base. After dipping in white chocolate, sprinkle with crushed freeze-dried raspberries.
- Cookies & Cream: Replace the graham cracker crumbs with finely crushed chocolate sandwich cookies (filling included). Dip in dark chocolate.
- Espresso Martini: Mix 1 teaspoon of instant espresso powder and 1 tablespoon of coffee liqueur into the base. Dip in dark chocolate and dust with cocoa powder.
Presenting Your Handcrafted Truffles
Presentation elevates these from simple sweets to a gift-worthy delicacy. Arrange them in petite paper cups inside a elegant gift box. For a party, stack them on a tiered stand. I often place different flavors on separate plates with small tasting cards—it turns dessert into a conversation piece.
How far in advance can I make cheesecake truffles? They are an excellent make-ahead dessert. You can prepare and store them in the refrigerator for up to 5 days, or freeze them for over a month. The flavor often improves after a day, allowing everything to meld together.
My chocolate coating is too thick and clumpy. What went wrong? This usually means your chocolate was too hot when you dipped the frozen centers, causing it to seize slightly as it hit the cold. Next time, ensure your melted chocolate has cooled to just warm (about 90°F/32°C). Also, using a bit of coconut oil helps maintain a fluid consistency for easier dipping.
Can I make these without a graham cracker crust? Absolutely. Any dry, crunchy biscuit or cookie will work. Try digestive biscuits, vanilla wafers, or even ginger snaps for a spicy kick. Just ensure they are ground into fine, even crumbs.
Creating these exquisite small chocolate cheese balls is more than just following a recipe—it’s about embracing the joy of making something uniquely delicious and beautiful with your own hands. Whether you stick to the classic or embark on your own flavor journey, each truffle is a little testament to the fact that great desserts don’t have to be complicated. They simply require a bit of care, quality ingredients, and the excitement to try. So, gather your supplies, clear a little space in your freezer, and get ready to impress yourself and everyone lucky enough to try one.
⚠️ 温馨提示:本款蛋糕含糖量较高,高血糖/糖尿病患者请谨慎食用。





