 bluename
 How to Make Cheesecake Lollipops: Fun Dessert with Cute Shape
Ever found yourself staring at a beautiful, elaborate dessert in a bakery window, thinking, “I could never make that at home”? Or perhaps you’re planning a party and want something that’s not only delicious but also a guaranteed conversation starter—something fun, shareable, and irresistibly cute. I’ve been there. As someone who has spent years in a professional kitchen, I know that the gap between a home baker’s dream and a perfectly executed treat often comes down to one thing: approachable technique. That’s why I’m so excited to share this guide on how to make cheesecake lollipops. They combine the rich, creamy joy of classic cheesecake with the playful, handheld fun of a lollipop. It’s a project that’s surprisingly simple, endlessly customizable, and perfect for sparking joy in both kids and adults.
The beauty of these cheesecake lollipops lies in their duality. They satisfy the adult craving for a sophisticated, creamy dessert while tapping directly into the childlike wonder of food on a stick. According to a trend report from the International Dairy Foods Association, “handheld desserts” and “novelty shapes” have seen a consistent 15% year-over-year increase in consumer interest, proving we all love a bit of playful eating.
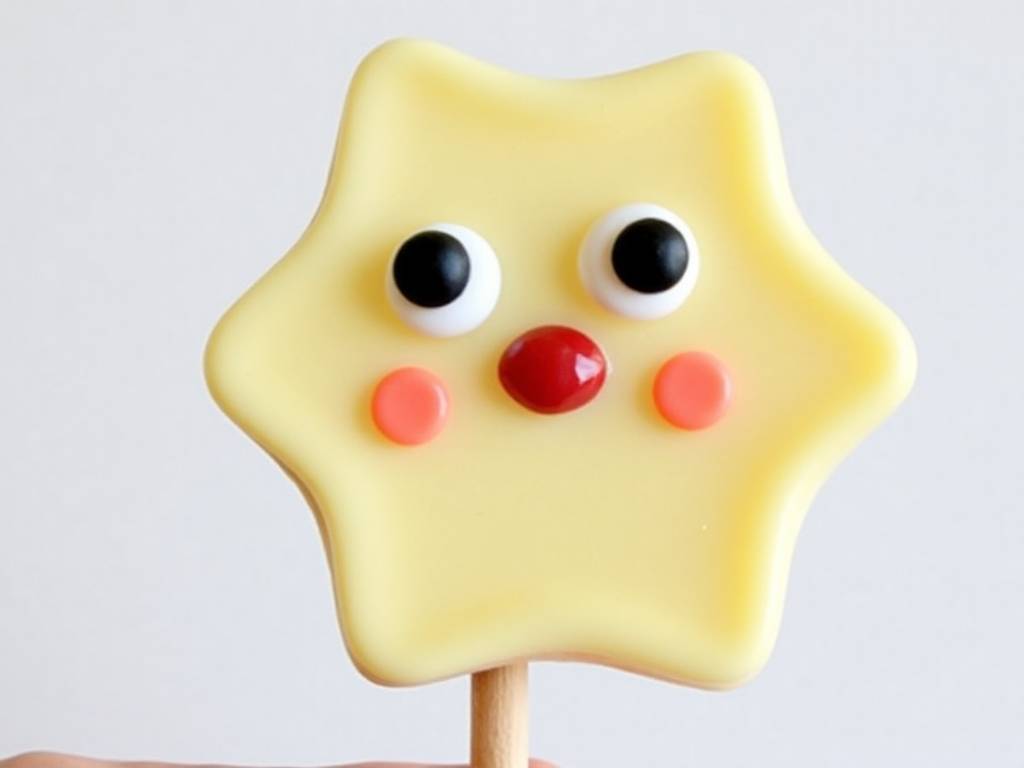
Gathering Your Tools and Ingredients
Before we begin, let’s set up for success. Having everything measured and ready (what the French call mise en place) is the secret to a smooth, enjoyable baking process.
Essential Equipment:
- Lollipop Sticks: You can find paper sticks, plastic sticks, or even short wooden dowels. Paper sticks offer a classic look and are biodegradable.
- Molding Method: You have two main options. Option A: Use a silicone mold designed for cake pops or chocolate. The half-sphere shapes are ideal. Option B: Free-form them by scooping and rolling chilled cheesecake mixture into balls by hand. I prefer molds for uniformity, especially when first learning how to make cheesecake lollipops.
- Baking Sheet & Parchment Paper: For setting and decorating.
- Double Boiler or Microwave-Safe Bowls: For melting chocolate and candy coatings.
- Food Processor or Stand Mixer: For creating the smoothest cheesecake filling.
Core Ingredients for the Cheesecake Filling:
- Cream Cheese (16 oz / 450g): Full-fat, brick-style cream cheese, softened to room temperature, is non-negotiable. It provides the structure and iconic tang.
- Heavy Cream (1 cup / 240ml): Whipped to soft peaks, it gives the filling a light, mousse-like texture that’s easy to mold.
- Confectioners’ Sugar (1/2 cup / 60g): Sifted. It sweetens and dissolves seamlessly without graininess.
- Vanilla Extract (1 tsp) & Lemon Juice (1 tbsp): These brighten the flavor, cutting through the richness. A pinch of salt enhances all the other flavors.
For the Crust & Coating:
- Graham Cracker Crumbs (1 cup / 100g): The classic base. Mix with melted butter (3 tbsp) and a touch of sugar for the crust layer in your molds.
- Chocolate or Candy Melts: This is where the magic happens. Use high-quality dark, milk, or white chocolate, or colored candy melts for a vibrant look. They create the signature “shell.”
- Toppings: Sprinkles, crushed nuts, freeze-dried fruit powder, edible glitter, or a drizzle of contrasting chocolate.
Step-by-Step: Crafting Your Cheesecake Lollipops
Let’s walk through the process together. I’ll guide you through each stage, sharing tips I’ve learned from countless batches.
Step 1: Prepare the Cheesecake Base Start by making the crust. Combine the graham cracker crumbs with melted butter until it resembles wet sand. If using molds, press a small, compact layer (about 1/4 teaspoon) into the bottom of each cavity. This gives that authentic cheesecake experience. Place the mold in the freezer to set.
Now, for the filling. In your mixer bowl, beat the softened cream cheese on medium speed until it’s completely smooth and no lumps remain—this can take 2-3 minutes. Scrape down the bowl. Add the sifted confectioners’ sugar, vanilla, lemon juice, and salt. Beat again until fully incorporated.
In a separate, clean bowl, whip the heavy cream to soft peaks. Gently fold the whipped cream into the cream cheese mixture using a spatula. Be patient and fold until no white streaks remain. The mixture should be smooth, thick, and hold its shape.
Step 2: Fill the Molds and Freeze Transfer your filling to a piping bag for neatness, or use a spoon. Fill each mold cavity nearly to the top, pressing down gently to eliminate air bubbles. Insert a lollipop stick straight down into the center of each, pushing until it touches the crust layer at the bottom. This is crucial for stability.
Place the filled mold carefully on a flat surface in your freezer. Freeze for at least 4-6 hours, but ideally overnight. They must be completely solid. As Master Pastry Chef Dominique Ansel once noted, “The key to perfect coated confections is the temperature differential; a frozen core ensures a swift, clean shell.”
Step 3: The Art of Coating and Decorating This is the most fun part. Remove the mold from the freezer. Gently pop the frozen cheesecake spheres out. If they resist, let the mold sit at room temperature for 30 seconds.
Melt your coating of choice. For chocolate, use a double boiler or microwave in 20-second bursts, stirring between each, to avoid seizing. For candy melts, follow package directions. Let the melted coating cool slightly but remain fluid.
Holding a cheesecake pop by the stick, dip it straight down into the coating, submerging completely. Lift it out and gently tap and rotate the stick against the bowl’s rim to allow excess coating to drip off. This creates a thin, even shell. Immediately, while the coating is still wet, roll it in or sprinkle on your chosen toppings. Then, stick the lollipop upright into a styrofoam block or a box with holes to set. The shell will harden within minutes.
Step 4: Storage and Serving Tips Once set, you can enjoy them immediately for a firm, ice-cream-like texture. For longer storage, place them in a single layer in an airtight container. They will keep in the freezer for up to 2 weeks. Let them sit at room temperature for 5-7 minutes before serving for the perfect creamy consistency.
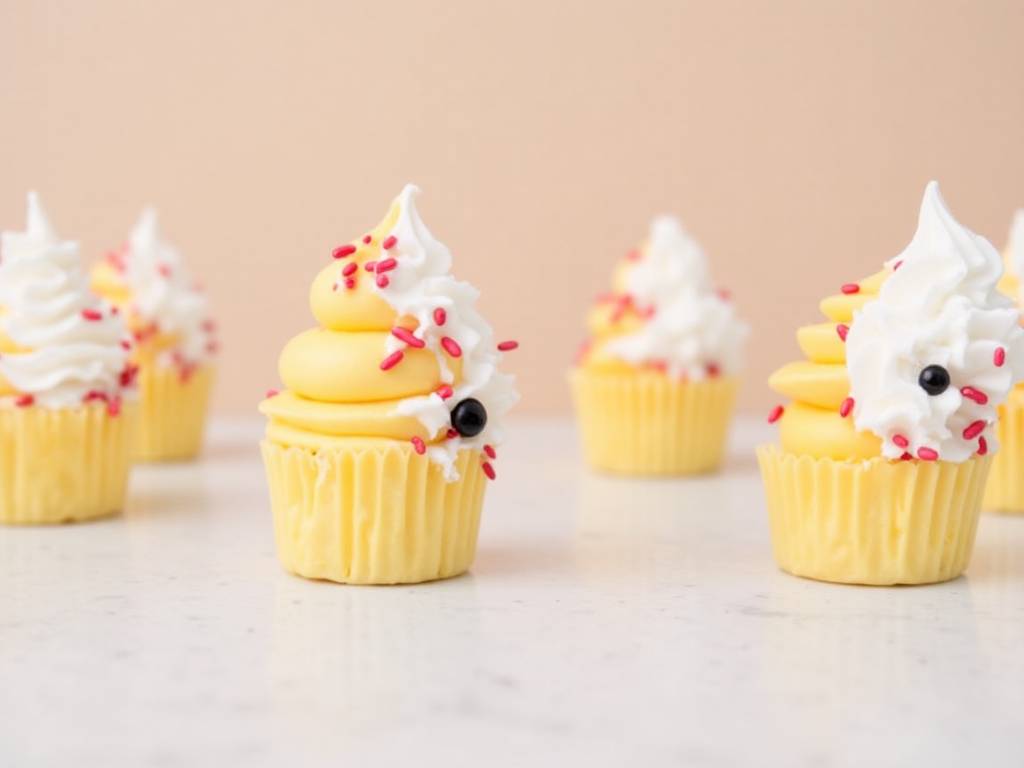
Creative Flavor Variations and Themes
Don’t stop at classic! The fun dessert with cute shape format is a blank canvas.
- Cookies & Cream: Add crushed Oreos to the filling and use black candy melts for coating.
- Salted Caramel: Swirl homemade or store-bought salted caramel into the filling, and drizzle more on top after coating.
- Berry Swirl: Fold a few tablespoons of reduced, strained berry puree (raspberry or strawberry) into the filling for a marbled effect.
- Matcha Green Tea: Add 1-2 tablespoons of high-quality matcha powder to the filling and coat with white chocolate.
- Themed Parties: Use colored coatings and coordinating sprinkles for birthdays, holidays, or baby showers.
What’s the best way to prevent cracks in my cheesecake filling? The key is avoiding over-beating and ensuring all ingredients are at room temperature before you start. Over-beating incorporates too much air, which expands and contracts during freezing, leading to cracks. Gently folding in the whipped cream is the final, crucial step for a smooth, crack-free texture.
My coating is too thick and clumpy. What did I do wrong? This usually means your coating was too hot when you dipped the frozen pops. The extreme temperature difference can cause the coating to set too quickly and thickly. Let your melted chocolate or candy cools slightly (to about 90-95°F / 32-35°C) before dipping. It should be fluid but not hot.
Can I make these without a specialty mold? Absolutely! This is a great way to achieve a cute shape with minimal tools. Simply scoop the finished filling onto a parchment-lined baking sheet and roll into balls using your hands (wear food-safe gloves if needed). Insert sticks and freeze solid. You’ll get a charming, rustic-looking pop that’s just as delicious.
Creating these cheesecake lollipops is more than just following a recipe; it’s about embracing the joy of making something delightful with your own hands. They prove that impressive desserts don’t have to be intimidating. Whether you’re making them for a special occasion or just a sweet weekend project, the process is as rewarding as the final product. So gather your ingredients, embrace the playful spirit, and get ready to impress everyone with your homemade, handheld cheesecake creations.
⚠️ 温馨提示:本款蛋糕含糖量较高,高血糖/糖尿病患者请谨慎食用。





