 bluename
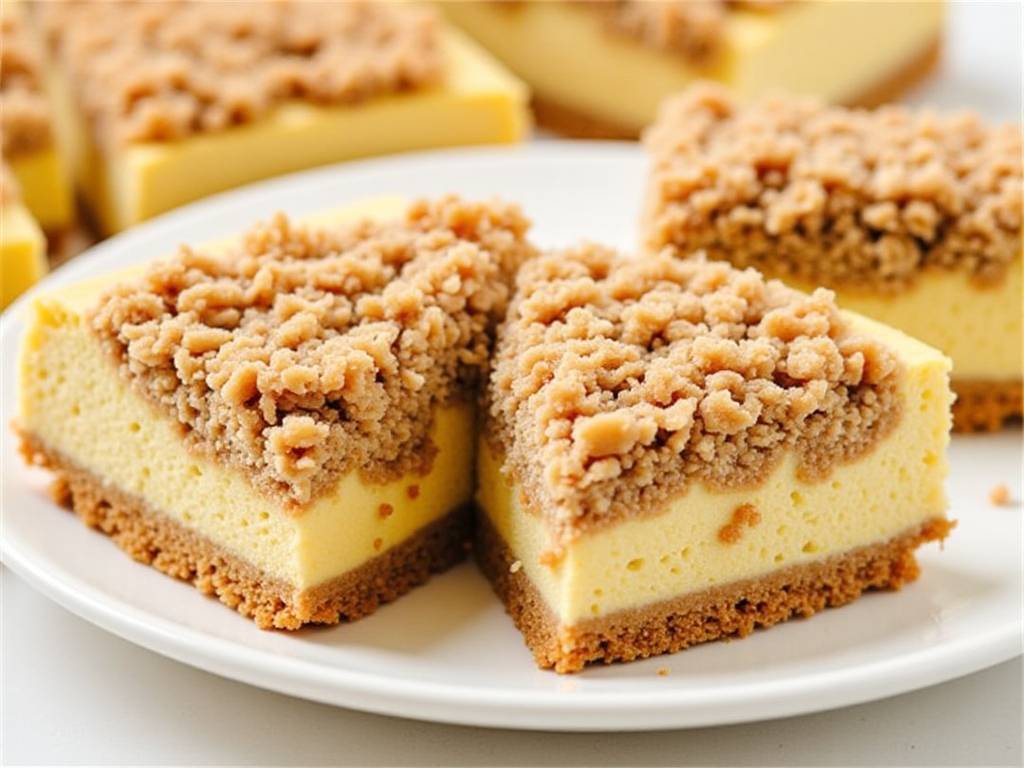
 There's something truly magical about a perfectly baked cheesecake. The creamy, rich filling is a delight on its own, but what elevates it to legendary status is often what's on top. We're talking about that irresistible, crunchy, nutty layer that provides a spectacular contrast to the smooth custard beneath: the cheesecake nut crumble.
This isn't just a simple sprinkle of chopped nuts. A well-crafted nut crumble is a deliberate, textured topping designed to boost the entire dessert experience. It adds a buttery, toasty flavor and a satisfying crunch that makes every single bite more complex and interesting. Whether you're looking to save a cracked cheesecake top or simply want to add a gourmet touch, mastering the nut crumble is your secret weapon.
Let's walk through the process of creating the perfect cheesecake nut crumble, from selecting your ingredients to exploring creative flavor combinations.
The Foundation: Choosing Your Ingredients
The beauty of a nut crumble is its flexibility, but starting with the right core components is key to achieving that perfect texture.
First, let's talk about the star of the show: the nuts. You have a world of options here, and each brings its own unique personality.
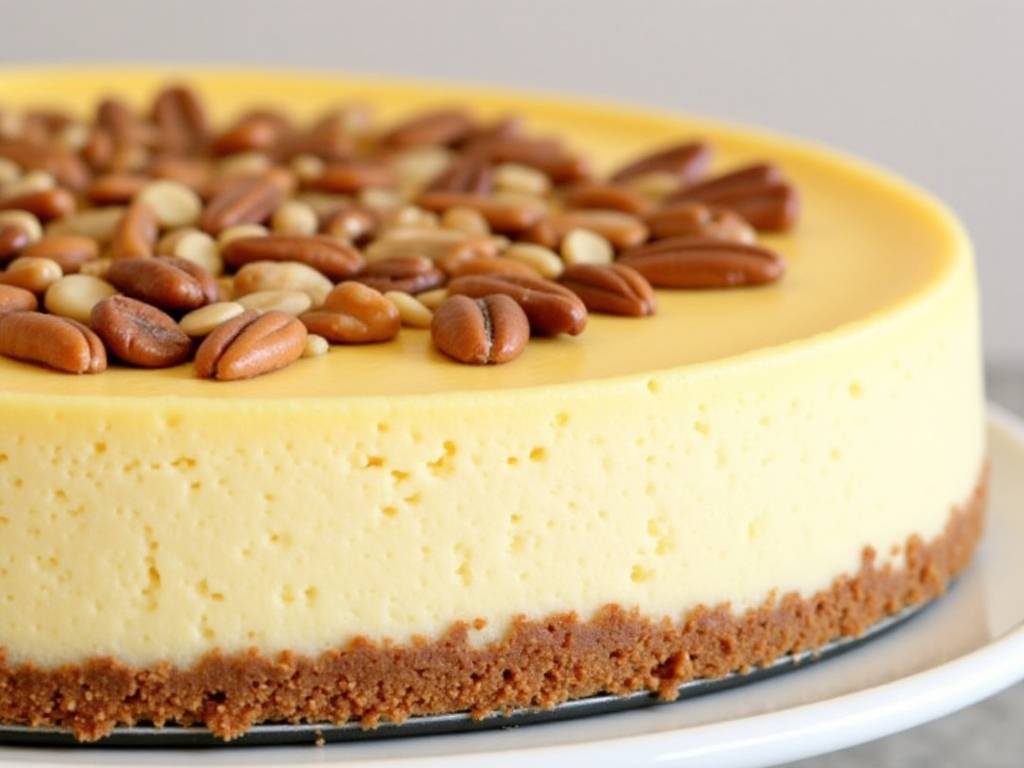
Walnuts offer a classic, slightly bitter earthiness that pairs wonderfully with maple or coffee-flavored cheesecakes. Pecans bring a buttery, sweet richness that is simply divine, especially in autumn or with a caramel-drizzled cheesecake. Almonds provide a robust, toasty crunch. Sliced or slivered almonds create a lovely, lighter texture. Hazelnuts introduce a deep, fragrant flavor that is a match made in heaven with chocolate cheesecakes. Macadamia nuts contribute a rich, creamy crunch that feels incredibly luxurious, perfect for tropical-themed desserts.
Don't be afraid to mix and match! A blend of pecans and almonds, or walnuts and hazelnuts, can create a more complex flavor profile.
Next, the binder. This is what brings your crumble together and gives it that delightful, clumpy texture. The most common and effective binder is melted unsalted butter. It coats the nuts and other dry ingredients, helping them toast and clump as they bake. For a richer flavor, you can use browned butter. Simply melt butter in a saucepan over medium heat until it foams and you see little brown bits at the bottom. This gives the butter a wonderfully nutty, deep aroma.
If you're looking for a dairy-free alternative, refined coconut oil is an excellent substitute. It solidifies when cool, creating a similar clumping effect.
Sweeteners are crucial for balance. You don't want the topping to be overly sweet, but a touch of sweetness enhances the nuts' natural flavors.
Brown sugar is a popular choice because its molasses content adds a warm, caramel-like note and a bit of moisture that helps with clumping. Granulated white sugar will give you a cleaner, crisper sweetness. For a more nuanced flavor, consider pure maple syrup or honey. These liquid sweeteners require a slight adjustment in baking time as they can cause the crumble to brown faster.
Finally, the supporting cast for flavor and texture. A pinch of salt is non-negotiable. It intensifies all the other flavors and cuts through the richness. A dash of cinnamon, a sprinkle of nutmeg, or a pinch of cardamom can add a warm, cozy dimension. And for that ultimate texture boost, don't forget a handful of rolled oats or a tablespoon or two of all-purpose flour. These ingredients absorb excess moisture and help create those perfect, craggy clumps.
The Simple Process: From Raw Ingredients to Golden Perfection
Creating your nut crumble is surprisingly straightforward. The key is patience and attention to detail, especially during the toasting stage.
Start by preheating your oven to 325°F (165°C). This moderate temperature is ideal for toasting the nuts evenly without burning them.
While the oven is heating, prepare your nuts. If you're using whole nuts, you'll need to chop them. The size is a matter of personal preference. A coarse chop will give you a chunkier, more substantial crumble, while a finer chop will create a more uniform, sandy texture. Aim for pieces roughly the size of a pea for a good balance.
Now, it's time to mix. In a medium-sized bowl, combine your chopped nuts, any dry add-ins like oats or flour, your chosen sweetener, salt, and spices. If you're using a liquid sweetener like maple syrup, you'll add it with the butter in the next step.
Pour the melted (or browned) butter or coconut oil over the dry mixture. Use a fork or your fingers to mix everything thoroughly. You want every single piece to be lightly coated with the fat and sweetener. This ensures even toasting and clump formation.
Spread the mixture in a thin, even layer on a baking sheet lined with parchment paper. A silicone baking mat also works wonderfully. The key is to avoid a thick pile, which will steam rather than toast, resulting in a soggy crumble.
Place the baking sheet in the preheated oven. Now, the most important part: watching it closely. Bake for 10 to 15 minutes, but stir the crumble every 5 minutes. This promotes even browning and prevents the edges from burning. You'll know it's done when the nuts are fragrant and have taken on a beautiful golden-brown color. The crumble will still feel a bit soft when it's hot, but it will crisp up beautifully as it cools.
Remove the baking sheet from the oven and let the crumble cool completely on the sheet. Do not touch it while it's warm! As it cools, the butter will re-solidify, and the sugar will harden, creating those perfect, crunchy clusters. Once it's completely cool, you can break it up into whatever size pieces you prefer.
Creative Flavor Combinations to Inspire You
Now that you've mastered the basic technique, the real fun begins. You can customize your cheesecake nut crumble to complement any cheesecake flavor. Here are a few ideas to get your creative juices flowing.
For a classic New York-style cheesecake, try a "Brown Butter Pecan Crumble." Use pecans as your base and brown your butter for that deep, nutty flavor. Add a touch of cinnamon and use brown sugar for a warm, autumnal topping.
If you're making a chocolate cheesecake, a "Salted Chocolate-Hazelnut Crunch" is sublime. Use hazelnuts as your primary nut, and after toasting and cooling, mix in a handful of mini chocolate chips and a generous flaky sea salt. The residual heat from the nuts will slightly melt the chocolate, helping everything stick together in delicious clusters.
For a lemon or berry cheesecake, a "Toasted Almond and Coconut Delight" adds a tropical twist. Use a base of sliced almonds and mix in some unsweetened shredded coconut. The coconut will toast along with the almonds, creating a wonderfully fragrant and crisp topping.
Feeling adventurous? Try a "Spiced Maple Walnut Streusel." Use walnuts as your nut, and bind them with pure maple syrup and a blend of warm spices like cinnamon, ginger, and a tiny pinch of clove. This is perfect for the holidays.
Storing Your Masterpiece and Troubleshooting Tips
A great nut crumble can be made ahead of time, making your cheesecake assembly even easier.
Store your completely cooled nut crumble in an airtight container at room temperature for up to a week. For longer storage, you can keep it in the refrigerator for up to two weeks or freeze it for several months. If it loses a bit of its crunch after storage, you can always spread it on a baking sheet and warm it in a 300°F (150°C) oven for 5 minutes to re-crisp.
What if your crumble burns? Unfortunately, burned nuts taste bitter. It's best to start over. Remember, ovens can vary, so always keep a close eye on it, especially in the last few minutes.
If your crumble isn't clumping, it might be due to a lack of binder or over-mixing after baking. Make sure you've used enough butter or oil to coat everything. Also, resist the urge to break it up while it's still warm. Let the magic of cooling do its work.
If it becomes soggy after being stored, it was likely not cooled completely before being sealed in the container, or moisture got in from another source. The re-toasting method mentioned above can usually save it.
The final step is, of course, the application. How do you put this glorious topping on your cheesecake? The best time is after your cheesecake has been baked, fully cooled, and has chilled in the refrigerator for several hours, or ideally, overnight. A cold, set cheesecake provides a stable base. Simply take your cooled nut crumble and gently press it onto the top of the cheesecake, creating an even layer. You can cover the entire surface or just the center, leaving a border of the beautiful creamy filling visible.
You can also use this crumble as a decorative element on the sides. Press it gently onto the sides of the cheesecake after you've applied it to a chilled cake that may have been lightly "frosted" with a thin layer of whipped cream or sour cream to help it adhere.
Creating your own homemade cheesecake nut crumble is a simple yet transformative skill. It turns a great dessert into an unforgettable one, adding that professional, bakery-quality finish right in your own kitchen. So, grab your favorite nuts, melt that butter, and get ready to create the ultimate texture-boosting, delicious topping for your next cheesecake masterpiece.





