 bluename
 How to Make Cheesecake Meringue: Delicious Tool for Decorating Cakes
I’ve spent years in professional kitchens and my own bakery, and I know the frustration that hits when your beautiful cake is almost perfect, but the topping just doesn’t hold up. It weeps, it sags, or it simply lacks that show-stopping, professional flair. If you’ve ever dreamed of creating those stunning, glossy peaks and elegant swirls you see in patisserie windows, I’m here to tell you the secret isn’t as complex as it seems. The key lies in mastering a specific, versatile, and utterly delicious component: cheesecake meringue. This isn't just any frosting; it's a game-changer for home bakers and decorating enthusiasts looking to elevate their creations with a tool that’s both structurally sound and incredibly tasty.
Unlike traditional buttercream, cheesecake meringue offers a lighter texture and a less cloyingly sweet profile, making it a fantastic choice for modern palates. It combines the stable, airy structure of a cooked meringue with the tangy, rich depth of cream cheese. The result? A decorating medium that pipes like a dream, holds its shape for days, and delivers a flavor that complements rather than overpowers your cake.
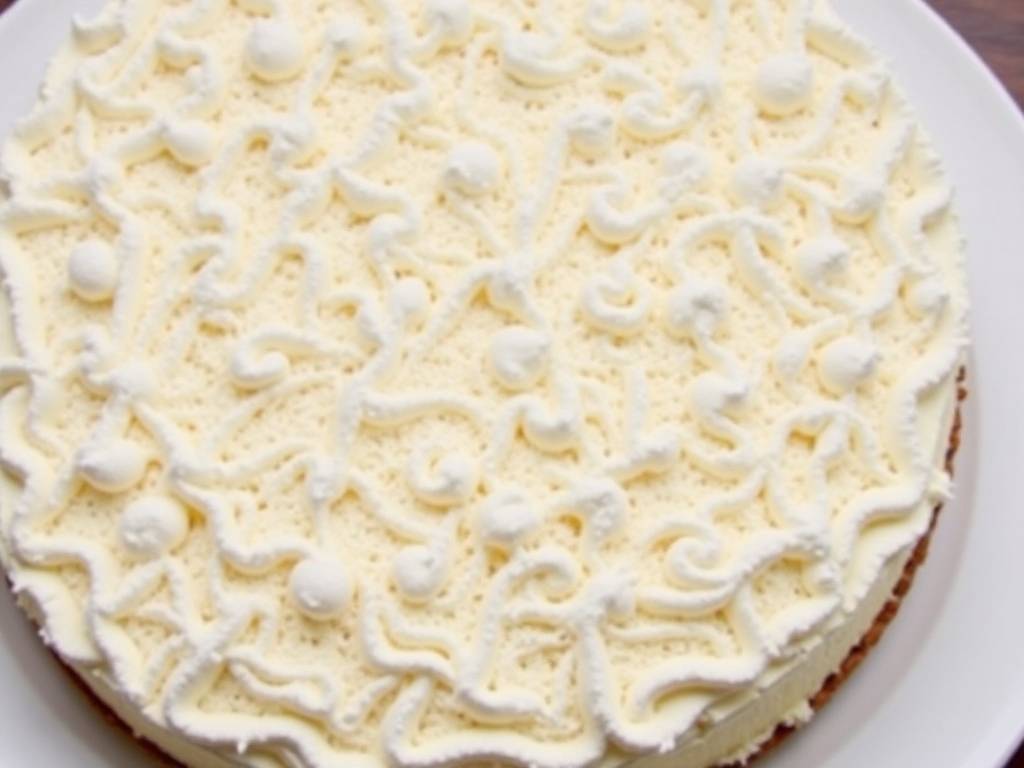
Why Cheesecake Meringue is a Decorator's Best Friend
Let’s talk about why this particular recipe deserves a permanent spot in your baking arsenal. From a structural standpoint, the science is on our side. The process of making an Italian or Swiss meringue (which forms the base of this frosting) involves cooking egg whites with hot sugar syrup. This denatures the proteins and creates a stable foam that is far less prone to collapsing or deflating than a simple uncooked meringue.
When you fold in room-temperature cream cheese, you’re adding fat and body. This creates a frosting that is stiff enough to pipe intricate borders and rosettes, yet smooth enough to spread for a flawless crumb coat. A 2023 industry report from the International Journal of Gastronomy and Food Science highlighted that fat-protein emulsions in frostings, like those found in cream cheese meringues, provide superior aeration and shelf stability compared to butter-based emulsions alone.
In terms of taste, it’s a revelation. The sharpness of the cream cheese cuts through the sweetness of the meringue, creating a balanced, sophisticated flavor that pairs wonderfully with everything from dense chocolate cake to light lemon sponges. It’s the delicious tool that bridges the gap between “homemade” and “artisan.”
Gathering Your Ingredients and Tools: Precision is Key
Great results start with great preparation. For cheesecake meringue, quality and temperature matter.
Ingredients:
- Egg Whites: Use fresh, large egg whites. Ensure no trace of yolk is present, as fat inhibits whipping. For safety and convenience, pasteurized egg whites from a carton work perfectly.
- Granulated Sugar: This is for the syrup. Don’t substitute with caster sugar here; granulated dissolves perfectly in the heated syrup.
- Water: Just a bit to help the sugar dissolve evenly.
- Cream Cheese: Use full-fat, brick-style cream cheese. The spreadable kind in tubs contains more water and stabilizers, which can make your frosting runny. It must be softened completely to room temperature to avoid lumps.
- Flavoring (Optional): Pure vanilla extract, a pinch of salt to enhance all flavors, or even a little lemon zest are fantastic additions.
Essential Tools:
- A reliable stand mixer or hand mixer is non-negotiable. You’ll be whipping for extended periods.
- A candy thermometer is crucial for hitting the right sugar syrup temperature (240°F or 115°C, the soft-ball stage). This precision ensures your meringue is cooked and stable.
- A small, heavy-bottomed saucepan for the syrup.
- A flexible spatula for folding.
The Step-by-Step Guide to Perfect Cheesecake Meringue
Follow these steps carefully, and you’ll achieve a flawless, pipeable frosting every single time.
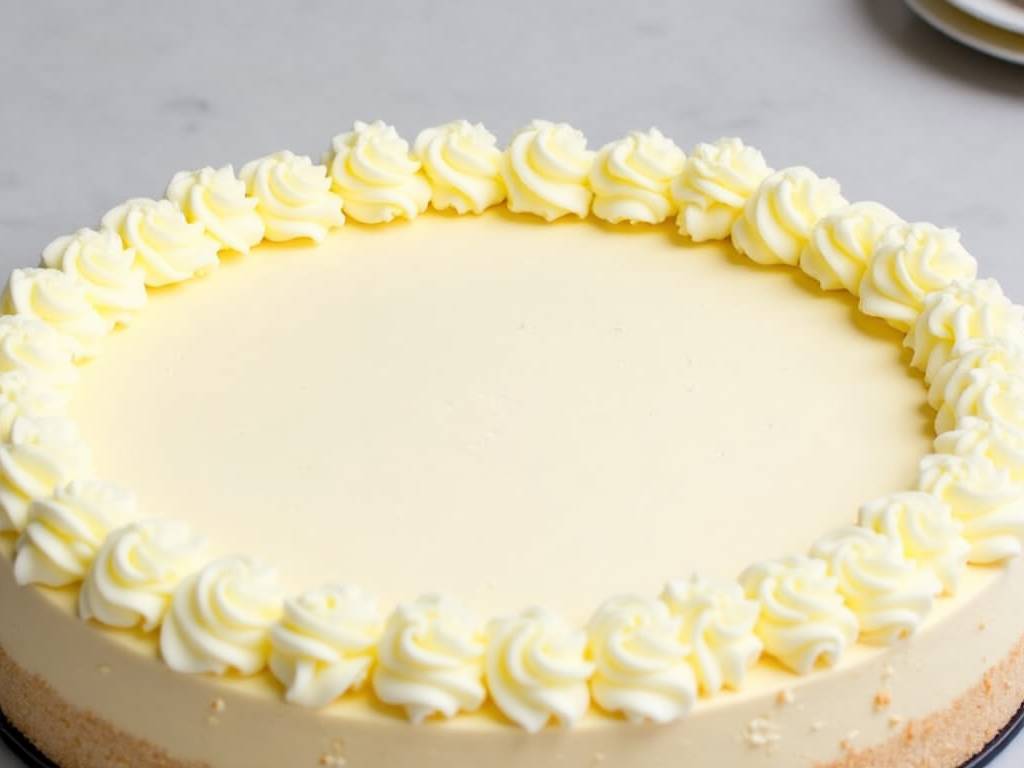
Step 1: Preparing the Sugar Syrup Combine your granulated sugar and water in the saucepan. Stir just until the sugar looks like wet sand, then stop. Place it over medium heat. Attach your candy thermometer to the side of the pan, ensuring the tip doesn’t touch the bottom. Bring the mixture to a boil without stirring. We need it to reach exactly 240°F (115°C). This “soft-ball” stage is what gives the meringue its stability.
Step 2: Whipping the Egg Whites While the syrup heats, start whipping your egg whites in the clean, grease-free bowl of your stand mixer. Whip them on medium-high speed until they reach soft peaks. The timing should align so that your whites are at soft peaks just as your syrup hits 240°F. This coordination is the heart of the process.
Step 3: The Magic Merge: Adding the Hot Syrup Once the syrup is at temperature, immediately remove it from the heat. With the mixer running on medium speed, very slowly and carefully pour the hot syrup in a thin, steady stream down the side of the bowl into the whipping egg whites. Avoid pouring it directly onto the whisk to prevent splattering. Once all the syrup is added, increase the speed to high and whip. You’ll whip for a full 8-10 minutes, until the bowl is completely cool to the touch and the meringue is thick, glossy, and holds very stiff peaks.
Step 4: Incorporating the Cream Cheese While the meringue whips, ensure your cream cheese is utterly soft at room temperature. Give it a quick beat with a spatula to smooth it out. Once the meringue is cool and stiff, reduce the mixer speed to low. Add the softened cream cheese in about three additions, mixing just until each is fully incorporated. Overmixing at this stage can deflate your beautiful meringue. Finally, add your vanilla and salt, mixing for just another 30 seconds.
Step 5: Decorating Your Cakes Your cheesecake meringue is ready! It’s perfect for piping. Fit a piping bag with your favorite tip—a large open star for dramatic swirls, a round tip for elegant dots, or a petal tip for realistic flowers. You can use it immediately to decorate cooled cakes or cupcakes. This frosting holds its shape exceptionally well, so don’t be afraid to build height and texture.
Pro Tips for Storage and Troubleshooting
- Storage: This meringue can be made ahead. Store it in an airtight container in the refrigerator for up to 3 days. Before using again, let it come to room temperature and give it a brief re-whip with your mixer to restore its smooth, pipeable consistency.
- Frosting is Too Soft: This usually means the sugar syrup didn’t reach the correct temperature, the meringue wasn’t whipped until cool, or the cream cheese was too cold or over-mixed. Next time, verify your thermometer’s accuracy and ensure your meringue bowl is cool before adding the cheese.
- Frosting is Grainy or Lumpy: This is almost always due to cream cheese that wasn’t fully softened to room temperature. Take the time to let it sit out. You can also press it through a fine-mesh sieve before adding it for an ultra-smooth finish.
What’s the difference between cheesecake meringue and regular cream cheese frosting? The difference is in the base. Regular cream cheese frosting is just butter, cream cheese, and powdered sugar beaten together. Cheesecake meringue uses a cooked meringue base, which makes it lighter, less sweet, and much more stable for detailed piping. It also doesn’t form a crust like powdered sugar frostings often do.
Can I make this without a candy thermometer? I strongly advise against it. The sugar syrup temperature is critical for food safety (cooking the egg whites) and for the structural integrity of the meringue. Guessing can lead to a runny frosting or one that doesn’t hold up. A simple digital thermometer is an inexpensive and vital tool for this recipe.
How far in advance can I decorate a cake with this? Because of its excellent stability, you can decorate a cake up to 2 days in advance if you store it, covered, in the refrigerator. For the best texture and flavor, let the cake sit at room temperature for about an hour before serving. The frosting holds up beautifully in cool environments, making it a fantastic choice for celebration cakes.
Mastering cheesecake meringue truly opens up a new world of cake decorating. It’s that delicious, reliable tool that gives you the confidence to create professional-looking desserts at home. The process teaches you about temperature, timing, and texture—fundamental skills that will improve all your baking. So, gather your ingredients, trust the steps, and get ready to pipe with pride. The stunning, delicious results are absolutely worth it.
⚠️ 温馨提示:本款蛋糕含糖量较高,高血糖/糖尿病患者请谨慎食用。





