 bluename
 How to Make No-Bake Cheesecake? Your Refreshing Oven-Free Recipe Guide
I get it. The craving for a creamy, decadent cheesecake hits, but the thought of preheating the oven, dealing with a water bath, and worrying about cracks feels overwhelming. Maybe it’s a sweltering summer day, or perhaps you’re short on time and equipment. That’s exactly where the magic of a no-bake cheesecake comes in. This oven-free recipe is your ticket to a stunning, refreshing dessert without breaking a sweat. It’s forgiving, customizable, and delivers that classic creamy texture we all love, straight from your refrigerator.
Why Choose a No-Bake Cheesecake?
Before we dive into the recipe, let’s talk about why this method is a game-changer. First, it’s incredibly accessible. You don’t need to be a seasoned baker. As noted in several culinary institute curricula, no-bake desserts lower the barrier to entry for home cooks, emphasizing technique over precision baking. Second, it’s foolproof. No cracks, no sinking, no over-baking. The setting power comes from refrigeration and ingredients like gelatin or whipped cream. Finally, the flavor profile is often brighter and more vibrant since we’re not cooking the dairy, making it perfect for pairing with fresh fruits and zesty citrus.
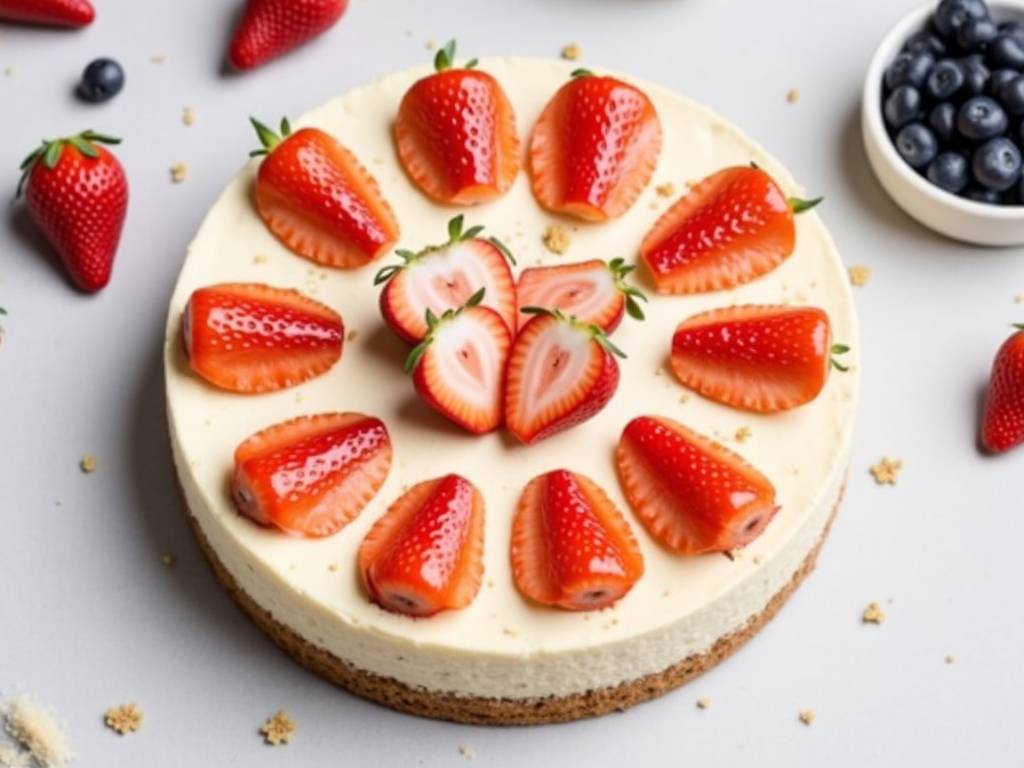
Gathering Your No-Bake Cheesecake Toolkit
You won’t need an oven, but a few key tools will ensure success. A stand mixer or hand mixer is essential for achieving that silky-smooth filling. A food processor makes quick work of the crust. You’ll also need a 9-inch springform pan—the removable sides are non-negotiable for that clean, professional presentation. Don’t forget a rubber spatula for scraping down the bowl and a measuring scale for accuracy. Professional pastry chefs often weigh ingredients for consistency, a practice I highly recommend.
The Foundation: Crafting the Perfect Crust
The crust is more than just a base; it’s the textural contrast that makes every bite interesting. The classic choice is a graham cracker crust.
Ingredients:
- 2 cups (about 200g) graham cracker crumbs
- 1/2 cup (115g) unsalted butter, melted
- 2 tablespoons (25g) granulated sugar (optional, for extra sweetness)
Instructions:
- Combine the graham cracker crumbs, melted butter, and sugar (if using) in a medium bowl. Mix until the crumbs resemble wet sand and hold together when pinched.
- Press this mixture firmly and evenly into the bottom of your springform pan. I use the bottom of a flat glass or measuring cup to get a compact, level layer.
- Place the pan in the refrigerator to chill and set while you prepare the filling. This step prevents the crust from becoming soggy.
Pro Tip: Feel free to experiment! Digestive biscuits, Oreo cookies (with filling), or even crushed pretzels for a sweet-salty twist make fantastic alternatives.
The Star: Mastering the No-Bake Filling
This is where the creamy dream comes to life. The filling must be stable enough to slice but airy enough to melt in your mouth.
Core Filling Ingredients:
- 24 ounces (680g) full-fat cream cheese, softened to room temperature
- 1 cup (120g) powdered sugar, sifted
- 1 tablespoon pure vanilla extract
- 1 1/4 cups (300ml) heavy cream, cold
- 1 tablespoon fresh lemon juice
Step-by-Step Process:
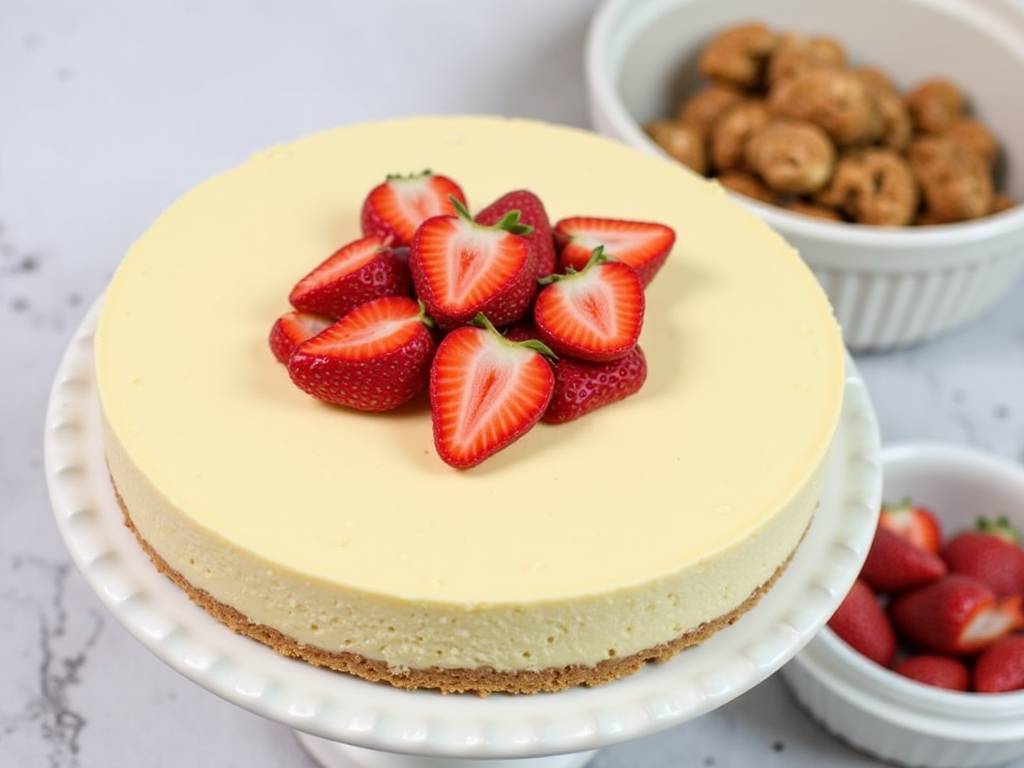
- Whip the Cream: In a chilled bowl, whip the cold heavy cream until it forms stiff peaks. Set this aside in the fridge. Starting with the cream ensures your bowl and beaters are cold, leading to better volume.
- Cream the Base: In your mixer bowl, beat the softened cream cheese on medium speed for 2-3 minutes until completely smooth and lump-free. Scrape down the sides and bottom of the bowl. This is crucial—any lumps now will remain in the final product.
- Incorporate Flavors: Add the sifted powdered sugar and vanilla extract. Beat on low until just combined, then scrape the bowl again. Add the lemon juice; its acidity brightens the flavor and aids in the setting process.
- Fold to Combine: Gently add about one-third of the whipped cream to the cream cheese mixture. Fold it in with a spatula to lighten the base. Then, carefully fold in the remaining whipped cream until no white streaks remain. Be gentle to maintain the airy texture.
- Assemble and Set: Retrieve your chilled crust. Pour the filling over the crust and spread it evenly with an offset spatula. Tap the pan gently on the counter to release any air bubbles.
- The Long Chill: Cover the pan with plastic wrap and refrigerate for at least 6 hours, but ideally overnight. This patience is the secret ingredient. It allows the cheesecake to firm up perfectly for clean slicing.
Flavor Variations to Spark Joy
The basic recipe is a canvas for your creativity. Here are three popular twists:
Mixed Berry Swirl: Before chilling, dollop 1/3 cup of seedless berry jam over the filling. Use a knife or skewer to swirl it gently for a marbled effect. Lemon Blueberry: Add the zest of two lemons to the filling. Top the set cheesecake with a simple blueberry compote made from fresh blueberries, a splash of lemon juice, and a teaspoon of sugar simmered until syrupy. Chocolate Hazelnut: Replace 1/2 cup of powdered sugar with 3/4 cup of sifted cocoa powder. Use a chocolate cookie crust and fold 1/2 cup of chopped toasted hazelnuts into the filling.
Serving and Storing Your Masterpiece
When ready to serve, run a thin knife under hot water, wipe it dry, and gently run it around the edge of the pan before releasing the springform clasp. Use a clean, hot knife for each slice to get pristine edges.
Store any leftovers covered in the refrigerator for up to 5 days. You can also freeze the whole cheesecake (wrapped tightly in plastic and foil) for up to 2 months. Thaw overnight in the fridge before serving.
⚠️ 温馨提示:本款蛋糕含糖量较高,高血糖/糖尿病患者请谨慎食用。
Questions You Might Have
My filling is too soft. What went wrong? This usually stems from under-whipping the heavy cream or not chilling the cheesecake long enough. Ensure your cream is very cold and whipped to firm peaks. The minimum 6-hour chill is non-negotiable for proper setting. If you’re in a hurry, a tablespoon of instant cheesecake pudding mix blended with the powdered sugar can add extra stability.
Can I make this recipe without gelatin? Absolutely. This recipe relies on the air whipped into the cream and the firmness of the cream cheese for structure, not gelatin. For a completely plant-based version, use soaked cashews and coconut cream, though the texture will differ. It’s worth noting that some studies on food textures, like those referenced in Food Hydrocolloids, discuss the role of stabilizers, but for home cooking, proper technique is often sufficient.
Why did my crust turn out soggy? A soggy crust is typically caused by adding the filling onto a warm crust or not pressing it firmly enough. Make sure your crust is well-chilled and compacted. You can also create a moisture barrier by brushing a thin layer of melted chocolate onto the chilled crust and letting it set for 5 minutes before adding the filling.
Creating a stunning no-bake cheesecake is about understanding the simple science of cold and air. It’s a testament to the fact that impressive desserts don’t require complex equipment, just quality ingredients and a bit of patience. Whether you stick with the classic or venture into your own flavor combinations, this oven-free method delivers a consistently refreshing and satisfying result. So, the next time that cheesecake craving strikes, you know exactly what to do.





