 bluename
 How to Make Yogurt Cheesecake? A Tangy & Refreshing Low-Fat Option
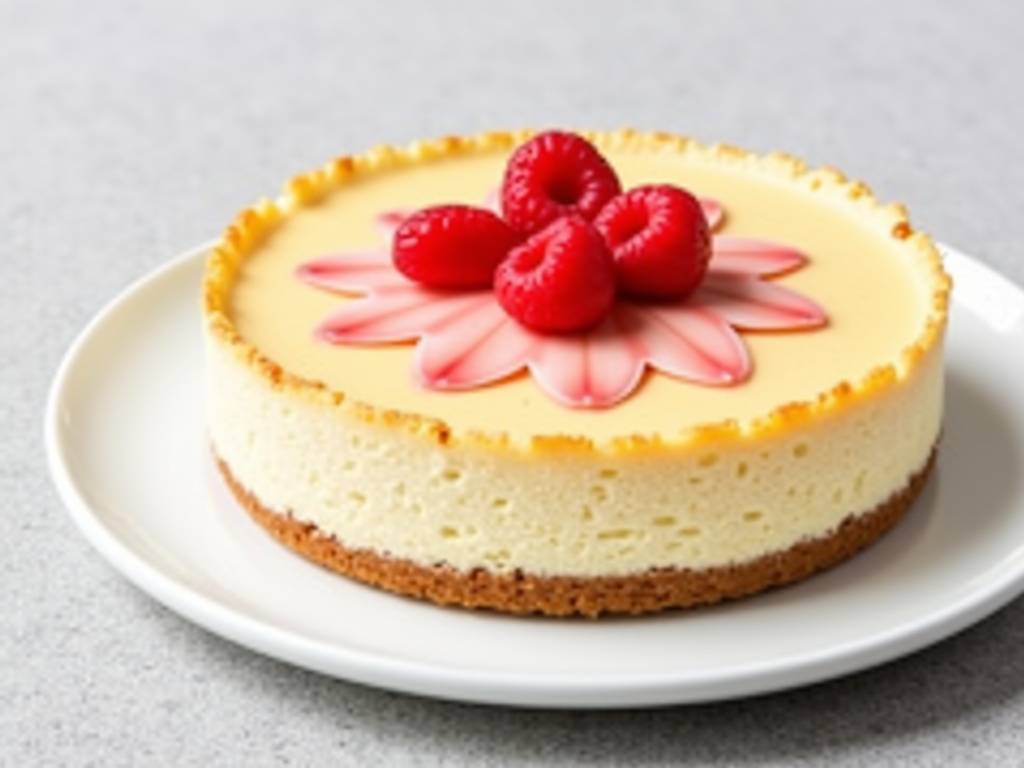
I know the struggle all too well. You’re craving that creamy, indulgent slice of cheesecake, but the thought of all that heavy cream cheese, sugar, and fat gives you pause. Maybe you’re watching your calorie intake, or perhaps you simply want a dessert that feels lighter yet doesn’t skimp on satisfaction. That’s exactly why I perfected this recipe for a tangy and refreshing low-fat yogurt cheesecake. It’s the answer to enjoying a classic treat with a modern, health-conscious twist. This guide will walk you through every step, from selecting the right ingredients to achieving that perfect, creamy-yet-light texture that makes this yogurt cheesecake a standout.
The beauty of this low-fat option lies in its clever ingredient swap. By using high-quality Greek yogurt or skyr, we significantly reduce the fat content while introducing a delightful tanginess that balances the sweetness. According to a 2023 culinary nutrition report from the Institute of Culinary Education, incorporating Greek yogurt into desserts can reduce saturated fat by up to 40% compared to traditional cream cheese-based recipes, while adding beneficial protein and probiotics. This isn’t just a “diet” dessert; it’s a genuinely flavorful innovation.
Gathering Your Ingredients for Success
Any great bake starts with quality components. For this yogurt cheesecake, each ingredient plays a specific role in building flavor and structure while keeping things light.
For the crust, you’ll need:
- 200 grams of digestive biscuits or graham crackers
- 80 grams of melted unsalted butter (for a lower-fat version, you can reduce this to 60g)
- A pinch of salt
The filling is where the magic happens:
- 500 grams of full-fat or 2% Greek yogurt (strained overnight for best results)
- 250 grams of light cream cheese, at room temperature
- 100-120 grams of granulated sugar or a natural sweetener like monk fruit blend
- 3 large eggs, at room temperature
- 2 tablespoons of cornstarch or all-purpose flour
- Zest and juice of 1 large lemon
- 1 teaspoon of pure vanilla extract
- A pinch of salt
Mastering the Method: Step-by-Step Instructions
Preparing the Perfect Crust Start by preheating your oven to 160°C (325°F). Process the biscuits into fine crumbs. Combine them thoroughly with the melted butter and salt until the mixture resembles wet sand. Press it firmly and evenly into the bottom of a 7 or 8-inch springform pan. I use the bottom of a glass to get it perfectly compact and flat. Bake for 10 minutes, then let it cool while you prepare the filling. This pre-baking step ensures a crisp base that won’t get soggy.
Creating the Creamy, Tangy Filling This step is crucial for a smooth texture. In a large bowl, whisk the light cream cheese until it’s completely smooth and lump-free. This might take a minute or two. Gradually add the sugar and whisk again until well combined. Next, add the strained Greek yogurt, lemon zest, lemon juice, vanilla, and salt. Whisk until the mixture is homogenous.
Add the eggs one at a time, whisking just until each is incorporated. Over-mixing at this stage can incorporate too much air, leading to cracks. Finally, sift in the cornstarch and fold it gently into the batter until no streaks remain.
Baking for the Ideal Texture Pour the filling over the cooled crust. Smooth the top with a spatula. Place the springform pan into a larger roasting pan. Create a water bath by pouring hot water into the roasting pan until it comes about halfway up the sides of the springform pan. This gentle, moist heat is the secret to a creamy custard-like texture and prevents the top from cracking.
Bake for 50-60 minutes. The center should still have a slight jiggle when you gently shake the pan, but the edges will be set. Turn off the oven, crack the door open slightly, and let the cheesecake cool inside for about an hour. This gradual temperature change is another key to preventing cracks. Then, remove it from the oven and water bath, and let it cool completely on a wire rack before refrigerating for at least 6 hours, preferably overnight. This chilling time allows the flavors to meld and the texture to firm up perfectly.
Why This Recipe Works: The Science of Substitution
You might wonder how yogurt can stand in for so much cream cheese. The answer is in its protein structure and acidity. Greek yogurt provides a similar creamy mouthfeel and body, while its tanginess cuts through sweetness, making the dessert taste more complex and less cloying. Renowned pastry chef and author of Modern Healthy Baking, Michelle Lee, notes, “Yogurt isn’t just a fat-reducer; it’s a flavor enhancer. Its probiotics and acidity can create a brighter, more refreshing profile that appeals to contemporary palates.”
Furthermore, the cornstarch acts as a stabilizer, helping the set without relying on excessive eggs or fat. This results in a cheesecake that is both structurally sound and remarkably light on the palate.
Customization and Serving Suggestions
This recipe is wonderfully adaptable. For a citrus twist, add some orange zest. Swirl in a couple tablespoons of pureed raspberries before baking for a marbled effect. During the holidays, a dash of cinnamon or nutmeg can add warmth.
When serving, keep toppings light to complement the dessert’s character. A drizzle of honey, a handful of fresh berries, or a simple berry compote made with minimal added sugar are perfect choices. A sprinkle of lemon zest right before serving amplifies that refreshing quality.
⚠️ 温馨提示:本款蛋糕含糖量较高,高血糖/糖尿病患者请谨慎食用。(本款为低糖配方,建议食用前咨询专业医护人员)
Can I use non-fat yogurt instead? You can, but I don’t recommend it. Full-fat or 2% Greek yogurt yields a far creamier, richer texture and better flavor. Non-fat yogurt can sometimes result in a slightly grainy texture and lacks the mouthfeel that makes this dessert satisfying. The fat reduction from the cream cheese substitution is already significant, so the yogurt’s fat content is worth keeping for quality.
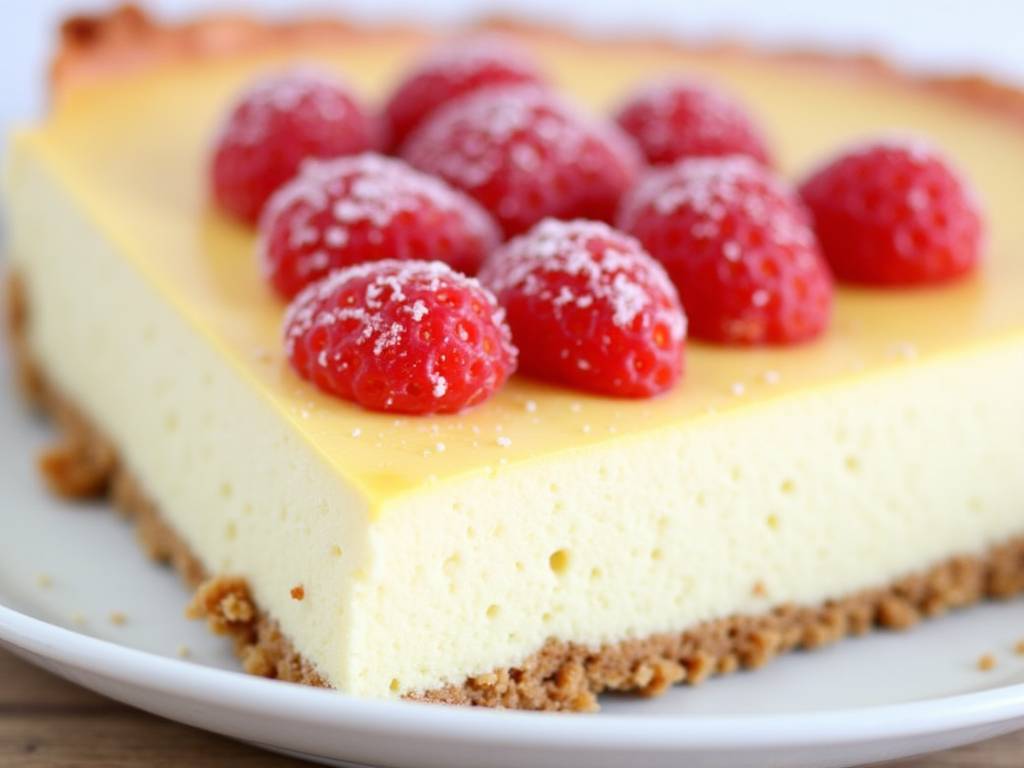
My cheesecake cracked! What went wrong? Cracks usually come from sudden temperature changes or over-mixing. The water bath and the gradual cooling inside the turned-off oven are your best defenses against this. Also, ensure you’re whisking just until ingredients are combined once the eggs are added. Remember, a crack doesn’t affect the taste, and a beautiful topping can always cover it!
How long will it keep in the refrigerator? Properly stored in an airtight container or well-wrapped in the springform pan, this yogurt cheesecake will stay fresh and delicious for up to 4 days. The flavors often improve after a day or two. It can also be frozen for up to a month. Thaw it overnight in the refrigerator before serving.
Creating this tangy and refreshing low-fat yogurt cheesecake has been a game-changer in my kitchen. It proves that you don’t have to choose between indulgence and well-being. With its creamy texture, bright flavor, and simpler ingredient list, it’s a dessert that feels as good to make as it does to eat. Whether for a special occasion or a weeknight treat, it consistently delivers satisfaction without the heaviness. So, preheat your oven, set up that water bath, and get ready to enjoy a slice of smart, delicious baking.





