 bluename
 How to Make Oreo Cheesecake? A Rich Classic with Cookie Crust
I’ve lost count of the number of times a friend has confessed their fear of making a proper cheesecake. The cracks, the sinking, the dreaded soggy crust—it’s enough to make anyone reach for the store-bought version. But what if I told you that the iconic Oreo Cheesecake, with its rich, creamy filling and that unmistakable cookie crust, is one of the most forgiving and impressive desserts you can master at home? Today, I’m walking you through every step, sharing the tips I’ve learned from years in professional kitchens to ensure your success.
The magic of this dessert lies in its beautiful simplicity. We’re transforming a beloved pantry staple—Oreo cookies—into a show-stopping centerpiece. The process is straightforward, but the details make all the difference. Let’s build that perfect cookie crust and create a filling that’s luxuriously smooth and packed with Oreo flavor.
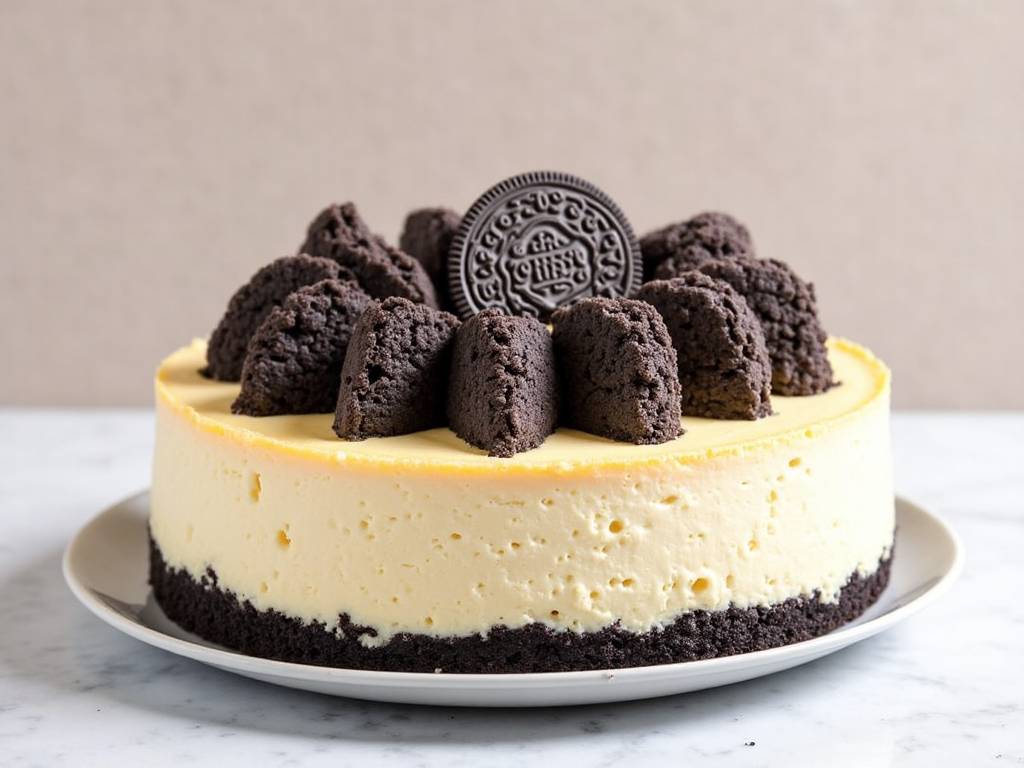
Gathering Your Ingredients for Success
Before we begin, let’s talk ingredients. Using high-quality, full-fat components is non-negotiable for texture and taste. As noted in The Professional Pastry Chef, the fat content in cream cheese directly impacts the silkiness and stability of your final bake.
For the legendary Oreo cookie crust:
- 24 whole Oreo cookies (including the cream filling)
- 5 tablespoons unsalted butter, melted
- A pinch of salt (to balance the sweetness)
For the rich, no-bake Oreo cheesecake filling:
- 24 ounces (680g) full-fat, brick-style cream cheese, softened to room temperature
- 1 cup (200g) granulated sugar
- 1 ½ cups (360ml) heavy whipping cream, cold
- 1 tablespoon pure vanilla extract
- 12 additional Oreo cookies, coarsely chopped
- A 9-inch springform pan, lined with parchment paper
Step-by-Step: Building the Perfect Oreo Crust
This foundation is crucial. A great crust should be firm, hold its shape when sliced, and provide a textural contrast to the creamy filling.
First, place the 24 whole Oreos in a food processor. Pulse them until you have fine, even crumbs. You should have about 2 cups of crumbs. In a medium bowl, combine the Oreo crumbs with the melted butter and pinch of salt. Mix until the mixture resembles wet sand and holds together when pinched.
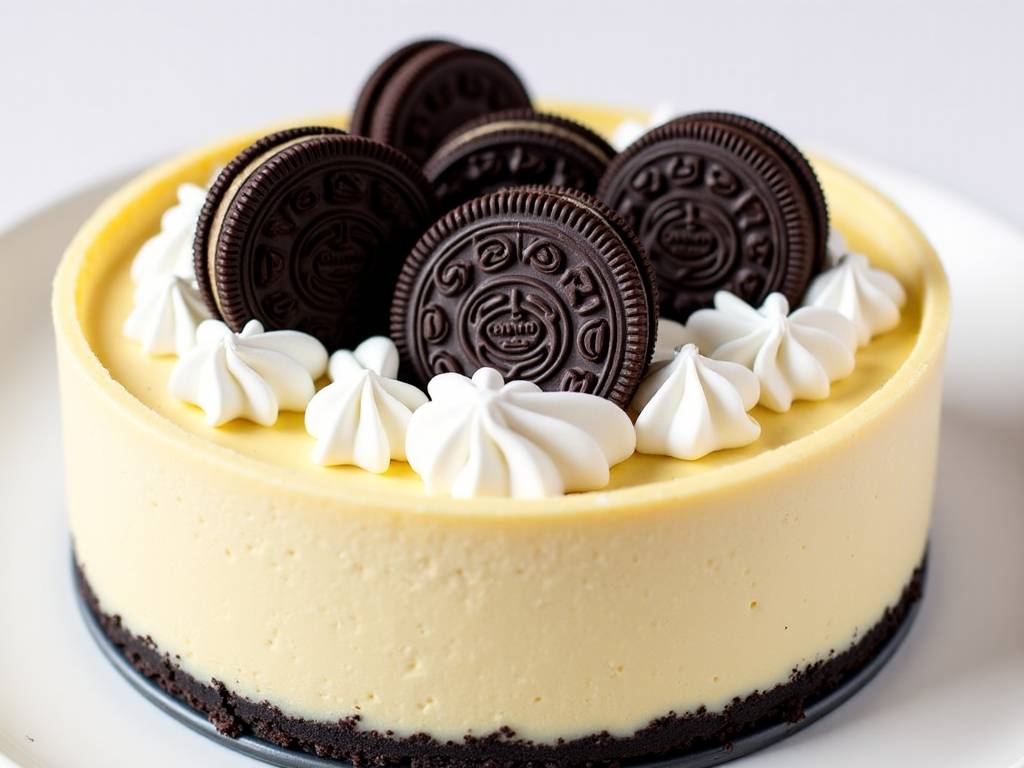
Transfer this mixture to your prepared springform pan. Using the bottom of a glass or a flat measuring cup, press the crumbs firmly and evenly across the bottom and about halfway up the sides of the pan. This creates a lovely wall for your filling. I always chill this in the freezer for at least 15 minutes while I make the filling. This sets the butter, guaranteeing a crisp base that won’t get soggy.
Creating the Luxurious No-Bake Cheesecake Filling
The filling is where the magic happens. The key is patience and ensuring all ingredients are at the correct temperature.
In the bowl of a stand mixer fitted with the paddle attachment, beat the softened cream cheese on medium speed for about 2 minutes until it’s completely smooth and lump-free. Scrape down the bowl. Gradually add the sugar and vanilla extract, beating until fully incorporated and the mixture is creamy.
Now, in a separate, clean bowl, whip the cold heavy cream to stiff peaks. This means when you lift the whisk, the peak holds its shape firmly. Gently fold about one-third of the whipped cream into the cream cheese mixture to lighten it. Then, carefully fold in the remaining whipped cream until no white streaks remain. Finally, fold in the coarsely chopped Oreo cookies.
Assembly, Chilling, and the Art of Patience
Retrieve your chilled crust from the freezer. Pour the creamy Oreo filling into the crust, spreading it out evenly with an offset spatula. Tap the pan gently on the counter a few times to release any large air bubbles.
Here’s the most important step: chilling. Cover the pan with plastic wrap and refrigerate the cheesecake for a minimum of 6 hours, but ideally overnight. This extended setting time allows the flavors to meld and the structure to firm up perfectly, ensuring clean slices. Before serving, you can garnish with more whipped cream and Oreo halves.
Expert Tips for a Flawless Finish
- Room Temperature is Key: Cold cream cheese will result in a lumpy filling. Let it sit out for at least 2 hours.
- Don’t Over-mix: Once you add the whipped cream, fold gently. Over-mixing will deflate the air you whipped in, leading to a denser texture.
- The Clean Slice: For picture-perfect slices, dip your knife in hot water and wipe it clean between each cut.
Frequently Asked Questions
Can I make this a baked Oreo cheesecake instead? Absolutely. For a baked version, prepare a water bath. Wrap the bottom of your springform pan in heavy-duty foil to prevent water seepage. Bake the filled cheesecake in a preheated 325°F (160°C) oven for about 55-65 minutes, until the edges are set but the center still has a slight jiggle. Turn off the oven, crack the door, and let it cool inside for an hour to prevent cracking.
My crust stuck to the pan! How do I prevent this? The parchment paper liner is your best friend. Also, ensure you’ve used enough butter to properly bind the crumbs. When releasing the springform, run a thin, warm knife or offset spatula around the inner edge first.
How long will this cheesecake keep? Properly covered and refrigerated, your Oreo cheesecake will stay fresh and delicious for up to 5 days. You can also freeze it for up to 2 months. Thaw overnight in the refrigerator before serving.
Mastering this Oreo Cheesecake is about embracing the process—from the satisfying crunch of creating the cookie crust to the anticipation of the overnight chill. It’s a dessert that consistently delights and impresses, proving that with the right guidance, classic techniques are entirely within your reach. Remember, the final, patient chill is what transforms good ingredients into a great dessert.
⚠️ 温馨提示:本款蛋糕含糖量较高,高血糖/糖尿病患者请谨慎食用。





