 bluename
 How to Make Digestive Biscuit Cheesecake? Homemade Delight with Crisp Crust
I’ve always loved cheesecake, but the idea of making one from scratch felt intimidating. Would the crust be soggy? Could I achieve that perfect, creamy texture without cracks? And most importantly, could I create a version that felt both indulgent and a bit more wholesome than the standard fare? That’s when I discovered the magic of the digestive biscuit cheesecake. This recipe swaps the traditional graham cracker crust for one made with whole wheat digestive biscuits, offering a deeper, nuttier flavor and a wonderfully crisp, sturdy base that holds up beautifully against the rich filling. It’s a homemade delight that solves the common problem of a weak crust while delivering incredible taste.
My journey into perfecting this dessert led me to understand the science behind each layer. According to master pastry chef and author of The Elements of Dessert, a successful cheesecake relies on the harmony of texture and flavor balance. The crust isn’t just a base; it’s the foundational flavor note. Digestive biscuits, with their malty sweetness and slight graininess, provide a sophisticated contrast to the smooth, tangy cheesecake, elevating the entire experience from a simple sweet to a complex treat.
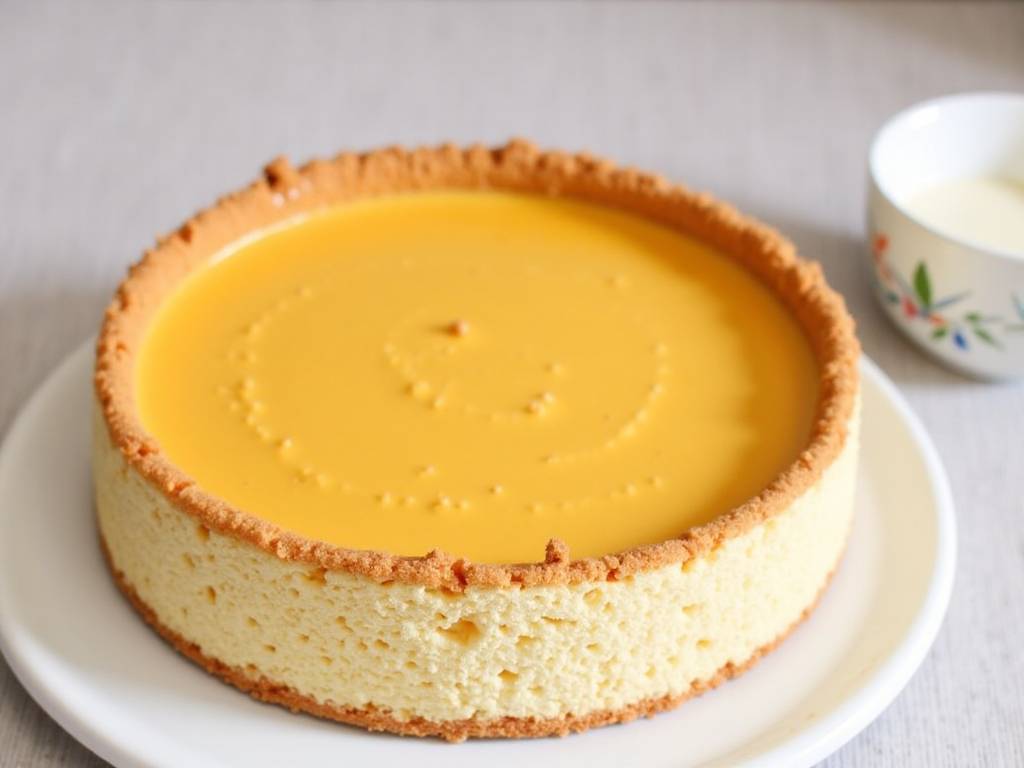
Why Choose Digestive Biscuits for Your Crust?
You might wonder why not stick with graham crackers. The answer lies in texture and taste. Digestive biscuits are designed to be sturdy. They contain whole wheat flour, which gives them a more robust structure and a toasty flavor profile. When crushed and mixed with butter, they create a crust that is remarkably crisp and less likely to become soggy from the filling, even after chilling. A 2023 consumer baking trends report highlighted a growing preference for ingredients perceived as “less processed,” and whole wheat digestives fit this trend perfectly, adding a subtle wholesome element.
Furthermore, their mild sweetness allows the tang of the cream cheese and the brightness of any toppings to shine through without competing with an overly sugary crust. It’s a choice that speaks to both flavor sophistication and practical baking success.
Gathering Your Ingredients for Success
Quality ingredients are non-negotiable for a standout cheesecake. Here’s what you’ll need, with some notes from my own trials:
For the Crisp Digestive Biscuit Crust:
- 250g (about 2 cups) plain digestive biscuits. I prefer the original whole wheat variety.
- 100g (7 tbsp) unsalted butter, melted. Using unsalted butter lets you control the salt level.
- 1 tablespoon of brown sugar (optional). I sometimes add this for a hint of caramel depth, but the biscuits are often sweet enough on their own.
For the Luxuriously Smooth Cheesecake Filling:
- 900g (32 oz) full-fat cream cheese, at room temperature. This is crucial for a lump-free filling. Low-fat varieties can lead to a watery texture.
- 200g (1 cup) granulated sugar. We’ll use just enough to sweeten without overpowering.
- 240ml (1 cup) full-fat sour cream, at room temperature. This adds tang and incredible creaminess.
- 3 large eggs, plus 2 extra egg yolks, at room temperature. The extra yolks enrich the custard-like texture.
- 2 teaspoons pure vanilla extract.
- 1 tablespoon all-purpose flour or cornstarch. This little bit of starch helps stabilize the filling, minimizing cracks.
Step-by-Step Guide to the Perfect Digestive Biscuit Cheesecake
Creating this cake is a labor of love, but each step is straightforward. Follow along, and you’ll be amazed at the results.
Preparing Your Pan and Oven
Start by preheating your oven to 160°C (325°F). Take a 9-inch springform pan. To prevent any chance of leakage (a common headache with water baths), wrap the outside bottom and sides of the pan tightly with two layers of heavy-duty aluminum foil. This is your insurance policy. Lightly grease the inside of the pan.
Crafting the Crisp Digestive Biscuit Crust
Place the digestive biscuits in a sturdy zip-top bag and crush them using a rolling pin until you have fine crumbs. You can also pulse them in a food processor. The goal is a uniform, sandy texture. Transfer the crumbs to a bowl and pour the melted butter over them. Mix thoroughly until every crumb is moistened and the mixture holds together when pinched.
Press this mixture firmly and evenly into the bottom of your prepared springform pan. I use the bottom of a flat glass or measuring cup to press it down, ensuring it’s compact. This firm packing is what gives you that satisfying snap with each bite. Pre-bake the crust for 10 minutes, then let it cool on a wire rack while you make the filling. This step helps set the crust.
Mixing the Creamy, Dreamy Filling
In the bowl of a stand mixer fitted with the paddle attachment (or using a hand mixer), beat the softened cream cheese on medium-low speed until it is completely smooth and creamy. This takes about 2-3 minutes. Scrape down the bowl and beater. Add the sugar and beat again on low until just combined. Over-beating at this stage incorporates too much air, which can cause the cake to puff and crack later.
Next, beat in the sour cream and vanilla extract. Add the eggs and egg yolks one at a time, beating on low speed after each addition until just incorporated. Before adding the next egg, scrape down the sides of the bowl. Finally, sprinkle in the flour or cornstarch and mix on low until the batter is smooth and homogenous. The key here is gentle mixing to avoid aerating the batter.
Baking for a Flawless Finish
Pour the filling over the cooled crust. Smooth the top with a spatula. Place the foil-wrapped springform pan into a larger roasting pan. Carefully pour hot water into the roasting pan until it comes about halfway up the sides of the springform pan. This water bath (or bain-marie) is the professional’s secret. It creates a humid environment that cooks the cheesecake gently and evenly, preventing the top from drying out and cracking.
Bake for 1 hour to 1 hour 15 minutes. The cake is done when the edges are set but the center still has a slight jiggle—like set Jell-O—when you gently shake the pan. The center will firm up as it chills. Turn off the oven, crack the oven door open with a wooden spoon, and let the cheesecake cool in the oven for 1 hour. This gradual temperature change further prevents cracking.
Chilling and Serving Your Masterpiece
After the oven cooling, remove the cheesecake from the water bath, carefully peel off the foil, and run a thin knife around the edge of the pan to loosen it. Let it cool completely on the counter, then refrigerate it, uncovered, for at least 8 hours, preferably overnight. This long chill is essential for the flavors to meld and the texture to become perfectly firm and sliceable.
When ready to serve, unclasp the springform pan. Slice with a thin, hot knife (dipped in hot water and wiped dry) for clean cuts. Serve plain, or with a dollop of whipped cream, a berry compote, or a drizzle of caramel.
Answers to Your Cheesecake Questions
Can I use a different type of biscuit for the crust? Absolutely. While digestive biscuits are my top recommendation for their flavor and structure, graham crackers, ginger snaps, or even shortbread cookies work well. The butter-to-crumb ratio might need slight adjustment depending on how dry your biscuits are—aim for a mixture that holds together when pressed.
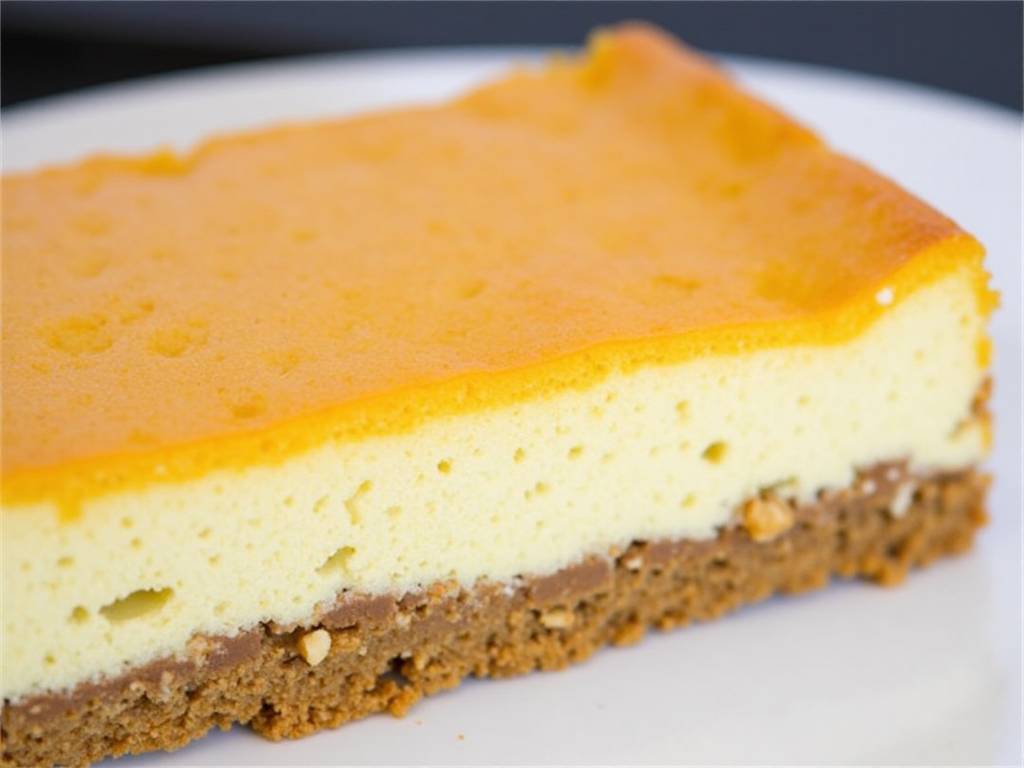
My cheesecake cracked in the center. What went wrong? Cracks usually come from sudden temperature changes or over-baking. The water bath and the gradual cooling in the oven are your best defenses against this. Also, ensure you’re mixing on low speed once the eggs are added to minimize air bubbles. Remember, a small crack doesn’t affect the delicious taste, and it can always be covered with toppings!
How long will this cheesecake keep fresh? Properly stored in the refrigerator and covered, your digestive biscuit cheesecake will stay fresh and delicious for up to 5 days. You can also freeze it for up to 2 months. To freeze, chill it completely, then wrap the whole cake (or individual slices) tightly in plastic wrap and aluminum foil. Thaw overnight in the refrigerator before serving.
Mastering the digestive biscuit cheesecake is about embracing the process. From the satisfying crunch of the homemade crust to the velvety, rich filling that melts on your tongue, every step is worth it. This recipe gives you control, quality, and a result that far surpasses anything store-bought. It’s a testament to how a simple ingredient swap can transform a classic into something uniquely delightful. So, preheat your oven, crush those biscuits, and get ready for the rewarding experience of creating a truly special dessert.
⚠️ 温馨提示:本款蛋糕含糖量较高,高血糖/糖尿病患者请谨慎食用。





