 bluename
 How to Make Strawberry Cheesecake? Your Guide to the Ultimate Pink Sweet Temptation
I remember the first time I tried to make a strawberry cheesecake. It was a special occasion, and I wanted to create something show-stopping. But my creation, while tasty, was far from the dreamy, pink-hued, perfectly set dessert I had envisioned. The crust was soggy, the filling cracked, and the strawberry topping was more of a runny syrup. If you’ve ever faced a cracked cheesecake, a grainy filling, or a topping that just won’t set, you’re not alone. These are the exact frustrations that can turn a baking project from exciting to disappointing. Today, I’m sharing everything I’ve learned to help you master this classic dessert. We’ll walk through creating the perfect strawberry cheesecake, a true pink sweet temptation, from a buttery crust to a velvety filling and a glossy, jewel-toned topping.
Why This Strawberry Cheesecake Recipe Works
After years of testing and professional training, I’ve refined a method that balances flavor, texture, and visual appeal. The key is understanding the science behind each component. As noted in professional baking circles, the success of a cheesecake hinges on gentle mixing and controlled baking to prevent air bubbles and cracking. This recipe uses a water bath (bain-marie) to ensure even, gentle heat, resulting in that coveted creamy-smooth texture. We’ll also use fresh strawberries in two ways: reduced into a concentrated compote for the filling and transformed into a shimmering glaze for the top, maximizing their vibrant flavor and color.
Gathering Your Ingredients for Success
Quality ingredients are the foundation of any great dessert. Here’s what you’ll need, divided by component. Using full-fat, room-temperature dairy is non-negotiable for a silky filling.
For the Graham Cracker Crust:
- 200 grams (about 1.5 cups) of graham cracker crumbs
- 75 grams (1/3 cup) of unsalted butter, melted
- 25 grams (2 tablespoons) of granulated sugar
- A pinch of salt
For the Strawberry Cheesecake Filling:
- 900 grams (32 oz) of full-fat cream cheese, softened to room temperature
- 200 grams (1 cup) of granulated sugar
- 240 grams (1 cup) of full-fat sour cream, at room temperature
- 15 grams (2 tablespoons) of all-purpose flour
- 1 teaspoon of pure vanilla extract
- 4 large eggs, at room temperature
- 150 grams (about 1 cup) of fresh strawberry compote (see next section)
For the Fresh Strawberry Compote & Glaze:
- 450 grams (1 pound) of fresh strawberries, hulled and divided
- 100 grams (1/2 cup) of granulated sugar
- 15 ml (1 tablespoon) of fresh lemon juice
- 7 grams (1 packet) of powdered gelatin or 2 teaspoons of agar-agar powder (for a vegetarian option)
Step-by-Step: Crafting the Perfect Pink Sweet Temptation
Preparing the Strawberry Components
We start with the strawberries to allow the compote to cool completely. This step is crucial for intensifying flavor and achieving that beautiful pink color.
- Make the Compote: Chop 300 grams of the strawberries. In a saucepan, combine them with 50 grams of the sugar and the lemon juice. Cook over medium heat for 10-15 minutes, mashing the berries with a spoon, until the mixture has thickened and reduced by about half. Remove from heat and let it cool completely. This compote will be swirled into the cheesecake batter.
- Prepare the Glaze Base: Slice the remaining 150 grams of strawberries thinly for garnish. For the glaze, puree another 150 grams of strawberries until smooth. Strain through a fine-mesh sieve to remove seeds, if desired. You’ll need about 120 ml (1/2 cup) of puree. Sprinkle the gelatin over 2 tablespoons of cold water in a small bowl and let it bloom for 5 minutes.
Building the Foundation: The Crust
A crisp, buttery crust is the perfect contrast to the creamy filling.
- Preheat your oven to 160°C (325°F). Combine the graham cracker crumbs, melted butter, sugar, and salt in a bowl until the mixture resembles wet sand.
- Press the mixture firmly and evenly into the bottom and slightly up the sides of a 9-inch springform pan. I use the bottom of a measuring cup to get a tight, compact layer.
- Bake the crust for 10 minutes, then remove and let it cool on a wire rack. Reduce the oven temperature to 150°C (300°F).
Creating the Velvety Cheesecake Filling
This is where patience pays off. All ingredients must be at room temperature to blend smoothly without overmixing.
- In the bowl of a stand mixer fitted with the paddle attachment, beat the softened cream cheese on medium-low speed until completely smooth and creamy, about 2 minutes. Scrape down the bowl.
- Add the sugar and flour and beat on low until just combined. Scrape down the bowl again.
- Mix in the sour cream and vanilla extract on low speed until incorporated.
- With the mixer on low, add the eggs one at a time, mixing just until each egg is blended in before adding the next. Overmixing here incorporates too much air, which leads to cracks. The batter should be thick, smooth, and lump-free.
- Fold in the Pink Swirl: Gently fold about one-third of the plain batter into the cooled strawberry compote to lighten it. Then, pour the plain cheesecake batter over the cooled crust. Dollop the strawberry-compote mixture on top and use a knife or skewer to create beautiful swirls.
The Secret to a Perfect Bake: The Water Bath
The water bath is your best insurance against cracks and ensures an even, gentle cook.
- Wrap the bottom and sides of your springform pan tightly with two layers of heavy-duty aluminum foil to prevent water seepage.
- Place the foil-wrapped pan inside a large roasting pan. Bring a kettle of water to a boil.
- Carefully pour the cheesecake batter into the prepared crust. Then, place the roasting pan in the oven and pour the hot water into the larger pan until it comes about halfway up the sides of the springform pan.
- Bake for 60-75 minutes. The edges will be set, but the center should still have a slight jiggle—like Jell-O—when you gently shake the pan. Turn off the oven, crack the door open with a wooden spoon, and let the cheesecake cool in the oven for 1 hour. This gradual cooling is another critical step to prevent sinking and cracking.
Finishing with the Glossy Strawberry Glaze
Once the cheesecake is completely cool to the touch, prepare the final layer of pink sweet temptation.
- Warm the strawberry puree and remaining 50 grams of sugar in a small saucepan until the sugar dissolves. Remove from heat.
- Add the bloomed gelatin (or agar-agar) to the warm puree and stir until completely dissolved. Let this glaze cool until it is just slightly warm and has thickened to a syrupy consistency.
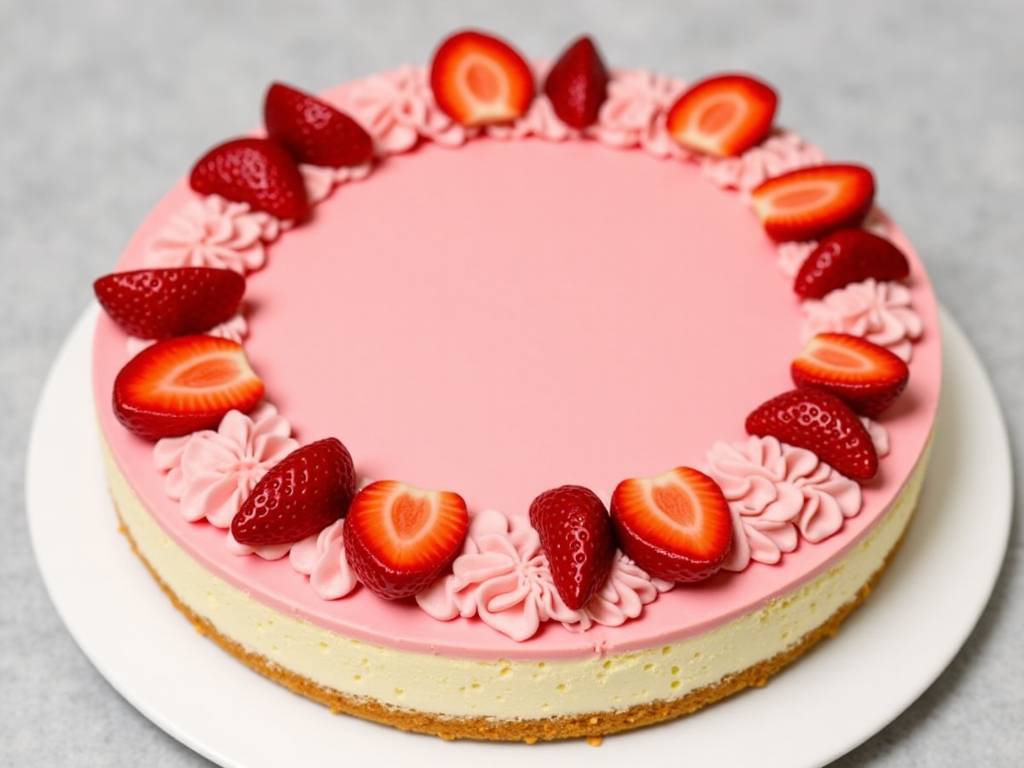
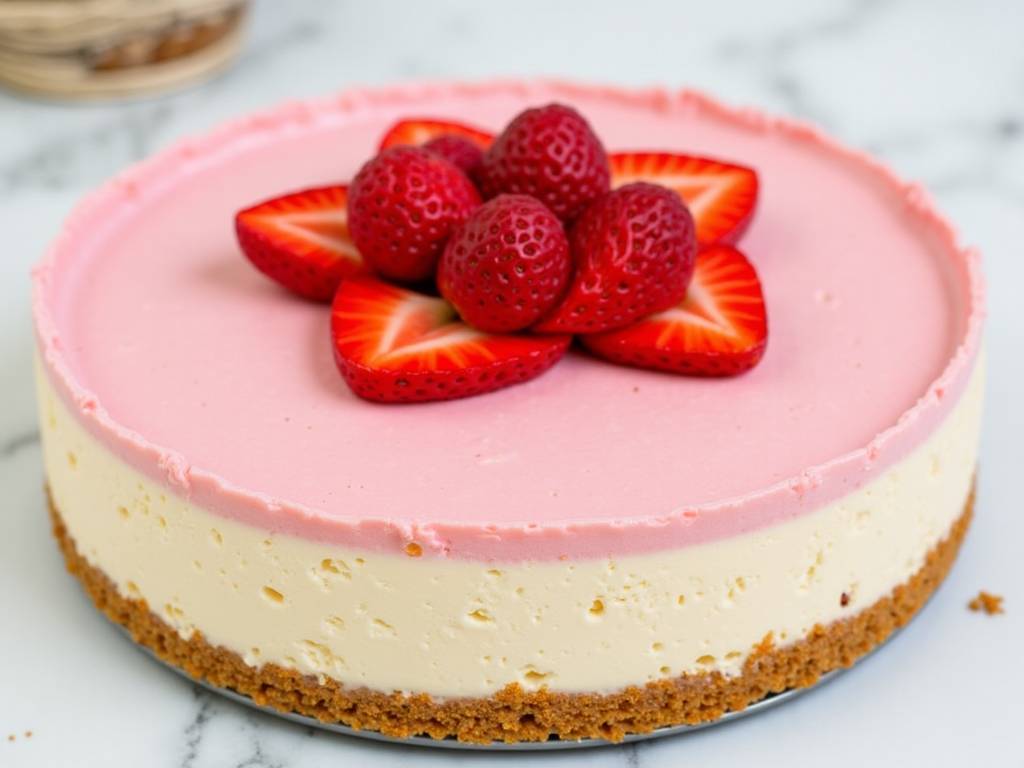
- Arrange the sliced strawberry garnish on top of the chilled cheesecake. Slowly pour the glaze over the top, using an offset spatula to guide it to the edges for full coverage.
- Refrigerate the cheesecake, uncovered, for at least 4 hours, but ideally overnight. This extended setting time allows the flavors to meld and the texture to become perfectly firm yet creamy.
Serving and Storing Your Masterpiece
Run a thin knife around the edge of the pan before releasing the springform collar. For clean slices, dip your knife in hot water and wipe it dry between each cut. This strawberry cheesecake will keep, covered, in the refrigerator for up to 5 days. You can also freeze the fully set cheesecake (without garnish) for up to 2 months. Thaw overnight in the refrigerator before serving.
⚠️ 温馨提示:本款蛋糕含糖量较高,高血糖/糖尿病患者请谨慎食用。
Your Strawberry Cheesecake Questions, Answered
Can I use frozen strawberries? Yes, you can. Thaw them completely and drain any excess liquid before using. Be aware that frozen berries often release more water, so you may need to cook your compote a few minutes longer to reduce it properly.
My cheesecake still cracked. What did I do wrong? The most common culprits are overmixing the batter (which traps air), oven temperature that’s too high, or cooling too quickly. The water bath and slow cool-down in the oven are designed specifically to combat this. A small crack is nothing to worry about—it will be covered by the gorgeous strawberry glaze!
Can I make this without a springform pan? A springform pan is highly recommended for easy removal. If you must use a regular cake pan, line the bottom and sides thoroughly with parchment paper, leaving an overhang to lift the cheesecake out. This is much trickier, especially with a delicate filling.
Mastering the strawberry cheesecake is a rewarding journey. It’s a dessert that combines technique with the simple, joyful flavor of strawberries. By taking your time, respecting the process, and using quality ingredients, you’ll create more than just a dessert—you’ll create a centerpiece, a pink sweet temptation that delights the eyes and the palate. Remember, every baker has a less-than-perfect first attempt. The key is to learn, adjust, and bake again. Now, go preheat that oven and get ready for the compliments.





