 bluename
 How to Make Pineapple Cheesecake? Sweet Juicy Tropical Flavor
I know exactly what you’re looking for. You want that perfect dessert—creamy, rich, but with a bright, sunny twist that feels like a vacation. You’ve tried dense, heavy cheesecakes and found them cloying. You crave something that balances indulgence with a refreshing, fruity burst. That’s where the magic of a homemade pineapple cheesecake comes in. It’s the answer to your search for a dessert that’s both luxuriously satisfying and vibrantly tropical. Today, I’ll guide you through every step to create this masterpiece, ensuring you capture that sweet juicy tropical flavor perfectly in your own kitchen.
Why This Pineapple Cheesecake Recipe Works
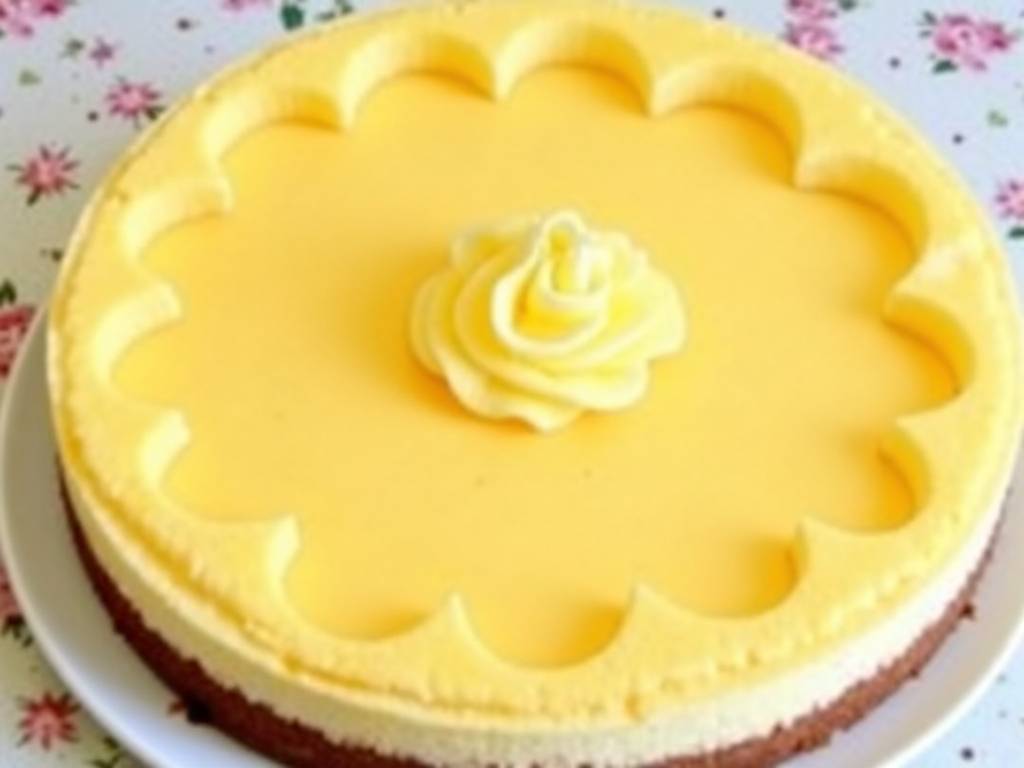
This isn’t just another cheesecake. The goal is to achieve a harmonious blend where the tangy creaminess of the cheese meets the natural sweetness and acidity of pineapple. Many recipes fail by using overly sweetened pineapple fillings that drown out the delicate cheese flavor or create a soggy crust. My method focuses on layering flavors and controlling moisture. We’ll use techniques like reducing pineapple juice to a syrup to intensify flavor without adding excess liquid to the filling. According to professional pastry chefs, the key to a fruit-based cheesecake is treating the fruit component not just as a topping, but as an integrated element that complements the texture and taste profile of the entire dessert.
Gathering Your Ingredients: Quality is Key
Let’s start with the foundation. Using high-quality, room-temperature ingredients is non-negotiable for a smooth, lump-free filling.
For the Graham Cracker Crust:
- 2 cups (about 200g) graham cracker crumbs
- 1/2 cup (115g) unsalted butter, melted
- 1/4 cup (50g) granulated sugar
- A pinch of salt
For the Pineapple Cheesecake Filling:
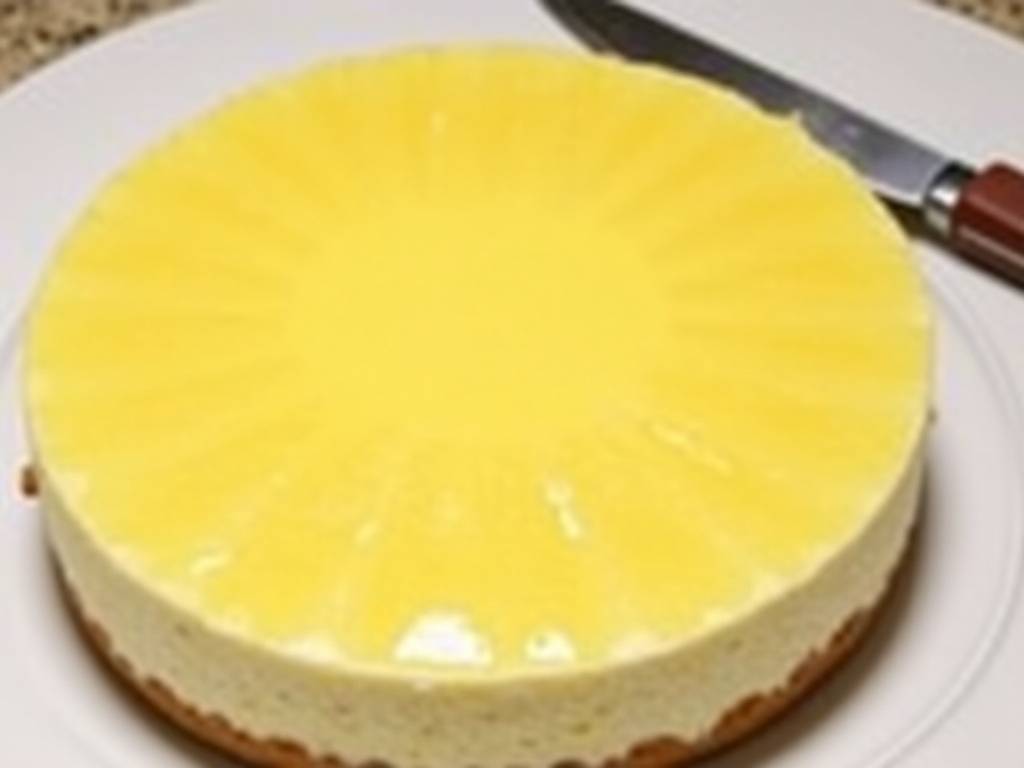
- 24 ounces (680g) full-fat cream cheese, softened
- 1 cup (200g) granulated sugar
- 1 cup (240g) full-fat sour cream, at room temperature
- 3 large eggs, at room temperature
- 2 teaspoons pure vanilla extract
- 1/4 cup (30g) all-purpose flour
- 1/2 cup (120ml) reduced pineapple puree (instructions below)
For the Tropical Pineapple Topping:
- 2 cups fresh pineapple, cut into small chunks
- 1/4 cup (50g) sugar
- 1/2 cup (120ml) pineapple juice (fresh or bottled)
- 1 tablespoon cornstarch mixed with 2 tablespoons water (slurry)
- 1 teaspoon fresh lemon juice
Essential Tools You’ll Need
You don’t need a professional kitchen, but a few tools will make your life easier: a 9-inch springform pan (the hero for clean slices), a stand mixer or hand beaters, a food processor for the crust, a saucepan for the topping, and most importantly, an oven thermometer. Oven temperature accuracy is critical for a perfectly baked cheesecake without cracks.
Step-by-Step: Building Your Tropical Masterpiece
Preparing the Perfect Crust
First, preheat your oven to 325°F (160°C). Combine the graham cracker crumbs, melted butter, sugar, and salt in a bowl until the mixture resembles wet sand. Press it firmly and evenly into the bottom and slightly up the sides of your springform pan. I use the bottom of a measuring cup to tamp it down—this prevents crumbling later. Bake for 10 minutes, then let it cool on a wire rack. This pre-baking, or “blind baking,” sets the crust and creates a barrier against the wet filling.
Creating the Intense Pineapple Flavor Base
While the crust cools, let’s make the reduced pineapple puree. Blend 1 cup of fresh pineapple until smooth. Cook it in a small saucepan over medium-low heat, stirring frequently, until it reduces by about half and thickens significantly. This concentrates the flavor and removes excess water. Let it cool completely before adding it to the filling. This step is my secret weapon for that deep, sweet juicy tropical flavor without sogginess.
Mixing the Creamy Cheesecake Filling
In the bowl of your stand mixer fitted with the paddle attachment, beat the softened cream cheese on medium-low speed until it’s completely smooth and creamy, about 3 minutes. Scrape down the bowl and beater. Add the sugar and beat for another 2 minutes until well combined. Blend in the sour cream and vanilla extract. Add the eggs one at a time, mixing on low speed just until each is incorporated. Over-beating the eggs incorporates too much air, which can cause the cheesecake to puff and crack. Finally, sprinkle in the flour and mix on low until just combined. Gently fold in the cooled pineapple puree until you see beautiful swirls.
The Art of Baking and Cooling
Pour the filling onto the cooled crust. Place the springform pan into a larger roasting pan. Create a water bath by pouring hot water into the roasting pan until it comes about halfway up the sides of the springform pan. This gentle, moist heat is the professional’s trick to a creamy, custard-like texture and a crack-free surface. Bake for 60-75 minutes. The edges should be set, but the center should still have a slight jiggle—like Jell-O—when you gently shake the pan. Turn off the oven, crack the door open with a wooden spoon, and let the cheesecake cool inside for one hour. This gradual temperature change is the second defense against cracking. Then, remove it from the water bath and let it cool completely on the counter before refrigerating for at least 8 hours, preferably overnight.
Making the Glossy Pineapple Topping
Combine pineapple chunks, sugar, and pineapple juice in a saucepan. Bring to a simmer over medium heat. Stir in the cornstarch slurry and cook for 3-5 minutes until the mixture thickens and becomes glossy. Remove from heat and stir in the lemon juice for a brightness boost. Let it cool completely before spreading it over the chilled cheesecake.
Serving and Storing Your Creation
Run a thin knife around the edge of the cheesecake before unclamping the springform ring. Slice with a hot, clean knife for beautiful pieces. This cheesecake stores beautifully, covered, in the refrigerator for up to 5 days. The flavors actually meld and improve after a day or two.
What if I don’t have fresh pineapple? You can use high-quality canned pineapple in 100% juice. Drain the juice and use it for the reduction and topping. The flavor will still be delicious, though fresh pineapple offers a slightly brighter, more vibrant tropical flavor.
My cheesecake cracked! What did I do wrong? Don’t worry, the topping will hide it! Cracks usually come from over-mixing the eggs (which adds air), a too-hot oven, or cooling too quickly. The water bath and gradual cooling steps in this recipe are specifically designed to prevent this. Even if it cracks, the taste remains impeccable.
Can I make this recipe gluten-free or lower in sugar? Absolutely. For a gluten-free version, use certified gluten-free graham crackers or almond flour for the crust. For a lower-sugar version, you can reduce the sugar in the filling by 1/4 cup and use a sugar substitute rated for baking. However, note that sugar contributes to the texture and browning. (本款为低糖配方,建议食用前咨询专业医护人员).
Creating this pineapple cheesecake is a rewarding process. From toasting the crust to layering on that glossy topping, each step builds towards that final, stunning result: a slice of creamy, tropical paradise. It’s a dessert that impresses guests and satisfies that specific craving for something rich yet refreshing. Remember, patience in cooling is just as important as precision in mixing. Now, you’re equipped not just with a recipe, but with the understanding to make a truly exceptional sweet juicy tropical flavor experience at home.
⚠️ 温馨提示:本款蛋糕含糖量较高,高血糖/糖尿病患者请谨慎食用。





