 bluename
 How to Make Dorm Cheesecake? Oven-Free Simple Recipe
Craving a creamy, decadent cheesecake but stuck in a dorm room with no oven? You’re not alone. For countless students and apartment dwellers, the dream of homemade dessert often crashes against the hard reality of limited kitchen equipment. The good news is that a perfect, no-bake cheesecake is not only possible but incredibly simple. This guide will walk you through a foolproof, oven-free simple recipe that requires minimal tools and delivers maximum satisfaction. Forget complex baking; we’re unlocking the secret to a luscious dessert made right on your countertop.
Why This No-Bake Cheesecake is a Dorm Room Game-Changer
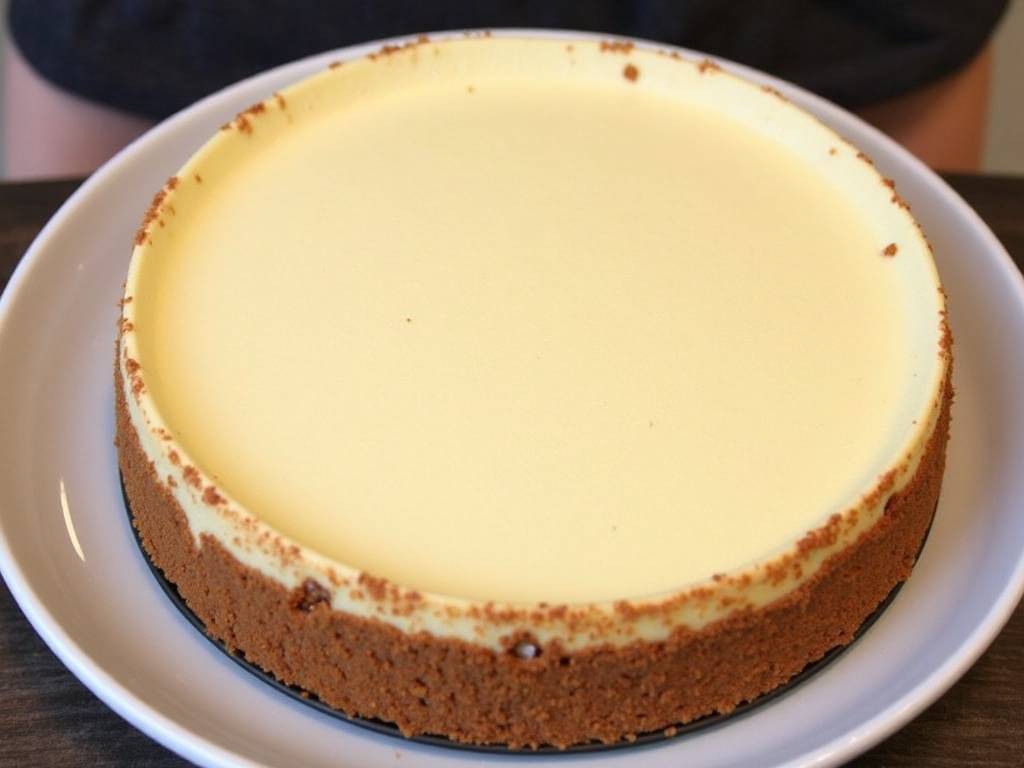
Traditional cheesecake recipes can be intimidating. They demand precise baking, water baths, and the constant fear of cracks. Our dorm-friendly approach eliminates all that. According to a survey by the National Association of College & University Food Services, over 60% of students express a desire to cook more but cite limited appliances as the top barrier. This recipe directly addresses that pain point. It leverages the power of refrigeration and simple ingredient synergy to create a dessert that’s both impressive and accessible. You gain full control, from flavor to sweetness, avoiding the processed options in the dining hall.
Gathering Your Tools and Ingredients
You don’t need a gourmet kitchen. Let’s start with the essentials.
Essential Equipment:
- A medium-sized mixing bowl (or a clean, large microwave-safe bowl).
- A fork or a sturdy spoon for mixing.
- A small pot or a microwave-safe jug for heating.
- A form to set your cheesecake. This can be a small cake pan, a reusable container, or even sturdy cups or mason jars for individual portions.
- Measuring cups and spoons (estimating works too, but measuring ensures consistency).
The Simple Ingredient List:
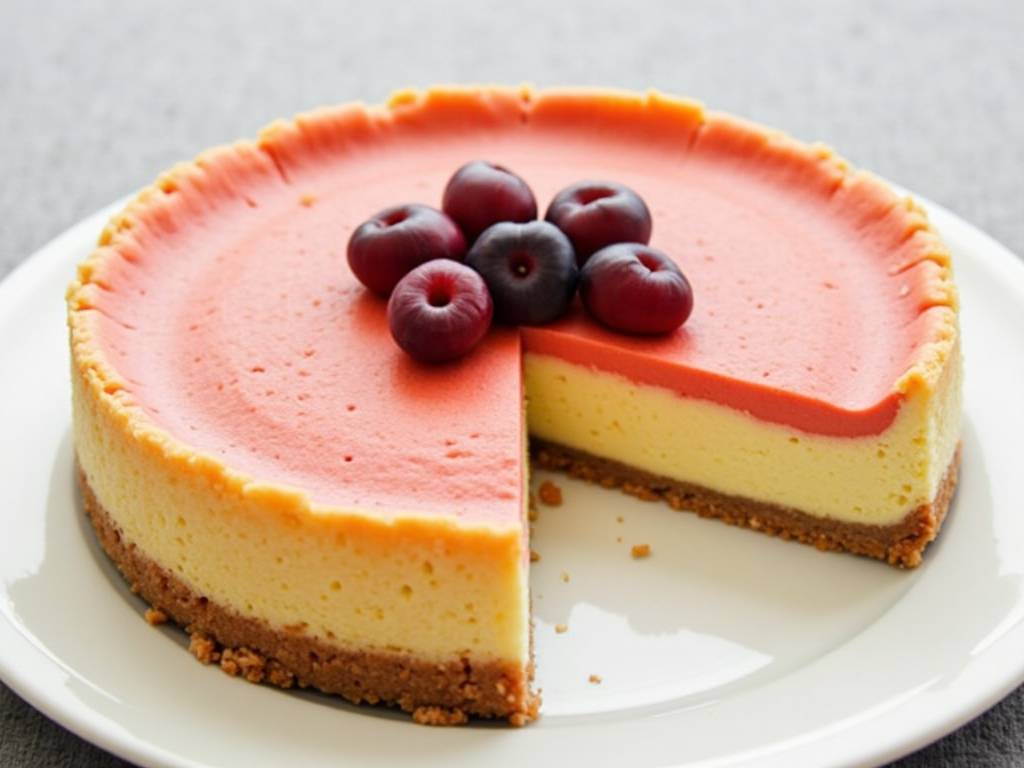
For the Crust:
- 1 cup (about 100g) of graham cracker crumbs (or crushed digestive biscuits, vanilla wafers).
- 3 tablespoons of melted butter (or a neutral-tasting oil as a substitute).
- 1 tablespoon of sugar (optional).
For the Filling – The Heart of Your Cheesecake:
- 8 ounces (226g) of full-fat cream cheese, softened to room temperature.
- 1/3 cup (about 65g) of granulated sugar.
- 1 teaspoon of pure vanilla extract.
- 1 cup (240ml) of heavy whipping cream, cold.
Pro-Tip from a Pastry Chef: “The quality of your cream cheese is paramount for flavor and texture. Full-fat varieties yield a richer, creamier filling that sets better. For the whipping cream, ensure it is very cold to achieve maximum volume when whipped,” notes a professional baker specializing in simplified recipes.
Step-by-Step: Crafting Your No-Bake Masterpiece
Step 1: Creating the Perfect No-Bake Crust In your mixing bowl, combine the graham cracker crumbs and sugar (if using). Drizzle the melted butter over the crumbs and mix thoroughly until the mixture resembles wet sand and holds together when pinched. Press this mixture firmly and evenly into the bottom of your chosen dish. Use the back of a spoon to compact it. Place the crust in the refrigerator to chill while you make the filling.
Step 2: Mastering the Creamy Filling Ensure your cream cheese is fully softened. In your clean mixing bowl, beat the cream cheese with a fork or spoon until it’s smooth and lump-free. Add the sugar and vanilla extract, and mix until everything is well combined and creamy.
Now, for the magic step: whipping the cream. Pour the cold heavy cream into a separate bowl (or your cleaned main bowl). Vigorously whisk it by hand, or use a fork in a rapid beating motion, until it forms soft peaks. This takes some arm power, but it’s excellent exercise! The cream should be thick and hold its shape. Gently fold the whipped cream into the cream cheese mixture. Use a folding motion (scoop from the bottom and turn over) until no white streaks remain. Be gentle to keep the filling airy.
Step 3: Assembly and the Crucial Chill Remove your chilled crust from the fridge. Spoon the creamy filling onto the crust and spread it out smoothly. Cover the dish with a lid or plastic wrap. This is the most critical step: refrigeration. Your cheesecake needs at least 4-6 hours to set properly, but overnight is ideal. This patience allows the fats to firm up, giving you that classic, sliceable cheesecake texture.
Creative Flavor Twists and Toppings
The basic recipe is your canvas. Here are easy dorm-room upgrades:
- Chocolate Lover’s: Add 2 tablespoons of cocoa powder to the filling. Top with chocolate shavings.
- Fruit Swirl: Before chilling, dollop a few spoonfuls of strawberry or raspberry jam on top of the filled cheesecake and use a toothpick to swirl it decoratively.
- Lemon Zest: Add the zest of one lemon to the filling for a bright, refreshing twist.
- Simple Toppings: Fresh berries, a drizzle of caramel or chocolate sauce, or even crushed cookies right before serving add instant gourmet flair.
Troubleshooting Common Issues
- Filling is too runny: This usually means the cream wasn’t whipped enough, or the cheesecake hasn’t chilled long enough. Ensure your cream is cold and whip until truly thickened. Always allow for a full overnight chill.
- Crust is too crumbly: You may need a bit more binding agent (melted butter). Press it more firmly into the dish.
- Cream cheese is lumpy: Let it sit at room temperature longer before mixing. Soft cream cheese is non-negotiable for a smooth filling.
Frequently Asked Questions
Can I make this recipe without heavy whipping cream? While heavy cream provides the best structure and richness, in a pinch, you can use well-chilled full-fat coconut cream. The flavor will be slightly different, and it must be very cold to whip. Some also use sweetened condensed milk for a denser, sweeter result, but this alters the texture significantly.
How long will my dorm cheesecake last? Stored covered in the refrigerator, your cheesecake will stay fresh and delicious for 3-4 days. This makes it perfect for making ahead for a study group or a weekend treat.
My dorm fridge is tiny. Can I use a different setting agent? The refrigeration is essential for this no-bake method. If fridge space is extremely limited, consider making individual portions in small cups. Some recipes use gelatin as an extra setting agent, but that requires dissolving it in heat, adding complexity. For ultimate simplicity and safety, refrigeration is the key.
This oven-free simple recipe proves that lack of equipment should never block your path to a delicious homemade dessert. With just a few ingredients, some basic tools, and a bit of patience during the chilling time, you can create a cheesecake that rivals any bakery version. It’s a rewarding process that builds kitchen confidence and delivers a well-deserved sweet reward. So, gather your ingredients, clear a spot in the fridge, and get ready to impress yourself and your friends.
⚠️ 温馨提示:本款蛋糕含糖量较高,高血糖/糖尿病患者请谨慎食用。





