 bluename
 How to Make Cheesecake Egg Rolls: Your Guide to a Crispy Sweet Portable Snack
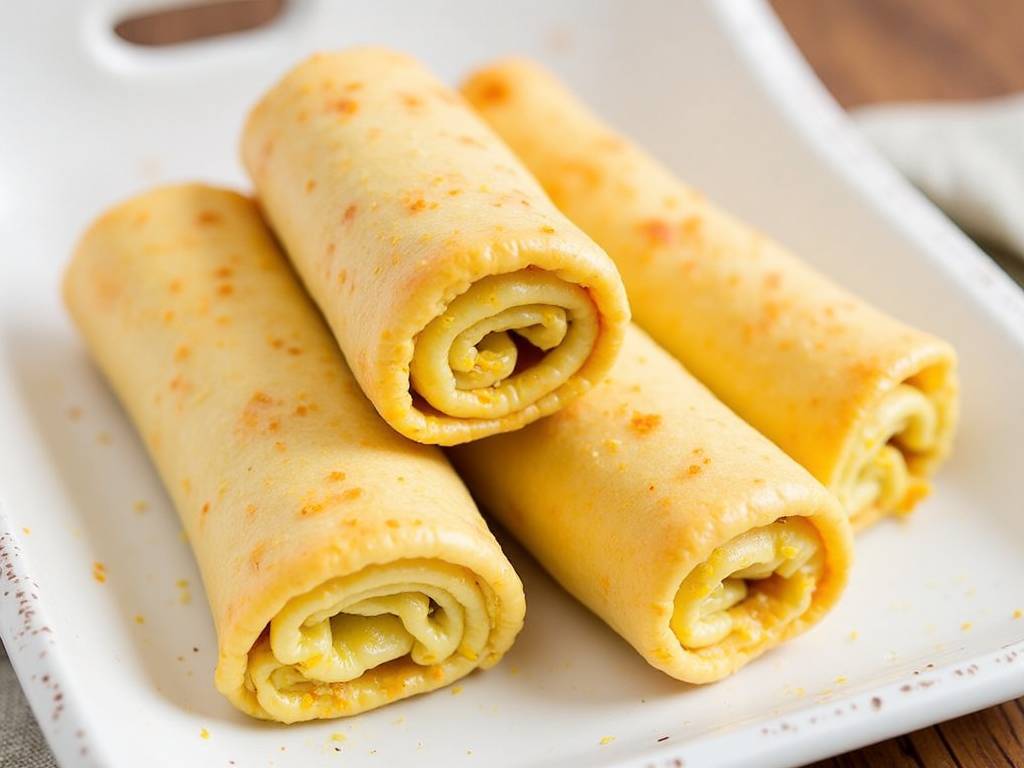
Have you ever craved the rich, creamy delight of cheesecake but wished you could enjoy it without the fuss of plates and forks? Perhaps you're looking for a show-stopping dessert for a party that's both elegant and easy to eat. The struggle between wanting a decadent treat and needing something convenient is real. What if you could have that classic cheesecake flavor wrapped in a golden, crispy shell, perfect for eating on the go? That’s the magic of cheesecake egg rolls. This ingenious recipe transforms the beloved dessert into a handheld masterpiece, combining a luscious cream cheese filling with a shatteringly crisp wrapper. It’s the ultimate fusion dessert that solves the problem of messy, sit-down sweets. Let's dive into how you can create these irresistible crispy, sweet, and portable snacks in your own kitchen.
Why You'll Love This Cheesecake Egg Roll Recipe
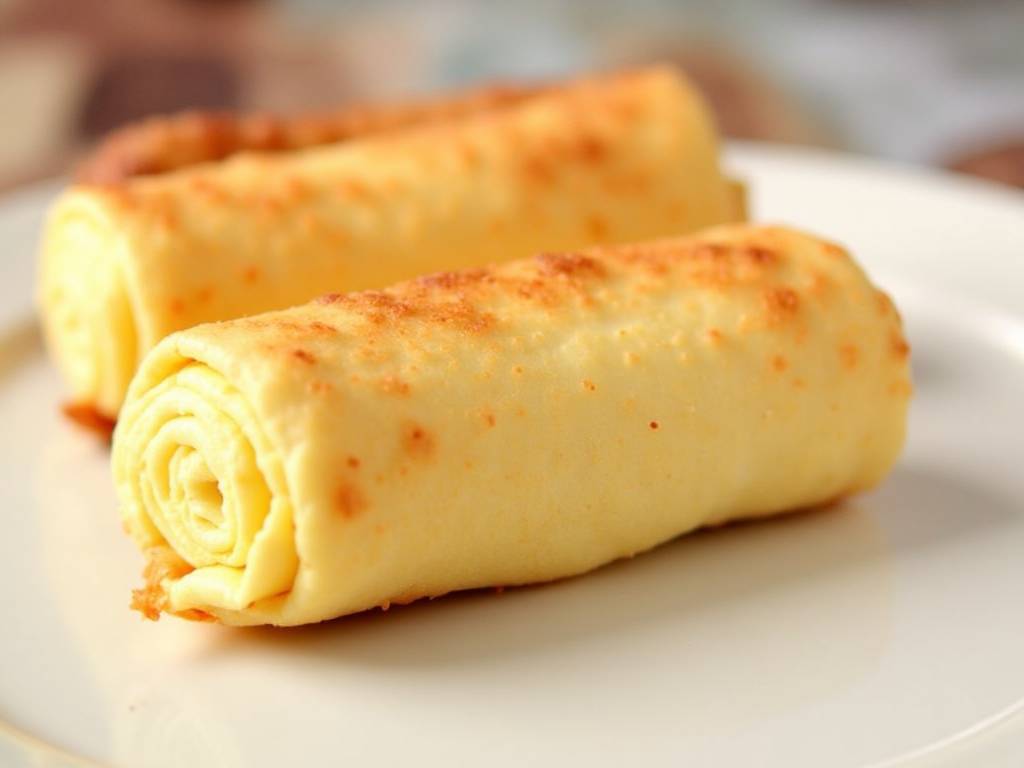
This recipe is more than just a dessert; it's a experience. First, the portability is a game-changer. Imagine taking these to picnics, potlucks, or simply enjoying them while walking around your home without a care. Secondly, the textural contrast is phenomenal. The delicate, crunchy exterior gives way to a soft, warm, and tangy cream cheese filling that is simply divine. Finally, they are incredibly versatile. You can customize the basic filling with various mix-ins like chocolate chips, fruit pie fillings, or citrus zests, making it your own signature dessert.
Gathering Your Ingredients for Success
A great dish starts with quality ingredients. For the best cheesecake egg rolls, using the right components is key to achieving that perfect balance of flavor and texture.
For the Filling:
- 8 ounces (226g) full-fat cream cheese, softened to room temperature
- 1/4 cup (50g) granulated sugar
- 1 large egg yolk
- 1 teaspoon pure vanilla extract
- 1/4 cup (30g) crushed graham crackers (optional, for authentic cheesecake flavor)
For Assembly and Frying:
- 12 egg roll wrappers
- 1 small bowl of water (for sealing the wrappers)
- High-heat neutral oil for frying (such as vegetable, canola, or peanut oil), enough for 2-3 inches in your pot
Expert baker and cookbook author Sarah Phillips notes, "The temperature of your cream cheese is non-negotiable for a smooth filling. Using cold cream cheese will result in a lumpy mixture that can tear your egg roll wrappers. Plan ahead and let it sit on the counter for at least 30 minutes before you begin."
Step-by-Step Guide to Perfect Cheesecake Egg Rolls
Creating these delightful snacks is a straightforward process. Follow these steps carefully to ensure your egg rolls are sealed tightly and fry up perfectly.
Preparing the Creamy Filling
Start by making the filling. In a medium-sized mixing bowl, place the softened cream cheese. Using a hand mixer or a sturdy whisk, beat the cream cheese until it is completely smooth and free of lumps. This initial step is crucial for a silky texture. Add the granulated sugar and continue to beat until the sugar is fully incorporated and the mixture looks creamy. Then, beat in the egg yolk and vanilla extract until just combined. If you are using the graham cracker crumbs, gently fold them in with a spatula at this stage. Cover the bowl with plastic wrap and refrigerate for at least 15 minutes. A chilled filling is much easier to handle and will not leak as easily during frying.
Mastering the Wrapping Technique
Lay one egg roll wrapper on a clean, dry surface with one corner pointing towards you, so it looks like a diamond. Spoon about 1 to 1.5 tablespoons of the chilled filling onto the center of the wrapper. Be careful not to overfill, as this is the primary cause of bursting during frying. Using your finger or a pastry brush, lightly moisten the edges of the wrapper with water. This acts as the glue. Lift the bottom corner up and over the filling, tucking it in snugly. Then, fold the left and right corners inward towards the center, forming an envelope-like shape. Now, tightly roll the bundle upwards towards the remaining top corner. Press firmly to seal the final edge. The result should be a neat, cylindrical package with no filling visible. Repeat this process with the remaining wrappers and filling.
Frying to Golden Brown Perfection
Now for the transformative step: frying. Pour your chosen oil into a heavy-bottomed pot or Dutch oven until it is about 2-3 inches deep. Attach a candy or deep-fry thermometer to the side of the pot. Heat the oil over medium heat until it reaches 350°F (175°C). Maintaining this temperature is essential. If the oil is too cool, the egg rolls will absorb too much oil and become greasy. If it's too hot, the wrappers will brown too quickly while the inside filling remains cold.
Carefully place 2-3 egg rolls into the hot oil, being sure not to overcrowd the pot. Fry them for about 2-4 minutes, turning occasionally with tongs or a slotted spoon, until they are uniformly golden brown and crispy. Once cooked, transfer them to a plate lined with paper towels to drain any excess oil. Allow them to cool for a few minutes before serving, as the filling will be extremely hot.
Alternative Baking Method
If you prefer not to deep-fry, you can bake your cheesecake egg rolls. Preheat your oven to 400°F (200°C). Arrange the assembled egg rolls on a baking sheet lined with parchment paper. Lightly brush or spray each egg roll with oil. Bake for 15-20 minutes, flipping them halfway through, until they are golden and crisp. While the texture will be slightly different from deep-frying, it is a delicious and healthier alternative.
Serving and Customization Ideas
The fun doesn't end with the basic recipe. While these cheesecake egg rolls are fantastic on their own, serving them with dips or customizing the filling elevates them to a new level. Consider dusting them with powdered sugar or drizzling them with chocolate or caramel sauce. For dipping, strawberry sauce, raspberry coulis, or even a simple side of whipped cream are excellent choices.
Feel free to get creative with the filling. You can mix in mini chocolate chips, swirl in some lemon curd, or add a spoonful of blueberry or cherry pie filling along with the cream cheese mixture. For a seasonal twist, a tablespoon of pumpkin puree and a dash of pumpkin pie spice makes for an incredible autumn variation.
Frequently Asked Questions
Can I prepare cheesecake egg rolls ahead of time? Yes, you can assemble them completely, place them on a baking sheet, and freeze them until solid. Once frozen, transfer them to a freezer bag. They can be fried directly from frozen; just add 1-2 minutes to the frying time. This makes them perfect for unexpected guests or quick dessert cravings.
What is the best way to store leftovers? While best enjoyed fresh, leftover cheesecake egg rolls can be stored in an airtight container in the refrigerator for up to 2 days. Reheat them in an air fryer or toaster oven to recrisp the wrapper. The microwave will make them soft.
My egg roll burst open while frying. What did I do wrong? This is usually caused by one of two things: overfilling the wrapper, or having the oil temperature too low. An overstuffed egg roll puts pressure on the seams, and oil that isn't hot enough won't seal the wrapper quickly, allowing the filling to leak out. Ensure you use the recommended amount of filling and maintain a consistent oil temperature of 350°F.
From the moment you take that first bite, breaking through the crispy shell into the warm, creamy center, you'll understand why this recipe is so special. It’s a foolproof method for creating a dessert that feels both indulgent and innovative. Whether you stick to the classic filling or experiment with your own additions, these cheesecake egg rolls are guaranteed to become a new favorite. They perfectly capture the essence of a beloved dessert in a fun, portable, and utterly delicious form. So, gather your ingredients and get ready to impress yourself and everyone around you.





