 bluename
 How to Make Cheesecake Jelly Noodles: Your Ultimate Guide to an Icy Chewy Summer Dessert
Is there anything more frustrating than a summer dessert that melts into a puddle before you even take the first bite? You crave something sweet, creamy, and refreshing, but ice cream feels too heavy, and popsicles lack sophistication. What if you could create a stunning, make-ahead dessert that is not only blissfully cold but also offers a uniquely fun and chewy texture? This is where the magic of Cheesecake Jelly Noodles comes in. This innovative treat combines the rich, tangy flavor of cheesecake with the bouncy, slurpable fun of jelly noodles, resulting in an icy, chewy summer dessert that will be the star of any gathering.
This guide will walk you through every step, from understanding the key ingredients that create the perfect texture to assembling a dessert that is as beautiful as it is delicious.
Unlocking the Magic: Core Ingredients for Success
The unique appeal of this dessert lies in its contrasting textures and flavors. Understanding the role of each component is the first step to mastery.
The Cheesecake Filling: Creamy and Tangy The heart of this dessert is a no-bake cheesecake mixture. For the best results, use full-fat, brick-style cream cheese. It provides a sturdy, rich base that holds its shape. Pair it with thick Greek yogurt or sour cream for a delightful tang that cuts through the sweetness. According to a 2022 report from the International Dairy Foods Association, consumers increasingly seek "complex flavor experiences" in desserts, and this creamy, tangy base delivers exactly that.
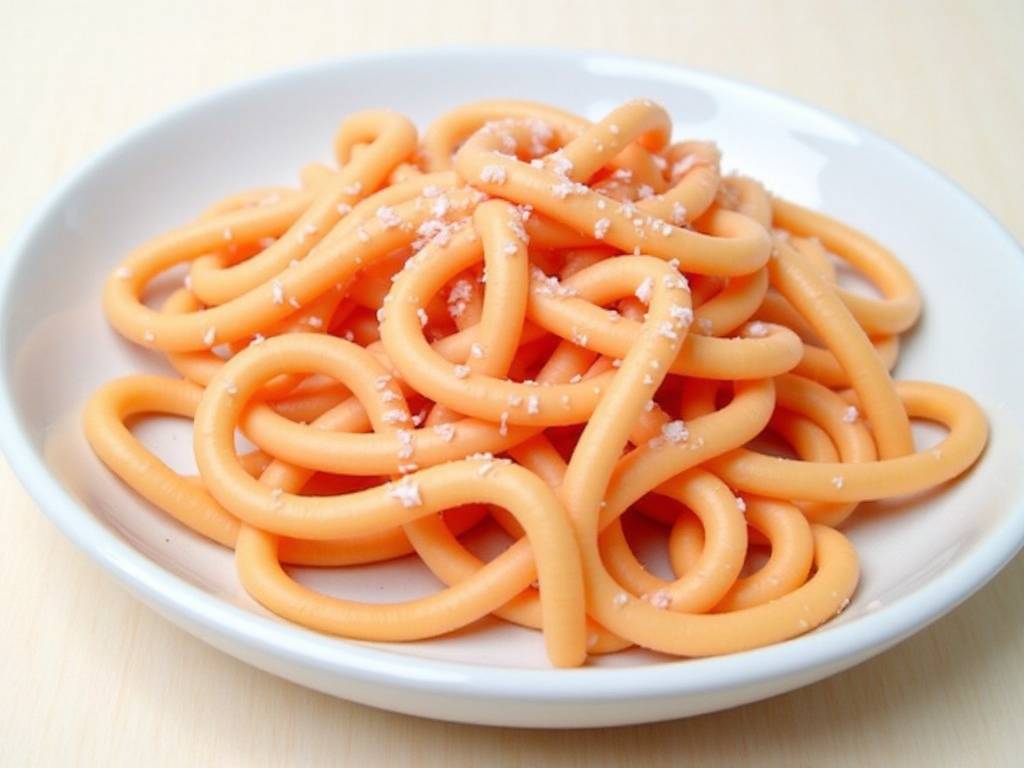
The Jelly Noodles: The Star of the Show The "noodles" are what set this dessert apart. They are made from a firm, set jelly that is then pressed through a tool to create long, slurpable strands. The key is to use a jelly or konnyaku mix that sets firmly enough to be extruded yet remains tender and bouncy to the bite. Gelatin-based jellies work well, but for a vegetarian option, agar-agar is a fantastic alternative, though it sets firmer.
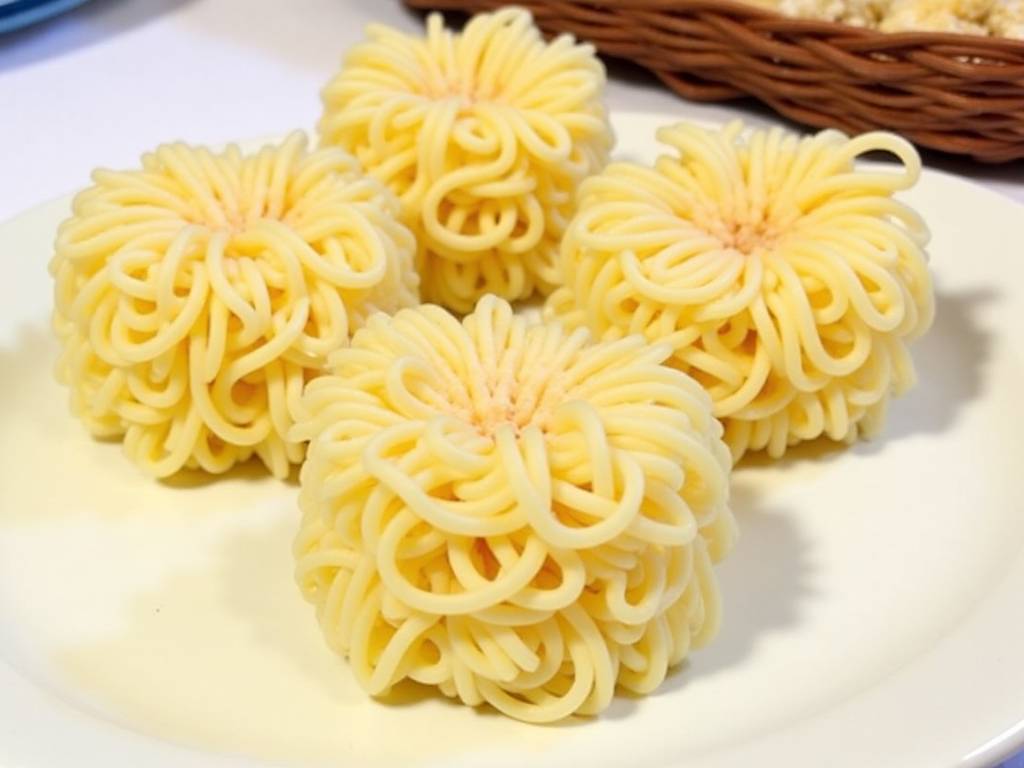
Choosing Your Flavor Profile Your flavor combinations are limitless. A classic vanilla cheesecake with strawberry jelly noodles is always a winner. For a more tropical twist, try a coconut cheesecake base with passion fruit jelly. Chocolate enthusiasts can create a chocolate-hazelnut base with coffee jelly noodles. Pastry Chef Anya Lee notes, "The interplay between a creamy component and a fruit-forward, textured element is a hallmark of modern dessert design, appealing to both the palate and the sense of play."
Your Essential Kitchen Tools You don't need professional-grade equipment. A standard 8x8 inch baking pan is perfect for setting the jelly. For forming the noodles, a potato ricer is the ideal tool. Its fine holes create perfect, uniform strands. Alternatively, you can use a garlic press for thinner noodles or push the jelly through a slotted spatula.
Step-by-Step Guide to Perfect Cheesecake Jelly Noodles
Follow these detailed steps to ensure your dessert is a resounding success.
Preparing the Firm Jelly Base Begin by creating the jelly that will become your "noodles." Choose a flavor and color that complements your cheesecake. In a saucepan, combine your fruit juice, a little sugar, and your gelling agent (gelatin or agar-agar). If using gelatin, always bloom it in cold water first. Heat the mixture gently, stirring until everything is completely dissolved. Do not let it boil. Pour the liquid into your square pan and refrigerate for at least 4 hours, or preferably overnight, until it is very firm to the touch.
Crafting the No-Bake Cheesecake Layer While the jelly sets, make the cheesecake filling. In a large bowl, beat the room-temperature cream cheese until it is completely smooth and lump-free. This is a crucial step; any lumps now will remain in the final product. Gradually add in powdered sugar, vanilla extract, and a pinch of salt. Gently fold in the whipped cream or Greek yogurt until the mixture is homogenous and creamy.
The Art of Forming the Jelly Noodles This is the most fun part. Remove the fully set jelly from the pan. It should pop out in one solid block. Cut the block into smaller cubes that will fit into your potato ricer. Take a handful of cubes and place them into the ricer. Hold the ricer over a bowl or directly over your serving glasses and press down firmly. Long, beautiful jelly noodles will extrude from the holes. Repeat until all the jelly has been transformed.
Assembling Your Masterpiece Now, it's time to build your dessert. In a clear glass or bowl to showcase the layers, start with a base of the creamy cheesecake mixture. Then, carefully place a generous nest of your colorful jelly noodles on top. For the final touch, you can drizzle with a fruit coulis, sprinkle with crushed biscuits, or add fresh fruit. The visual contrast is part of the delight.
Pro Tips for the Perfect Texture and Flavor For an extra icy experience, chill your serving glasses in the freezer beforehand. If your cheesecake mixture is too soft, place the assembled desserts in the freezer for 20-30 minutes before serving to firm up. To prevent the jelly from sticking to the ricer, you can lightly spray it with cooking oil.
Creative Variations to Explore
Once you've mastered the basic technique, the world is your oyster.
Tropical Paradise Version Create a cheesecake base using coconut cream and crushed pineapple. For the jelly noodles, use a mix of mango and passion fruit juice. Top with toasted coconut flakes and a slice of fresh mango.
Decadent Chocolate Raspberry Twist Mix cocoa powder and melted dark chocolate into your cheesecake base. For the noodles, use a vibrant raspberry jelly. Assemble with fresh raspberries and a dark chocolate shard for an elegant finish.
What can I use if I don't have a potato ricer? A garlic press can create thinner, vermicelli-like noodles. You can also place the jelly cubes in a sturdy plastic bag, snip off a corner, and squeeze, though the strands will be less defined. For a chunkier texture, simply dicing the set jelly into small cubes works perfectly well.
How far in advance can I make this dessert? The components can be made up to two days ahead. Store the set jelly block (before extruding) and the cheesecake mixture separately in airtight containers in the refrigerator. Assemble the desserts no more than a few hours before serving to prevent the jelly noodles from weeping moisture into the cheesecake layer.
My jelly didn't set firmly enough. What went wrong? This is usually due to an incorrect ratio of gelling agent to liquid. Always follow the package instructions precisely. If using fresh pineapple, kiwi, or papaya, ensure it is cooked first, as an enzyme in these fruits prevents gelatin from setting. Agar-agar is not affected by this enzyme and is a more reliable choice for these fruits.
Creating this stunning dessert is easier than it looks, and the reward is a uniquely satisfying treat that cools you down from the inside out. The combination of smooth, rich cheesecake and the playful, chewy jelly noodles is a textural experience unlike any other. It’s a conversation-starting dessert that allows for endless creativity, letting you tailor the flavors to your exact preference. So, embrace the fun, gather your ingredients, and get ready to impress your friends and family with your new signature summer dish.





