 bluename
 How to Make Cheesecake Milk Foam? Delicious Topping for Drinks
That picture-perfect drink you see all over social media, crowned with a cloud of sweet, creamy foam, doesn’t have to be a coffee shop secret. Have you ever tried to recreate that luxurious cheesecake milk foam at home, only to end up with a thin, watery liquid or a dense, clumpy mess? You're not alone. The frustration of inconsistent results can make you want to give up. But what if you could master a simple, stable, and irresistibly delicious cheesecake foam that transforms your everyday drinks into café-style masterpieces?
This guide will walk you through everything you need to know. We're not just sharing a recipe; we're explaining the why behind each step, empowering you to create the perfect topping every single time.
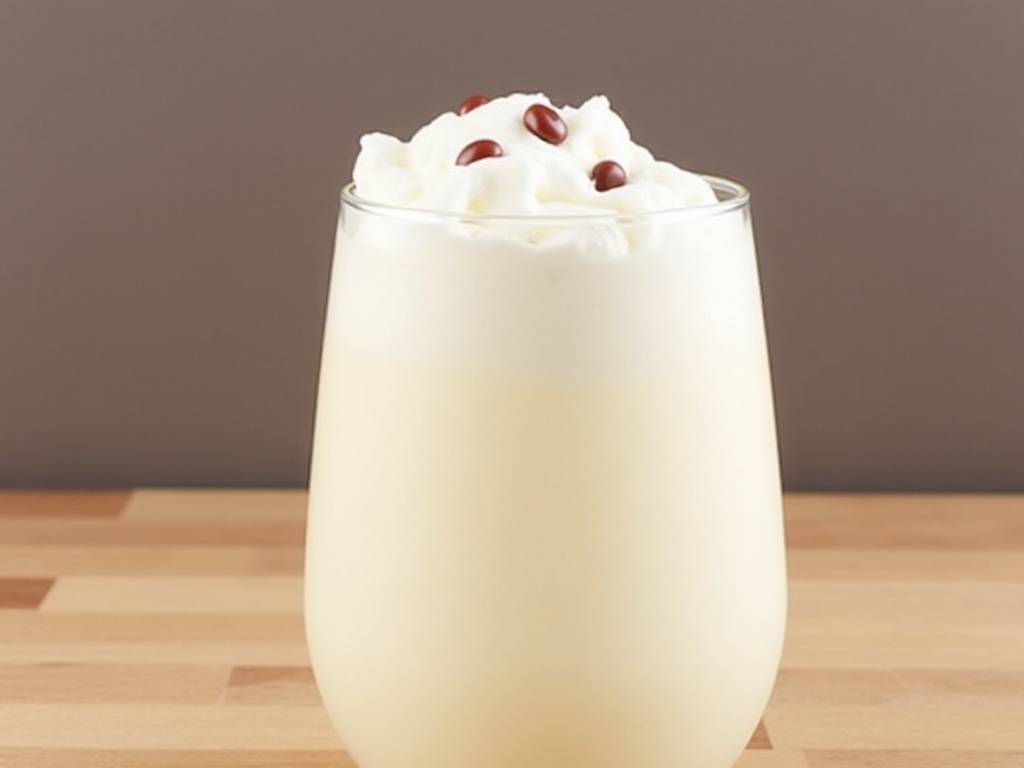
What Exactly is Cheesecake Milk Foam?
Before we dive into the making process, let's define what we're creating. Cheesecake milk foam is a sweet, airy, and slightly tangy topping, inspired by the rich flavor of New York-style cheesecake. It’s not the same as the froth on a cappuccino, which is primarily heated and aerated milk. This foam is typically cold-whipped, using cream cheese as its signature ingredient to provide a unique depth of flavor and remarkable stability that lasts longer than simple whipped cream.
Its versatility is astounding. This delicious topping for drinks can elevate a wide range of beverages, from iced coffees and black teas to bubble tea, chocolate milk, and even plain soda water, turning them into a decadent treat.
Your Simple Cheesecake Foam Toolkit: Ingredients and Equipment
You don’t need a professional kitchen to make fantastic foam. Here’s the breakdown of what you’ll need and why each component is crucial.
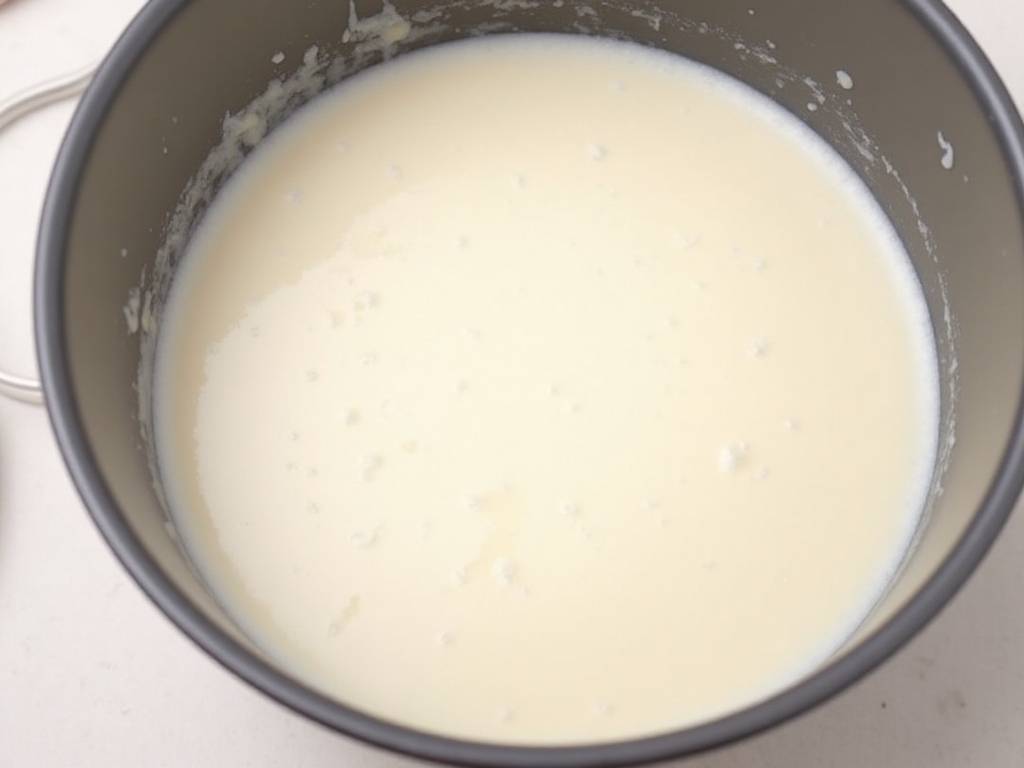
Essential Ingredients:
- Full-Fat Cream Cheese (2 tablespoons): This is the non-negotiable star. It provides the distinctive tangy flavor and, critically, acts as a stabilizer. The fat and protein structure in cream cheese helps the foam hold its shape. Low-fat versions contain more water and stabilizers, which can lead to a less fluffy texture and even cause separation.
- Whole Milk or Heavy Cream (60 ml): Your choice here determines the richness. Whole milk yields a lighter, more fluid foam ideal for cold brews and iced teas. Heavy cream (35% milk fat) creates a denser, richer foam closer to whipped cream, perfect for dessert-like drinks. For the best of both worlds, many experts recommend a 50/50 blend.
- Sweetened Condensed Milk (2 tablespoons): This is our preferred sweetener. Its thick, syrupy consistency dissolves instantly and contributes to the foam’s creamy body and stability far better than granulated sugar or simple syrup, which can make the foam watery.
- A Pinch of Salt: This might seem counterintuitive, but salt is a flavor enhancer. It balances the sweetness and makes the cheesecake flavor pop, rounding out the overall taste profile.
Required Equipment:
- A Good Sealable Jar or Handheld Milk Frother: You have two excellent, accessible options. A simple 16-ounce (500ml) mason jar with a tight-sealing lid is perfect for the shaking method. Alternatively, a handheld electric milk frother is a low-effort tool that creates a consistently fine, microfoam texture in under a minute.
- Measuring Spoons: Accuracy matters, especially with the cream cheese, to ensure the perfect balance of flavor and stability.
The Foolproof Recipe: Crafting Your Perfect Foam
Follow these steps closely for a fail-safe, creamy result every time.
Step 1: Achieve the Perfect Base Consistency Start by ensuring your cream cheese is softened to room temperature. Cold cream cheese straight from the fridge will remain lumpy no matter how much you whisk or shake. Take it out about 30 minutes before you begin. In your jar or a small bowl, vigorously whisk the softened cream cheese and salt together until it is completely smooth and free of any lumps. This initial step is critical—any lumps now will remain in your final foam.
Step 2: Combine and Incorporate Add the whole milk (and/or heavy cream) and the sweetened condensed milk to the smooth cream cheese base. If you are using a jar, seal the lid tightly. If you are using a bowl, this is when you would use your handheld frother.
Step 3: The Aerating Process
- Jar Method: Shake the jar with passion! Shake it vertically for 30-60 seconds until the mixture has visibly expanded in volume, become frothy, and thickened to a creamy consistency.
- Frother Method: Submerge the head of the frother into the liquid and turn it on. Move it slightly up and down for 15-20 seconds until the mixture doubles in volume and forms soft peaks.
Your cheesecake milk foam is now ready. It should be light, creamy, and able to sit gracefully on the back of a spoon.
Pro Tips for Next-Level Cheesecake Foam
Once you've mastered the basic recipe, you can start experimenting to make it uniquely yours.
- Boost the Flavor: Add a 1/4 teaspoon of vanilla extract or a few drops of almond extract for a nuanced aroma. For a genuine cheesecake crust flavor, a tiny sprinkle of crushed graham cracker crumbs mixed into the foam is a game-changer.
- Control the Thickness: Remember the milk-to-cream ratio. More milk equals a lighter foam; more cream equals a thicker, richer one. A 2022 report on home barista trends highlighted that customizing foam density is a top priority for 68% of at-home beverage enthusiasts.
- Ensure Maximum Stability: The acid in cream cheese helps stabilize the milk proteins. For even more hold, a tiny pinch (less than 1/8 teaspoon) of cornstarch can be added with the other dry ingredients to help absorb excess moisture and prevent collapse, especially on warmer days.
Creative Ways to Use Your Homemade Foam
This delicious topping for drinks is incredibly versatile. Don't stop at coffee!
- Iced Brown Sugar Boba Tea: The tangy foam cuts beautifully through the sweetness of the brown sugar tea.
- Iced Matcha Latte: A layer of cheesecake foam on a vibrant green matcha latte creates a stunning and tasty contrast.
- Fruit Teas: Pour it over an iced peach, strawberry, or mango tea for a creamy, cheesecake-like experience.
- Hot Chocolate: Transform your classic hot chocolate into a decadent dessert drink.
- Dessert Topping: Use it as a topping for pancakes, waffles, or fresh fruit like strawberries and peaches.
Why won't my cheesecake foam get thick? This is usually due to one of three reasons: your cream cheese was too cold and lumpy, you didn't shake or froth it long enough to incorporate sufficient air, or the measurements were off. Always use softened cream cheese and aerate until you see a significant increase in volume.
Can I make a dairy-free version of this foam? Absolutely. You can experiment with vegan cream cheese and full-fat coconut milk or a barista-style oat milk. The texture might be slightly different, but the principle remains the same: ensure the "cream cheese" is softened and whip it with your dairy-free milk and a sweetener like agave or a vegan condensed coconut milk.
How long can I store leftover cheesecake milk foam? You can store it in a sealed container in the refrigerator for up to 24 hours. It may separate slightly; just give it a quick re-whisk with a frother or a vigorous shake in its jar before using it again. For the best texture and volume, it is always ideal to make it fresh.
Mastering how to make cheesecake milk foam is a simple kitchen skill that pays enormous dividends for your home beverage game. With just a few common ingredients and one simple tool, you can create a delicious topping for drinks that rivals any coffee shop creation. It’s all about understanding the role of each ingredient and following the straightforward process. So, grab a jar, soften that cream cheese, and get ready to pour a little luxury into your next drink. Your home café is officially open.





