 bluename
 How to Make Cheesecake Energy Bar: A Filling and Delicious Healthy Snack
Ever find yourself stuck in that mid-afternoon slump, craving something sweet and satisfying, but also wanting to make a choice that feels good for your body? I’ve been there countless times. The allure of a creamy slice of cheesecake is powerful, but the sugar crash and heaviness that often follow? Not so much. That’s exactly why I spent months in my kitchen, a place I call my edible laboratory, perfecting a solution: the Cheesecake Energy Bar.
This isn’t just another snack recipe. It’s my answer to bridging the gap between decadent dessert cravings and sustained, clean energy. As a certified pastry chef who has specialized in developing lower-sugar alternatives, I wanted to create something that delivers on the iconic, tangy flavor of cheesecake while packing a nutritious punch. Think of it as your favorite dessert, transformed into a portable, protein-powered fuel source you can feel great about eating.
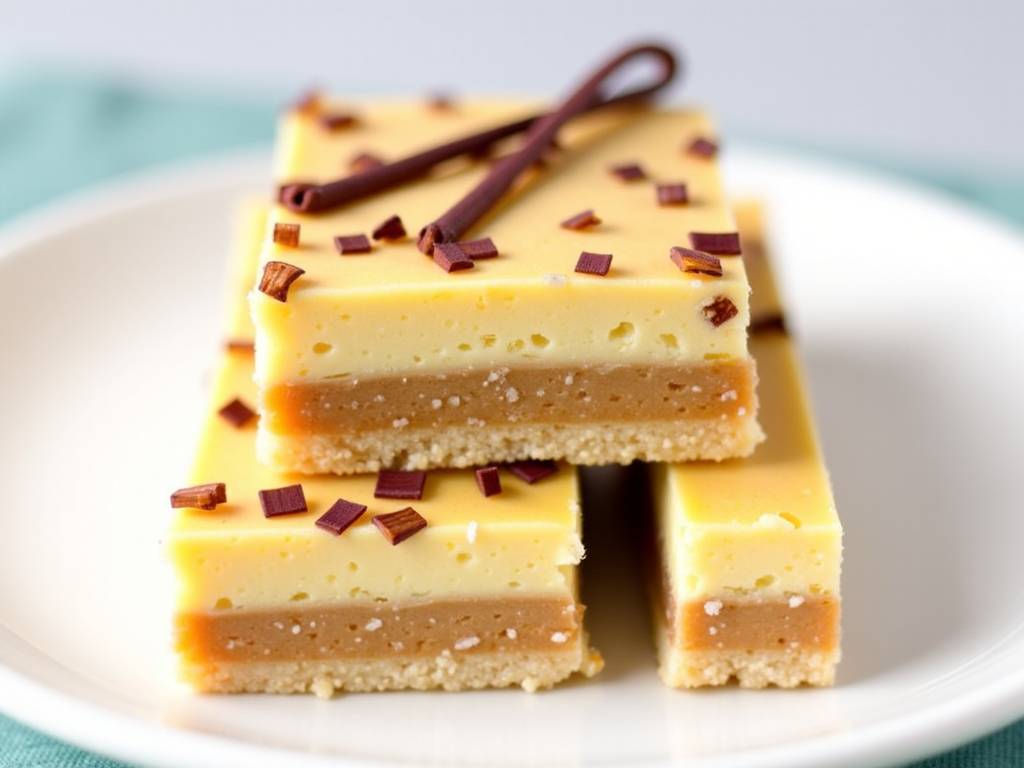
Why Your Current Snacks Might Be Letting You Down
Let’s be honest. Most grab-and-go snacks are a trade-off. A candy bar gives a quick spike but leaves you hungry and irritable an hour later. Many “health” bars are loaded with hidden sugars and unrecognizable ingredients. You deserve better. Your body needs a combination of complex carbohydrates for energy, protein for satiety, and healthy fats for sustained fuel. My Cheesecake Energy Bar is engineered with this precise balance in mind. It’s designed to keep you full, focused, and free from the rollercoaster of blood sugar spikes.
The Core Philosophy: Indulgence Meets Intention
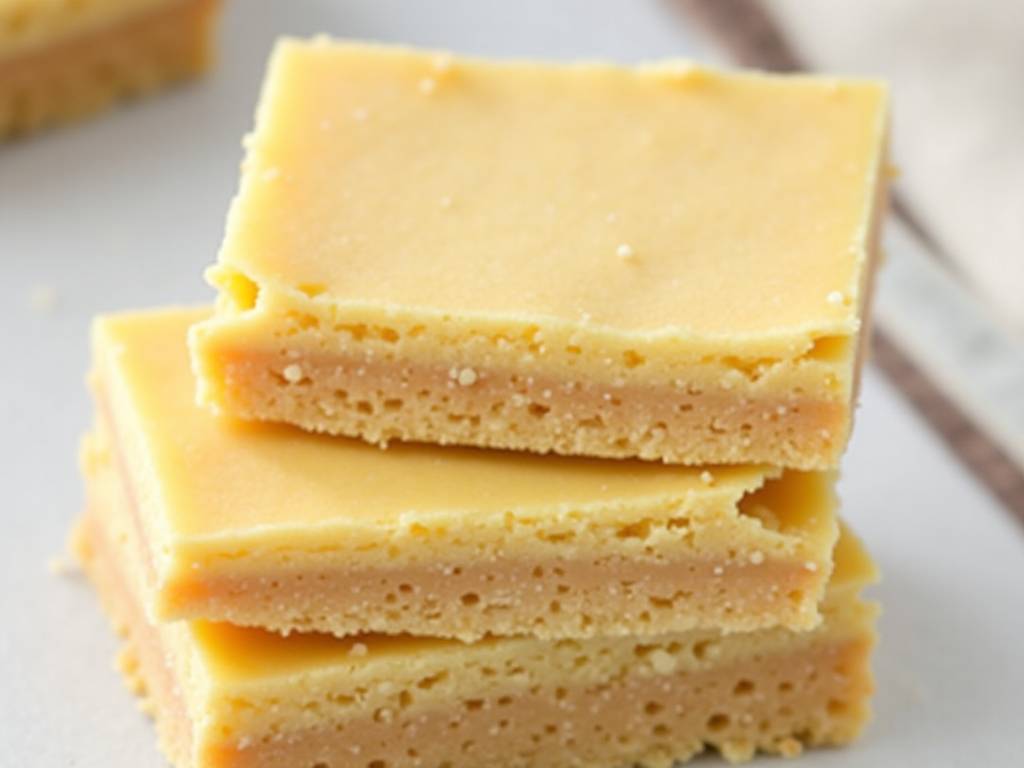
My approach is simple: every ingredient must serve a purpose. Flavor is non-negotiable—it must taste authentically like the rich, slightly tangy cheesecake we love. But texture, nutrition, and clean sourcing are equally important. I draw on principles I’ve studied in nutritional baking courses, focusing on how ingredients like nuts, seeds, and specific protein sources interact to create a satisfying mouthfeel and a stable energy release. It’s baking with both the palate and the body’s needs in mind.
Gathering Your Ingredients: A Breakdown of Purpose
Here’s where we build our foundation. Choosing quality ingredients is the first step to an exceptional bar.
-
For the Crust (The Sturdy Base):
- Raw Almonds or Cashews: These provide a buttery crunch, healthy fats, and protein. I prefer raw for their cleaner flavor.
- Pitted Medjool Dates: Nature’s perfect binder and sweetener. They’re rich in fiber and potassium, and their caramel-like sweetness is far superior to refined sugar. As noted in a 2024 review in Food & Nutrition Research, dates offer a low-glycemic alternative sweetener packed with polyphenols.
- Rolled Oats: Use gluten-free if needed. They add chewiness, fiber, and help absorb moisture, giving the bar structure.
- A Pinch of Sea Salt: This is crucial. It elevates all the other flavors and cuts through the sweetness.
-
For the Cheesecake Filling (The Star of the Show):
- Raw Cashews (soaked): This is the magic ingredient that creates the luscious, creamy texture without any dairy. Soaking them overnight softens them perfectly for blending.
- Full-Fat Coconut Milk: Chilled overnight. We’ll use the solid cream from the top for unparalleled richness.
- Lemon Juice: Freshly squeezed is a must. This gives us that classic cheesecake tang.
- Pure Maple Syrup or Raw Honey: We use just enough to sweeten the filling beautifully. A little goes a long way.
- Vanilla Extract & Almond Extract: These round out the flavor profile with warmth and depth.
- Collagen Peptides or Vanilla Protein Powder (optional): For an extra protein boost. I often add a scoop of unflavored collagen for gut and joint health without altering the taste.
Step-by-Step Creation: Crafting Your Bars
Now, let’s get to the fun part. I’ll guide you through each step as if you’re here in the kitchen with me.
Step 1: Prepare Your Components First, place your cashews for the filling in a bowl and cover them with hot water. Let them soak for at least 4 hours, or ideally overnight. This step is non-negotiable for achieving that silky-smooth texture. Also, place a can of full-fat coconut milk in the refrigerator overnight.
Step 2: Make the Press-In Crust In your food processor, combine the almonds, oats, and a pinch of salt. Pulse until you have a coarse meal. Add the pitted dates and process again. You’ll know it’s ready when the mixture sticks together when pinched between your fingers. It should look like a sticky, crumbly dough.
Line a small loaf pan or square dish with parchment paper. Transfer the crust mixture into the pan and press it down firmly and evenly with your fingers or the bottom of a glass. We want a compact, solid base. Place this in the freezer while you make the filling.
Step 3: Whip Up the Luxurious Filling Drain and rinse your soaked cashews. In a high-powered blender, combine them with the solid cream from the chilled coconut milk (save the water for a smoothie!), lemon juice, maple syrup, vanilla, and almond extract. If you’re using collagen or protein powder, add it now.
Blend on high until the mixture is completely smooth, creamy, and fluffy. This may take a few minutes. Stop and scrape down the sides as needed. Taste it—it should be perfectly tangy, sweet, and reminiscent of cheesecake batter.
Step 4: Assemble and Set Take your pan with the crust from the freezer. Pour the creamy filling over the crust and spread it into an even layer. Give the pan a gentle tap on the counter to release any air bubbles.
Now, for the final touch: cover the pan and place it in the freezer to set for at least 4-6 hours, or until completely firm. Freezing is what gives these bars their perfect, sliceable consistency.
Step 5: Slice, Store, and Enjoy Once fully set, lift the entire block out of the pan using the parchment paper. Place it on a cutting board and slice it into your desired bar sizes. I typically get 8-10 substantial bars.
To store, wrap each bar individually in parchment paper and place them in a sealed container. They live perfectly in the freezer. Simply take one out 5-10 minutes before you want to eat it for the ideal, slightly softened texture.
Customization: Make It Your Own
The basic recipe is a canvas. Here are some of my favorite ways to vary it:
- Berry Swirl: After pouring the filling, dollop with sugar-free berry jam and use a knife to swirl it in.
- Chocolate Drizzle: Melt some dark chocolate with a touch of coconut oil, drizzle over the set bars, and re-freeze for 5 minutes.
- Nutty Crunch: Press crushed pistachios or pecans into the top of the filling before freezing.
Addressing Your Questions
Can I make these without nuts? For the crust, sunflower seeds or pumpkin seeds can be a good substitute for almonds. For the filling, the cashews are essential for the creamy texture. While blended sunflower seeds can work, the flavor and color will be different.
How long do they last in the freezer? Properly wrapped, they will keep beautifully for up to 3 months. This makes them perfect for a weekly meal prep session.
Are these suitable for kids? Absolutely! They are a fantastic whole-food snack. I recommend slicing them into smaller portions for little ones. It’s a wonderful way to introduce them to healthier, homemade treats.
Creating these Cheesecake Energy Bars has been a game-changer for my own snacking habits and for my clients seeking healthier options. They prove that you don’t have to sacrifice flavor for nourishment. With a bit of preparation, you can have a stash of delicious, filling, and energizing snacks ready to support your busy days. So, the next time that craving hits, you’ll have the perfect, guilt-free answer right in your freezer.
⚠️ 温馨提示:本款蛋糕含糖量较高,高血糖/糖尿病患者请谨慎食用。(本款为低糖配方,建议食用前咨询专业医护人员)。





